Sorry, no video update on the progress. The paint scheme has caused me some headaches and found a few flaws that need to be fixed.
I ended up using Gunze Paint H57 Aircraft Grey, H1 Gloss White and H25 Sky Blue.
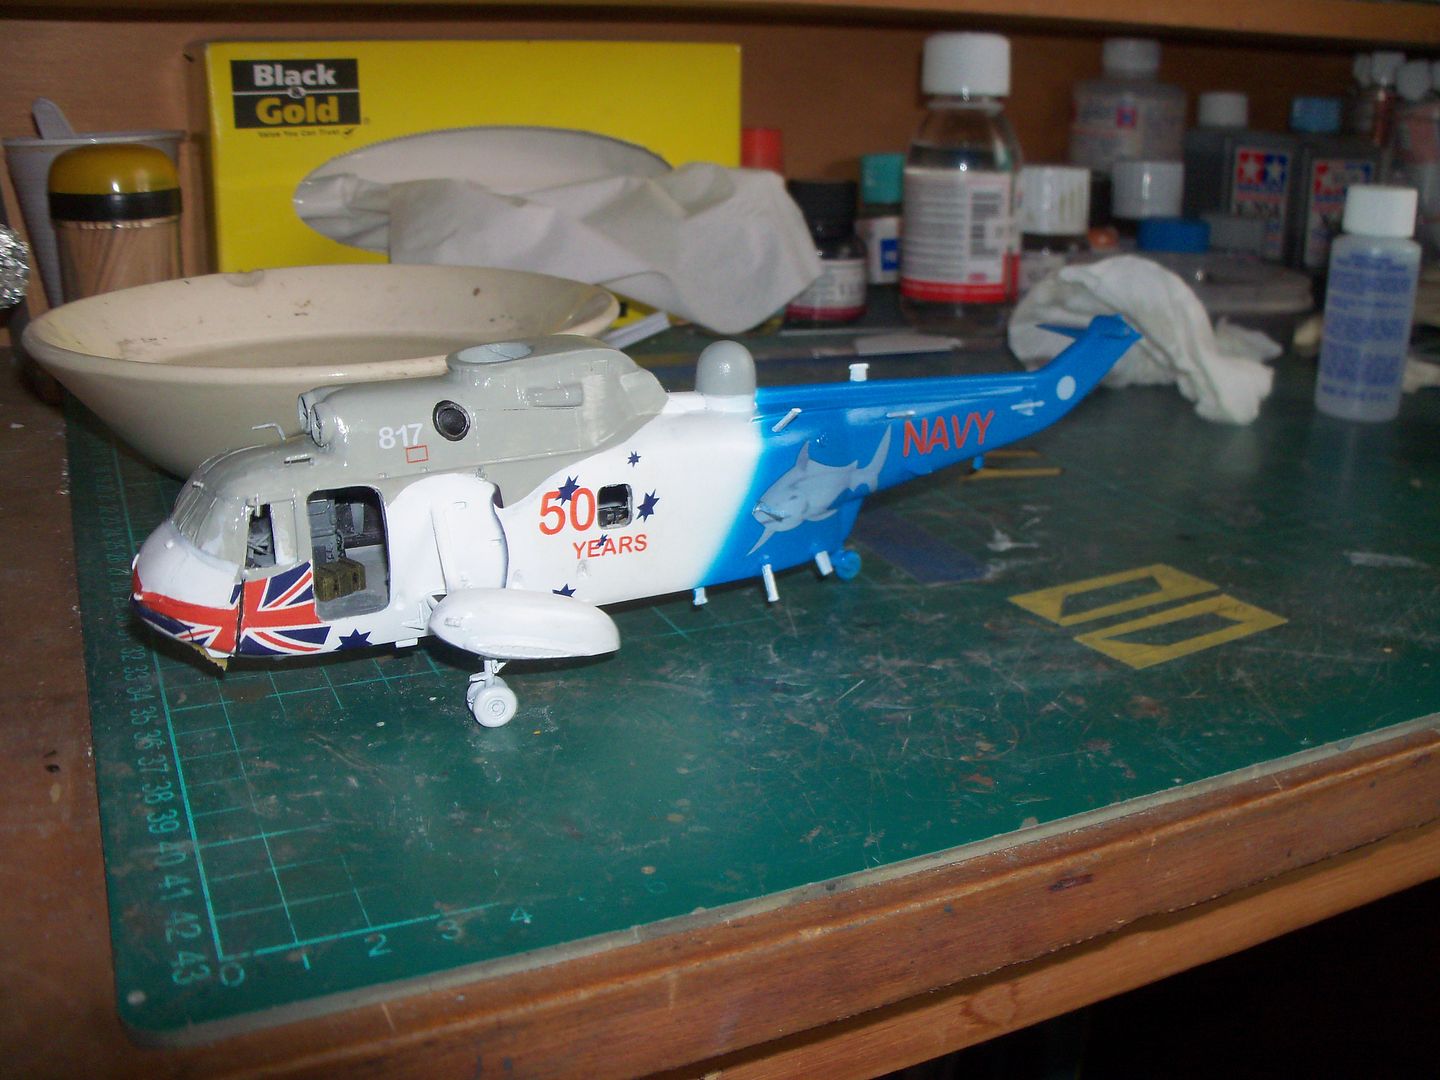
I'm using the Hawkeye Models decals for the 50th Anniversary markings. The come with a template for the white and grey demarcation. Unfortunately, due to the detail I've added, they don't fit well, so I've tried using tamiya tape for masking. Used the templates as a guide to cut new templates and cut through to hard and ruined the underlying paint work, so had to fill and re-sand.
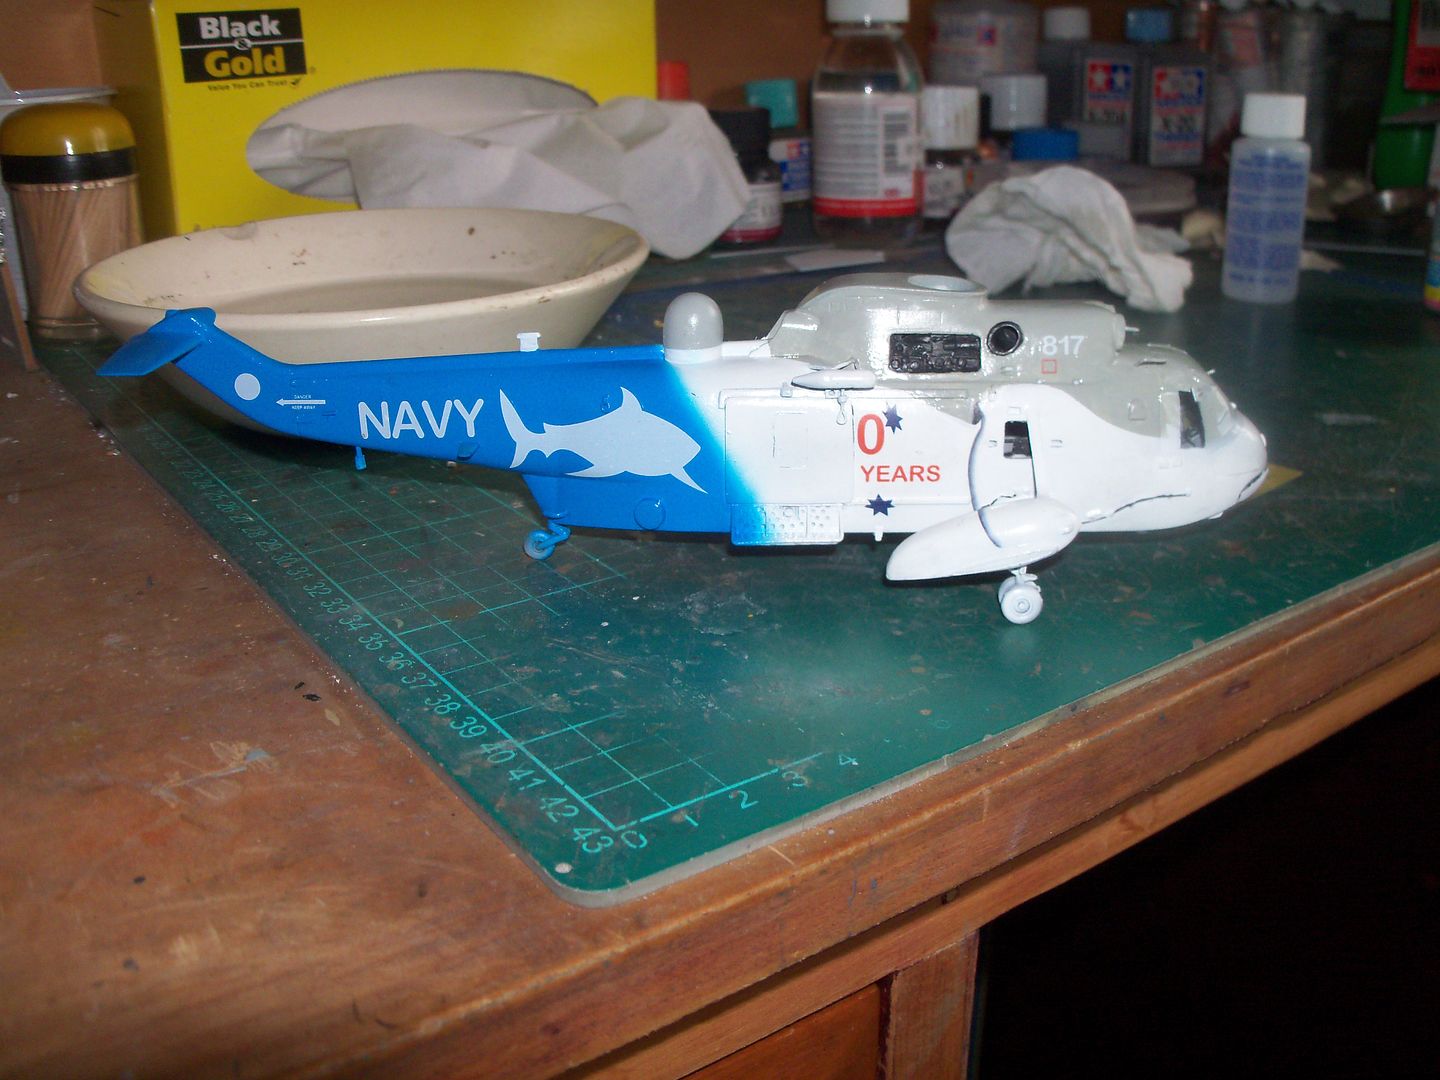
After some heart ache, I've got the grey and white demarcation done.
Now the blue demarcation is a soft edge and one photo's I've seen, the radome has overspray - yes over spray of the blue colour. So free hand airbrushing was easy to apply this time.
The Hawkeye decals are not individually cut out, so you need to cut out each one before applying. I have to almost cut right through the backing paper in order to cut the decal film. I learnt as I was applying them on the model, that a sharp knife won't cut them while they are wet and even when dry tend to stretch rather than tear or be cut.
The decals are also printed and there is some pixeling of the artwork.
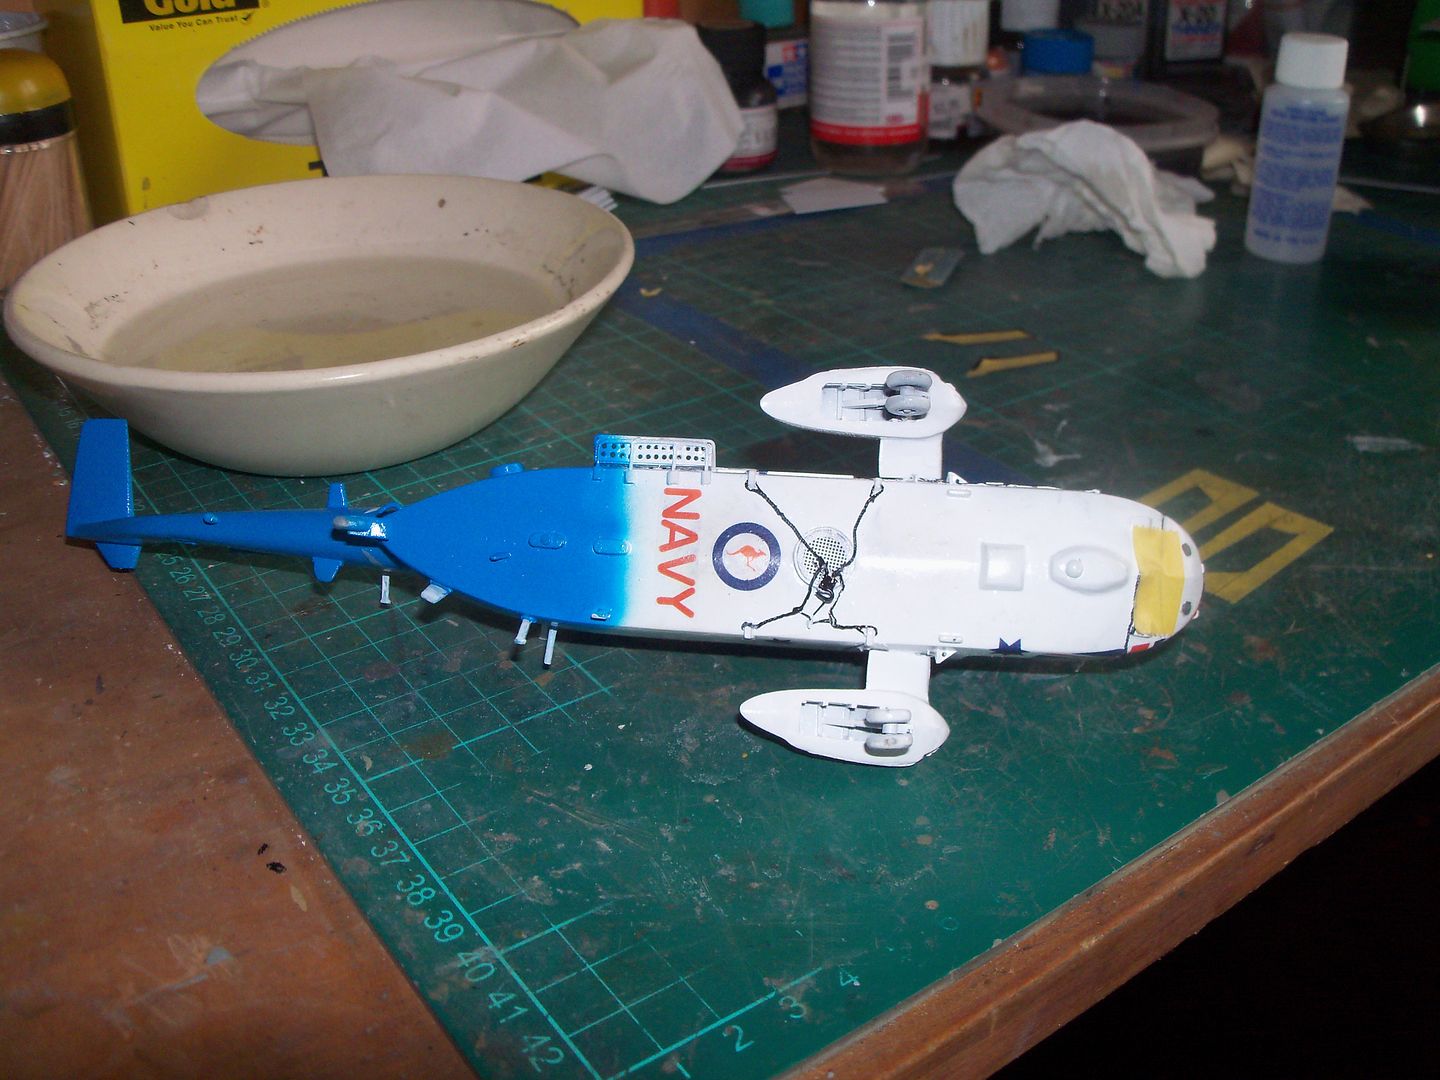
The colour decals are thin and the colours somewhat transparent. There is a seperate white sheet for the colour decals, to be applied onto the blue painted area.
The decals go on easily, they can be stretched - I had to be careful around some of the details, as I could easily warp the decal. This more so around the nose, where all that extra detail was starting to cause problems.
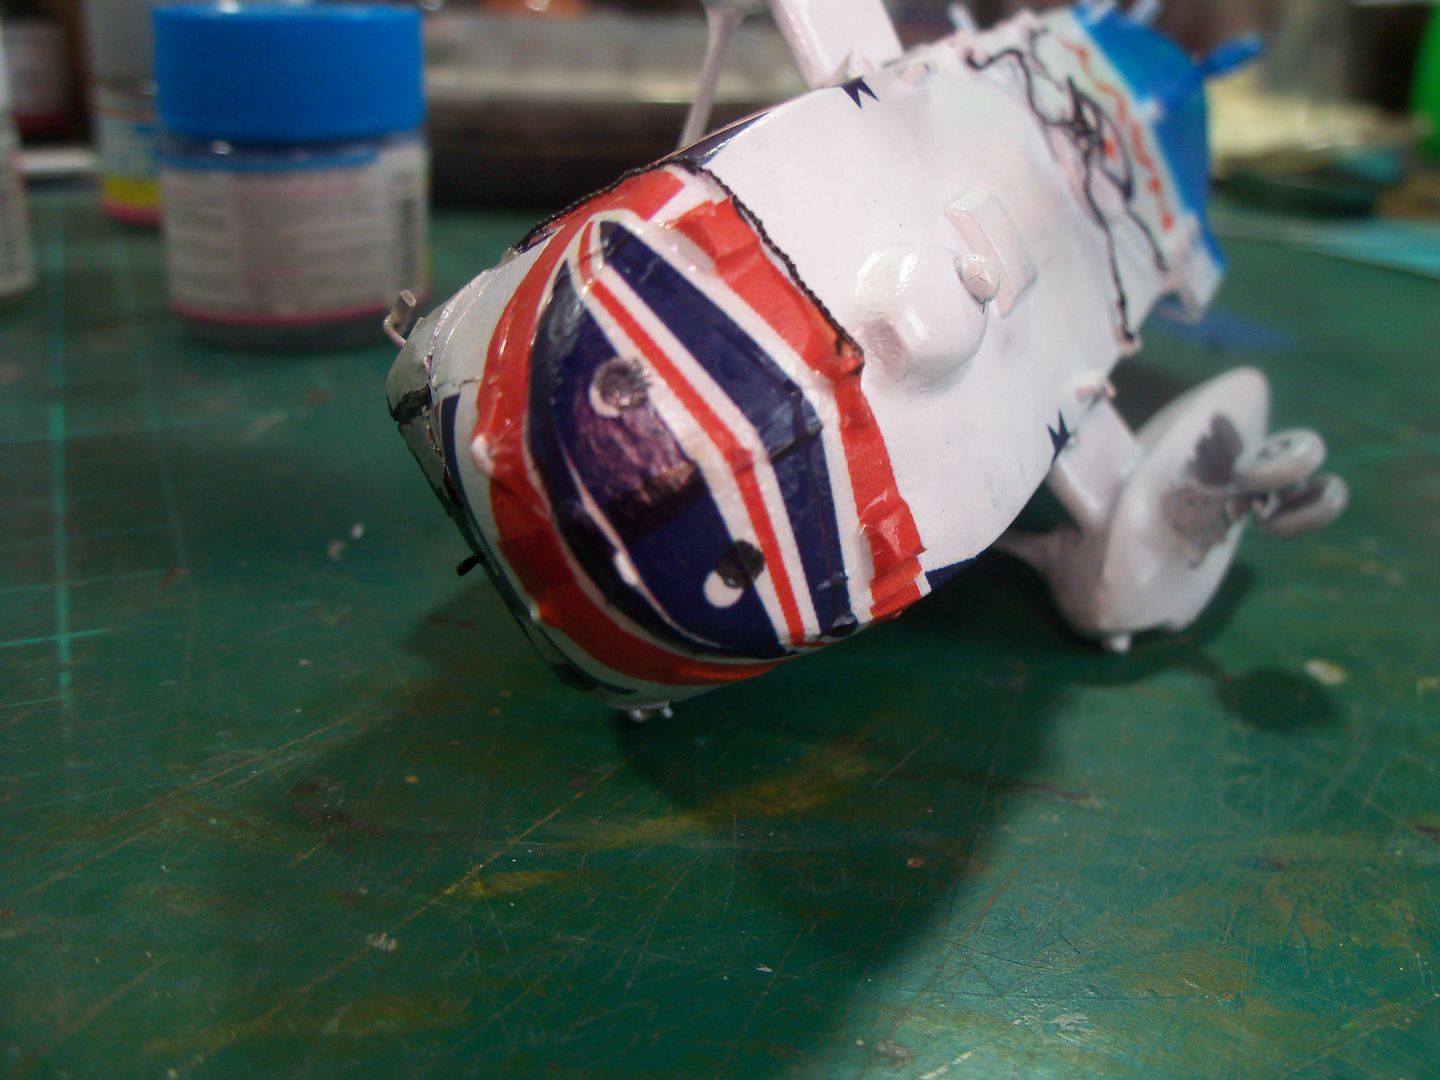
Now the big draw backs the decals aren't really designed to go around the nose, as you can see, I had some problems with the detail, but also, the decals ended up overlapping each other, which caused colour variation where it over lapped - I'll fix this up later.

I originally taped the nose cover while applying the side decals. I removed the tape before applying the main decal. There are alignment issues, gaps and the sizes are on the large side. I originally cut a slit down the middle of the main decal, but it wasn't long enough - it needs to go through about 3/4 of the decal. Since I didn't, the decal curled over and thankfully, the decal reacted well the Micro-Set and the decal snuggled down to a smooth finish, even over all that detail. Just more areas to touch up later.
Well, thats it for this update ...
No comments:
Post a Comment