Monday 28 January 2013

RAN Sea King 50th Anniversary

I've been working on converting the Airfix 1/72 Westland Sea King AEW. Mk.2/ASaC.Mk7 into a Royal Australian Navy Mk.50 Sea King.

I had originally started uploading YouTube articles of the build, but had no blog of the build, so here it is ....

To catch everyone up to where I'm at, here is a run down on what I've been doing.

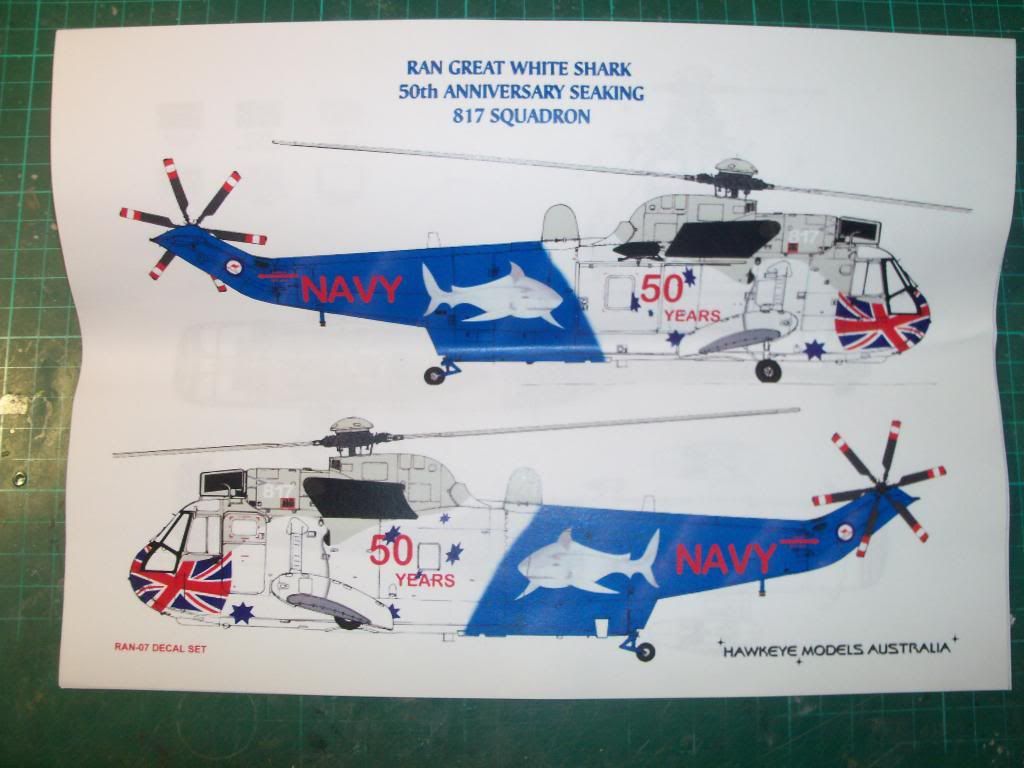
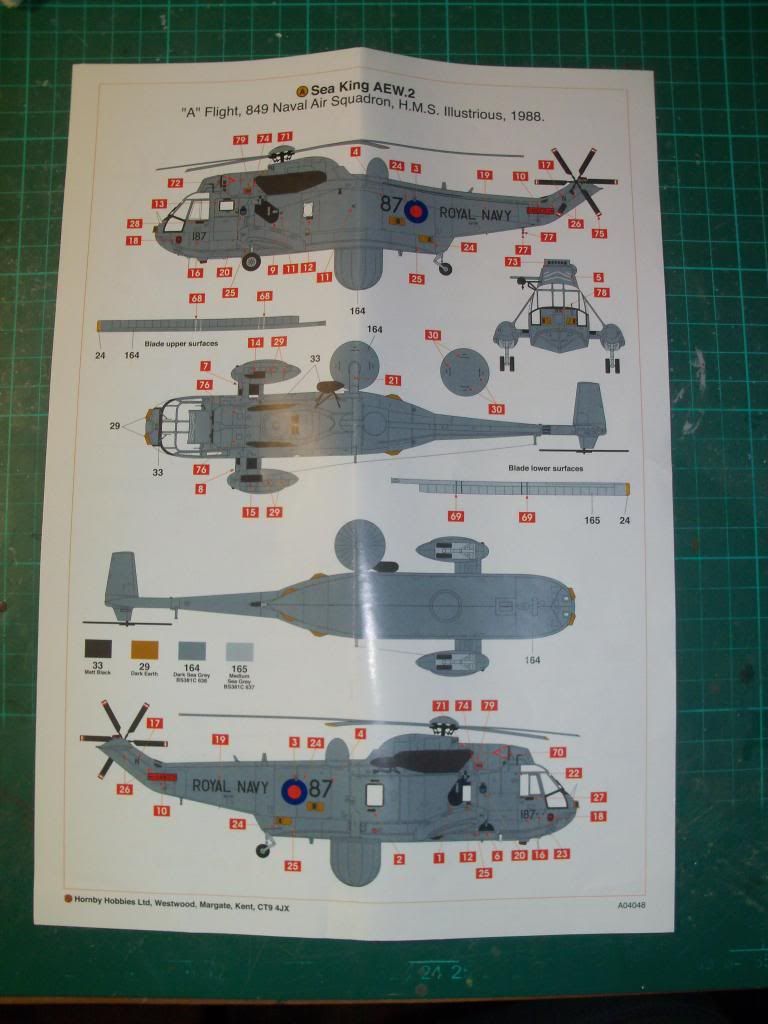
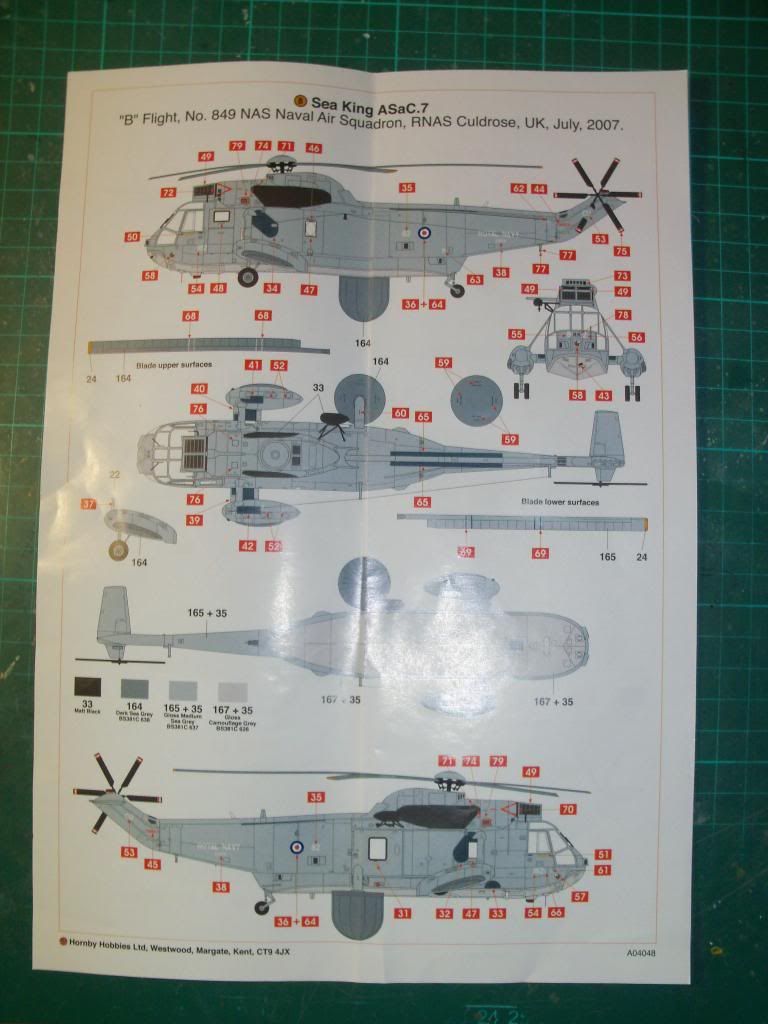
Brought the Airfix 1/72 Sea King kit and Hawkeye Models 50th Anniversary Decals.
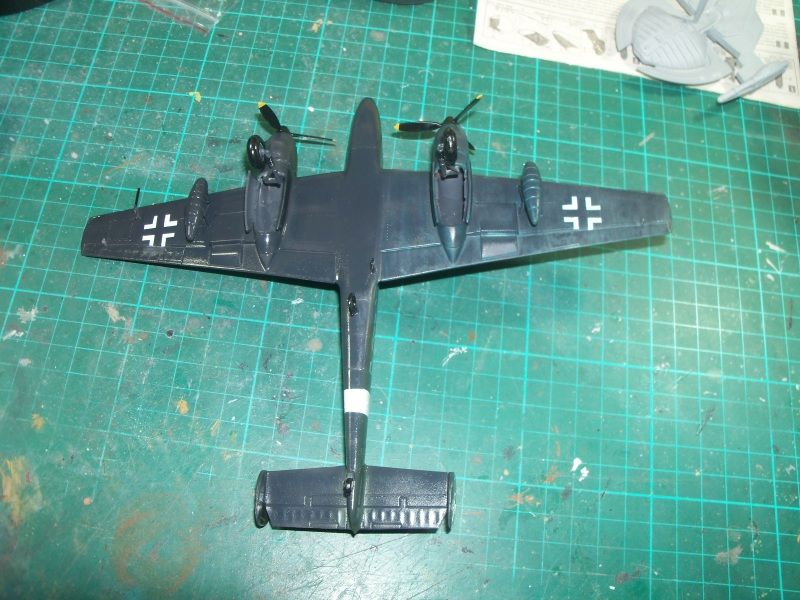
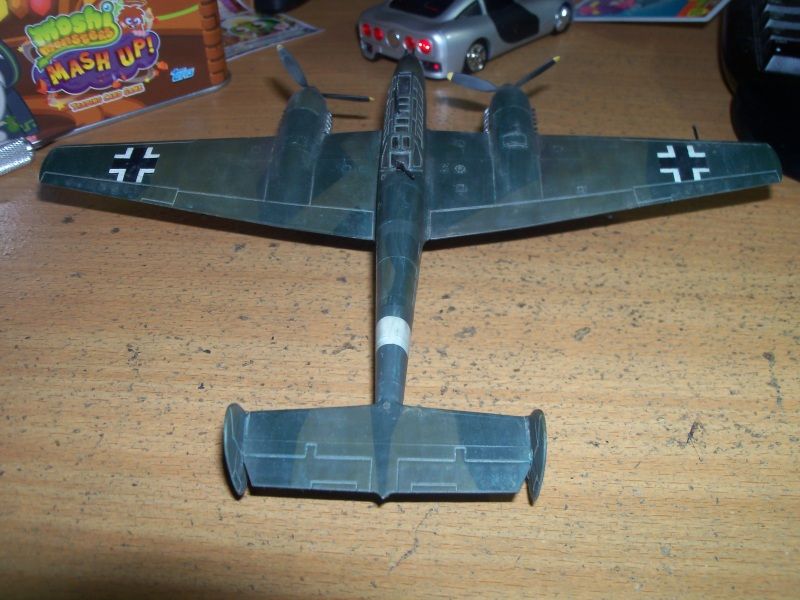
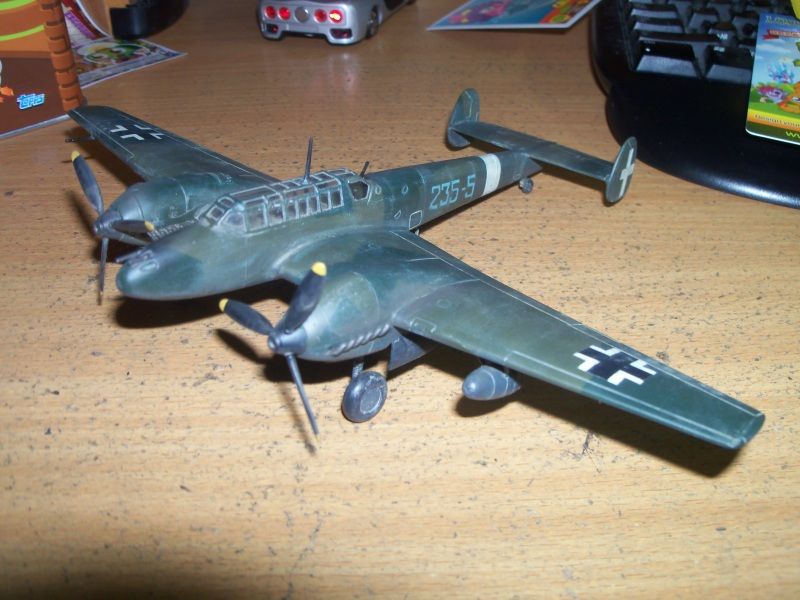
So I'm converting this
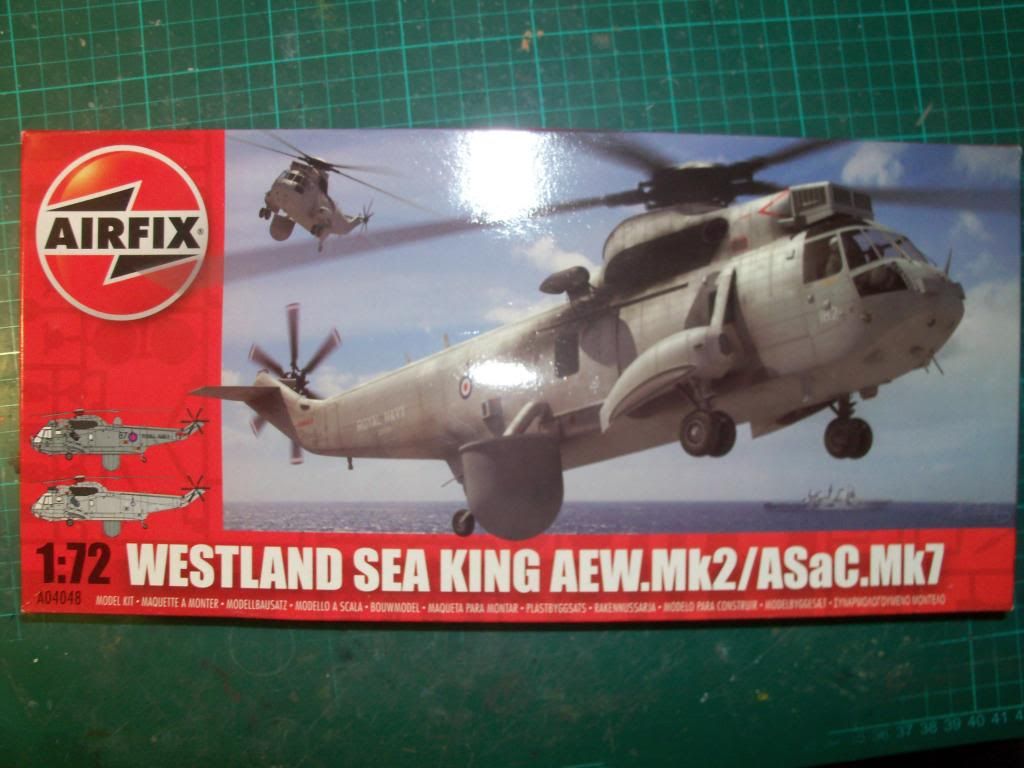


into this


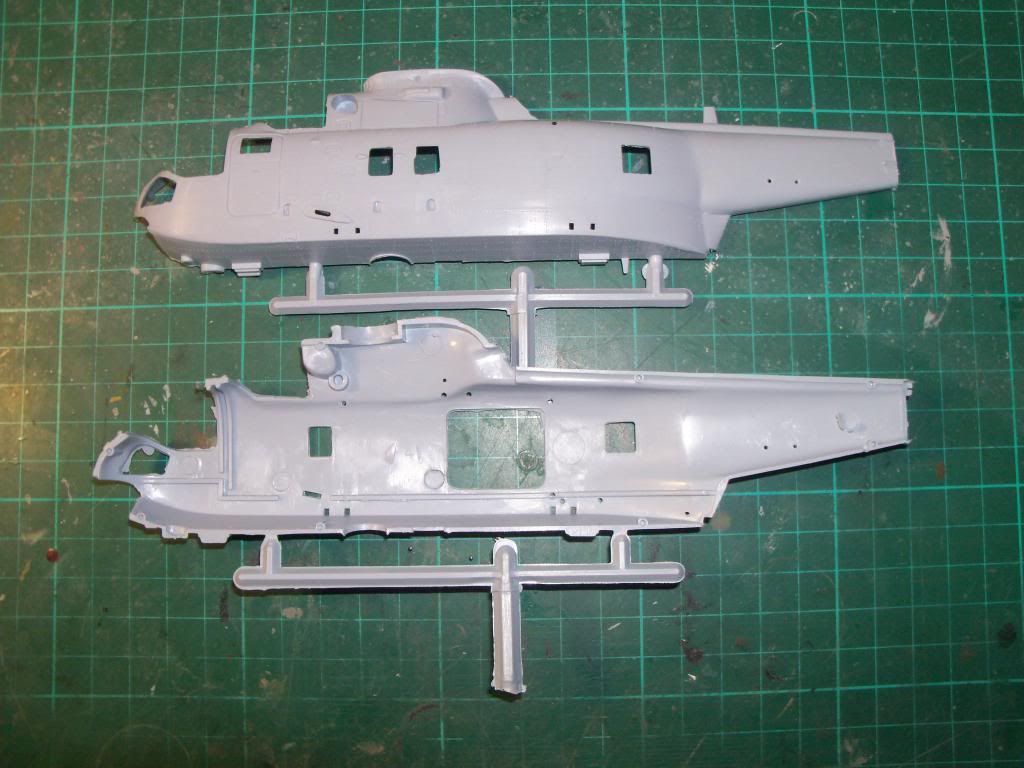
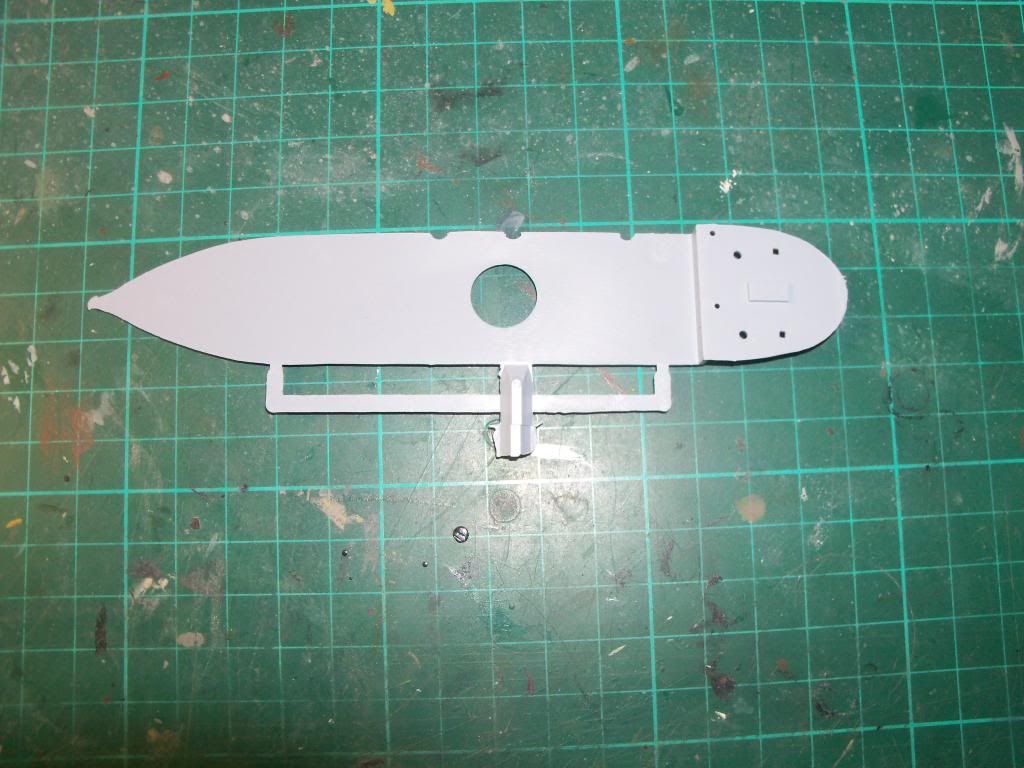
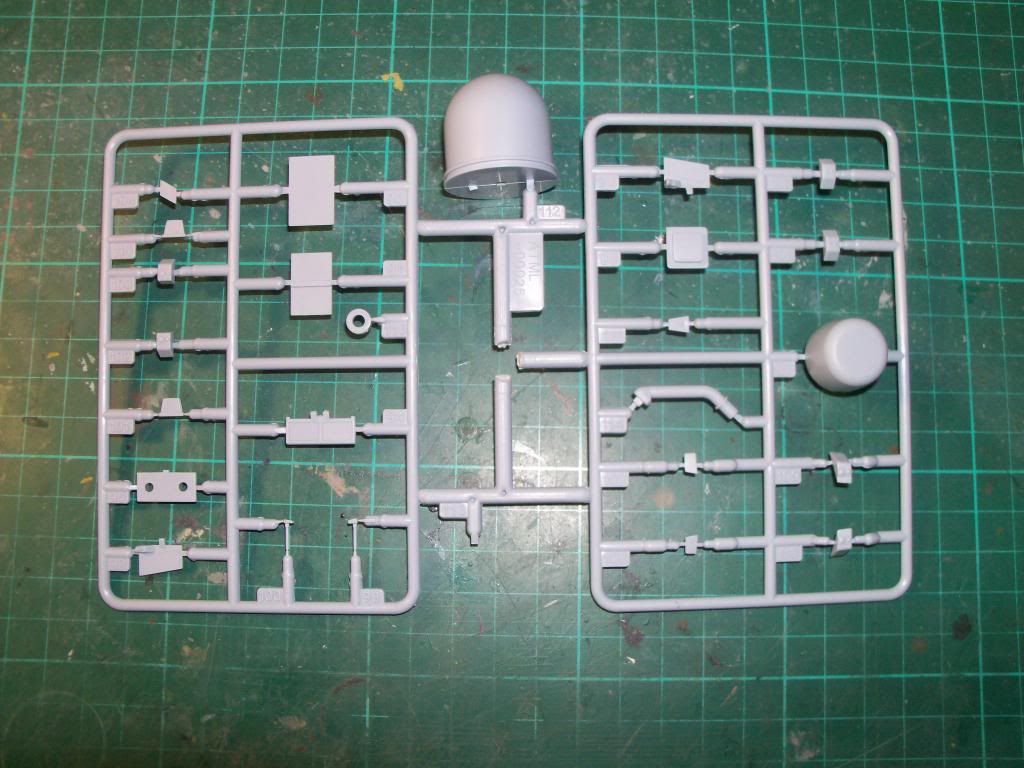
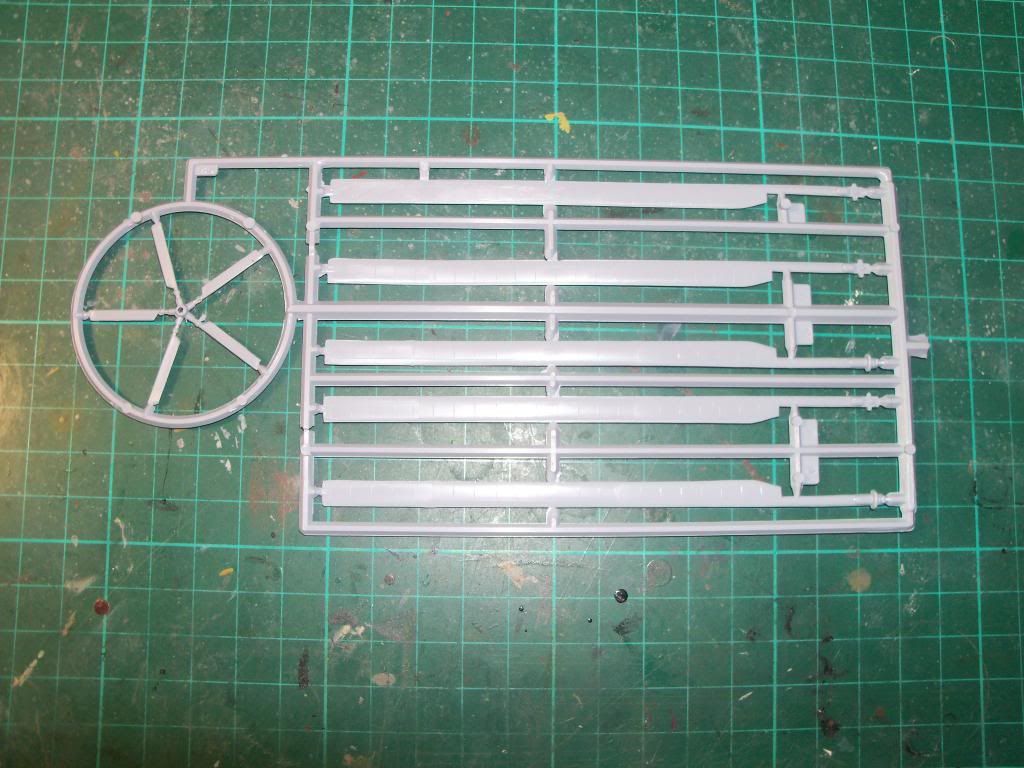
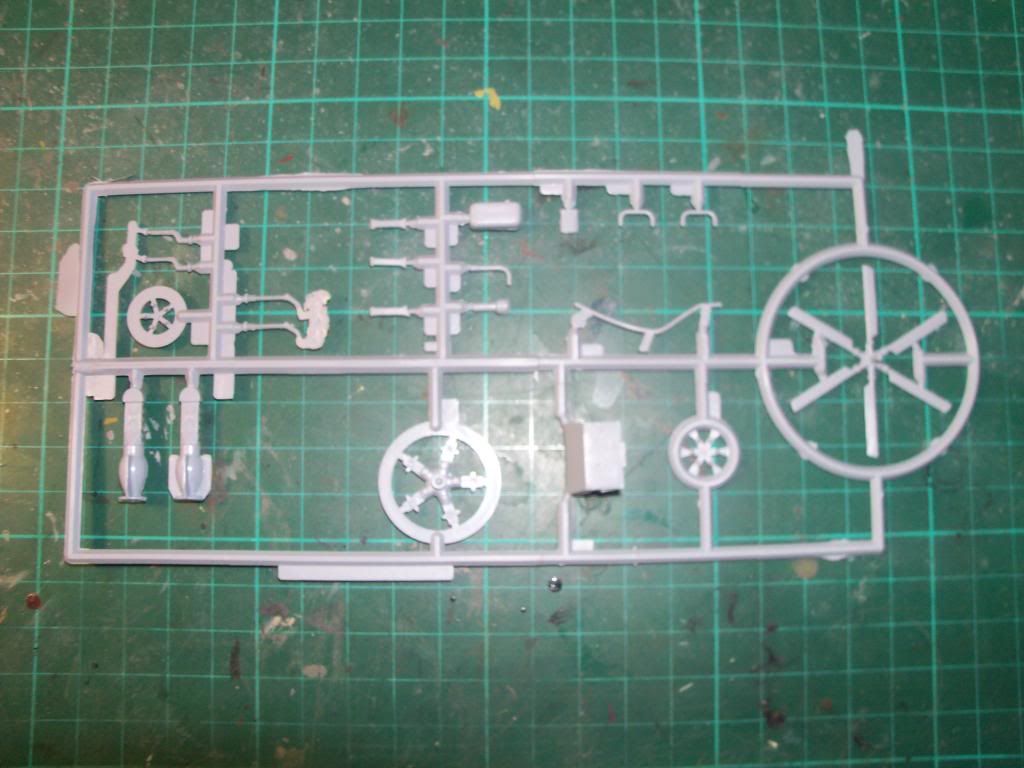
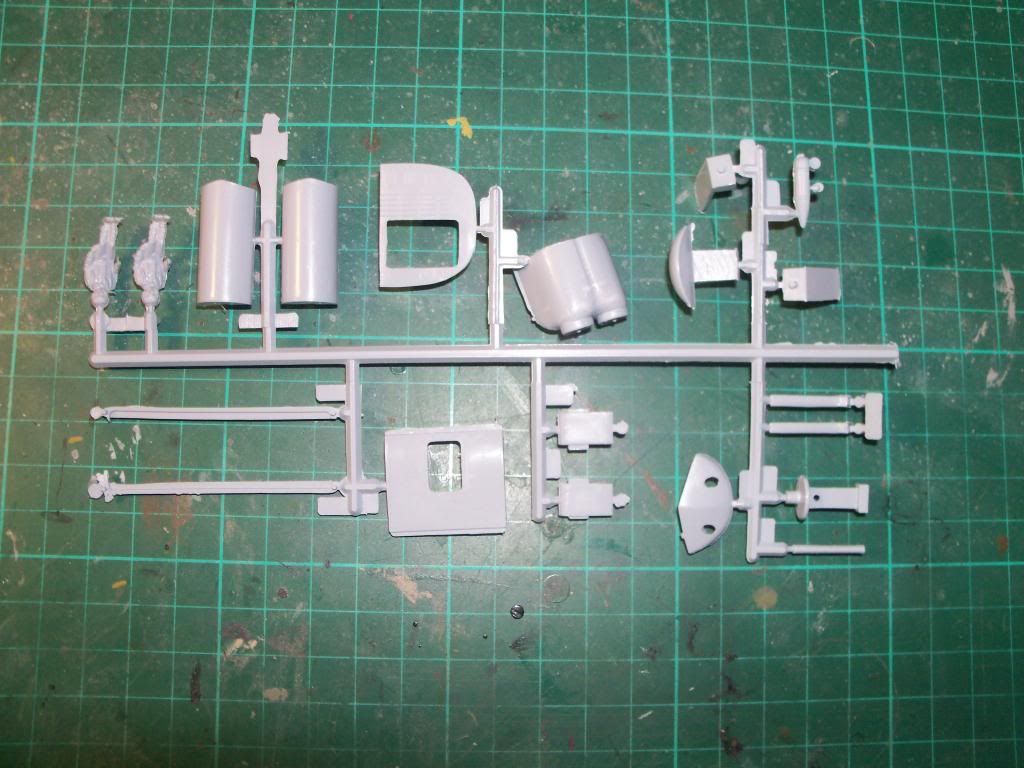
Here is a breakdown of the kit parts.
Basically the kit is a re-box with extra new parts.  The old sprue runners are the same as the original Sea King Rescue chopper.

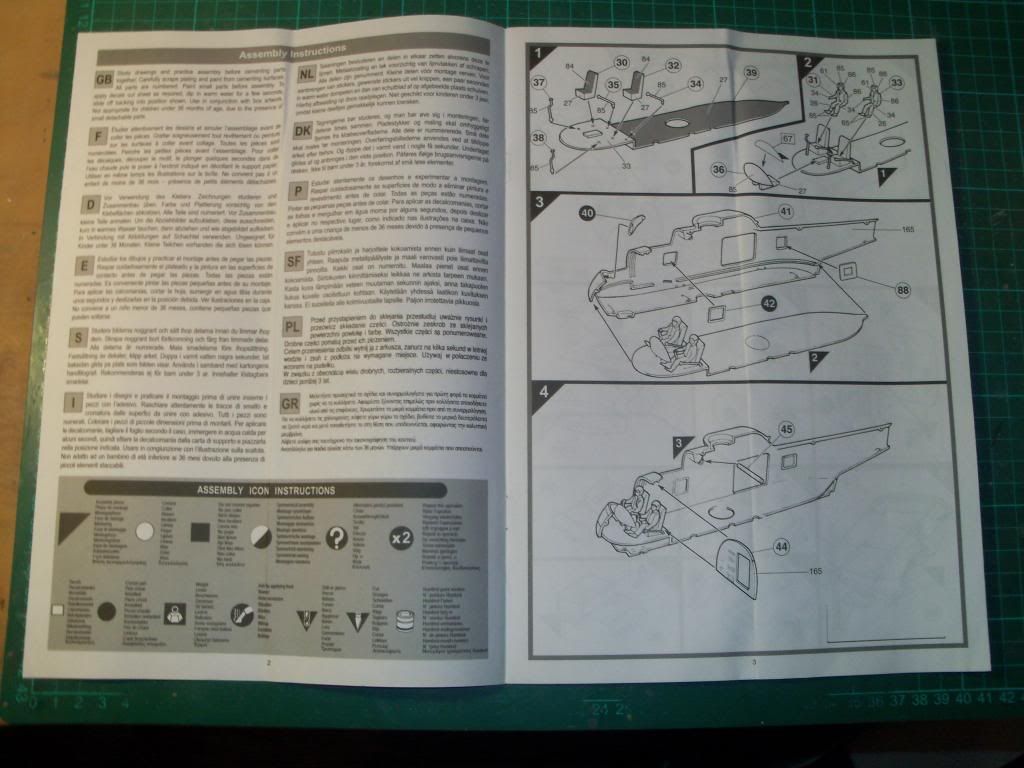
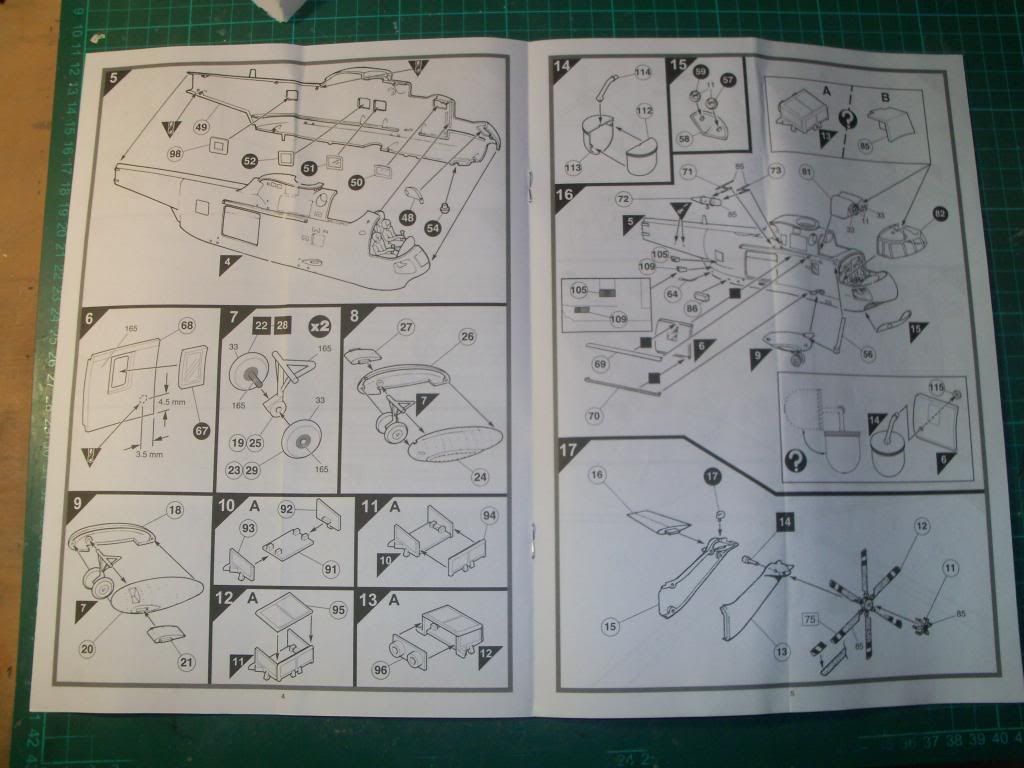
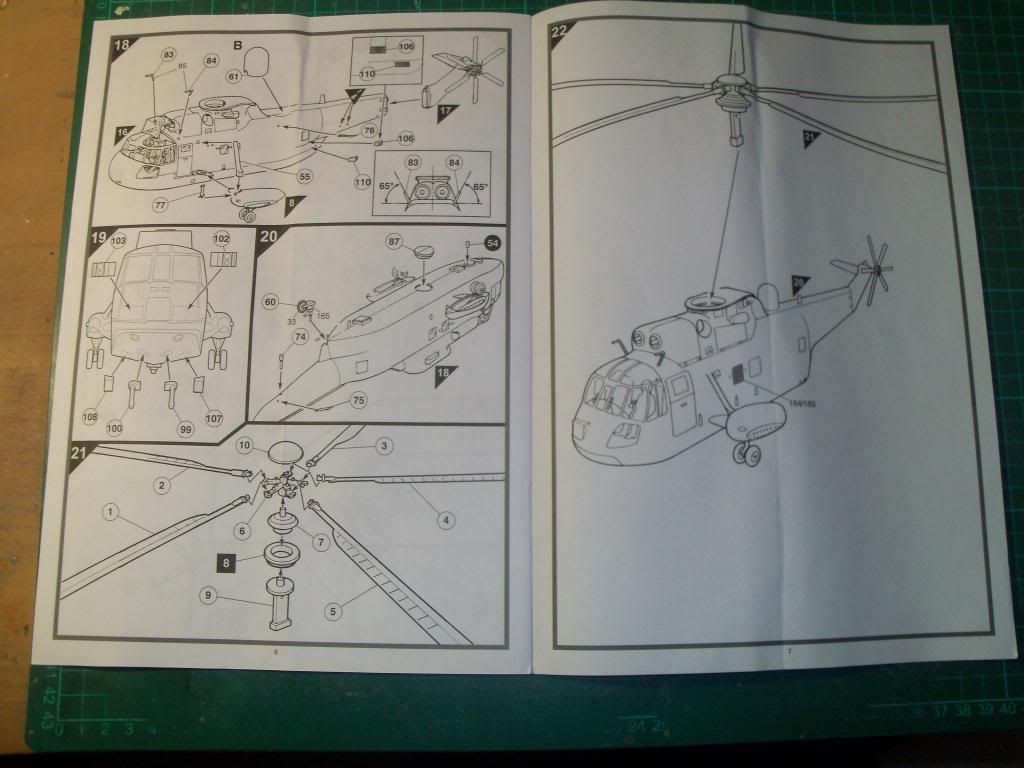
The instruction sheet is a thin booklet, however there are 2 colour (painting) sheets included.


The Clear sprue come in their own seperate bag - this is a big change from previous Airfix boxings I've built.


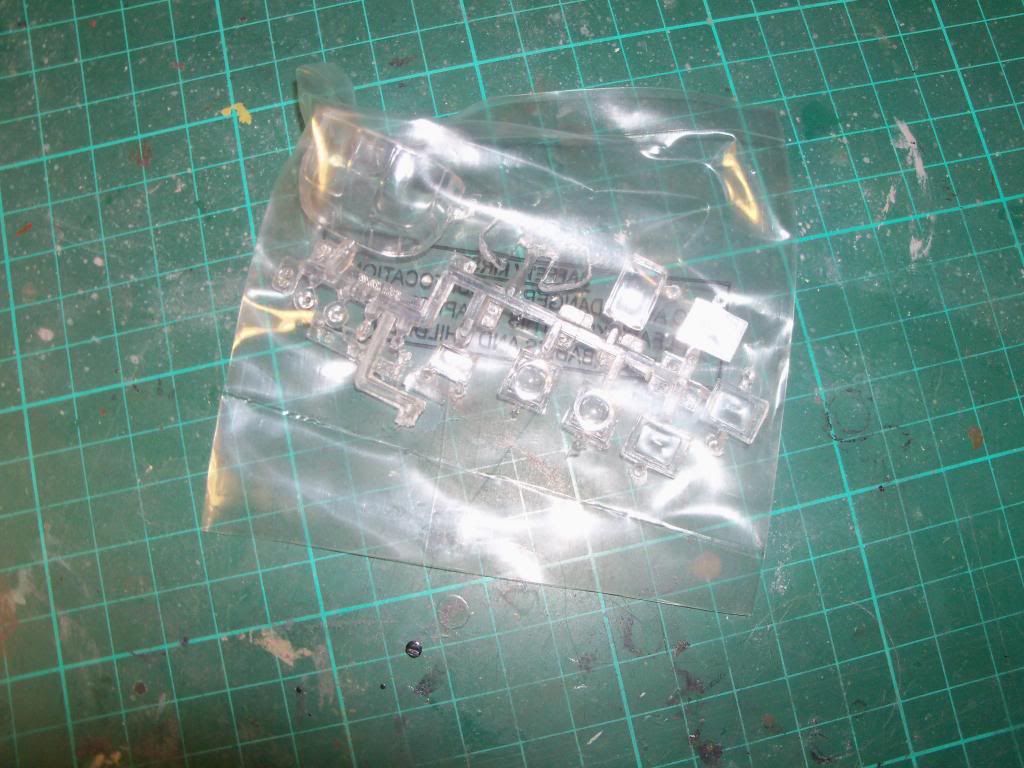
On closer inspection, the parts all have molding flaws, all tranparent parts have dimples on both sides.  They all appear overly thick, so these should be easily sanded out.

The sprue trees all come in one bag.


Now to show you what I've been doing up until a few weeks ago, here are my Youtube videos of the build in action .....

Part 1

Part 2

Part 3


Sunday 6 January 2013

Dragon US Infantry, 2nd Armored Division (Normandy 1944) Diorama

Completed

okay, declaring this one completed .....


Dragon US Infantry, 2nd Armored Division (Normandy 1944) Diorama

Figures Part 2

I've added a Nemrod Medic and Wounded GI, drilled out the Flak Gun muzzles, repainted the flak gun, glued everything in place, added diorama scenery......


Dragon US Infantry, 2nd Armored Division (Normandy 1944) Diorama

Figures 

I'm somewhat behind on updating this Blog - so, I'll flood it with updates .....


Here I've built the figures and primed them ready for painting.


I've painted the figures, using a layering technique, where you start with a dark base (above) and work towards the highlights (below).
Model Master has a "Skin" Colour series.  Skin Tone Warm Tint, Skin Tone Shadow Tint and 2 other colours ....
I also used Model Master Tan (FS20400) and Humbrol 73.

Mixed a dark colour mix and slowly worked towards a light tone by mixing the lighter colours.  Used the layering technique - about 10 layers and then dry brushed with a Tan and Skin Tone Warm mix.

Me-110 Shelf Queen - Completed

and now pictures of the completed model


Me-110 Shelf Queen

Well, this shelf queen is no longer queen.  She is now completed.

but before I post up the completed pictures, here's what I've done since the last posting ....

After the gloss coat dried, I applied a dot filter with oil paints (white, blue and flesh - didn't have any red).  Removed most of it with a thinner moistened old brush.  In some parts it all mixed together and created a lighter blue, so had to use some heavy brushing to remove it...


Next was a flat clear coat applied.  Washed the entire model with a brown sludge wash made from acrylic paint, detergent, water and pastel chalk.
Waited for it to dry and removed it with cotton buds and tissues.
Added exhaust staining using Tamiya weathering sets, paint chipping with a silver pencil (this was applied using a dotting method, bit noisy and the family complained as I was doing it while watching TV)
Canopy masks were removed and any round of sludge wash was applied and removed from most of the clear parts, but left enough to look like dust had collected around the edges of the glass.
Tamiya weathering set was watered down and applied to the wheels and quickly removed.

Over all, looks okay now.