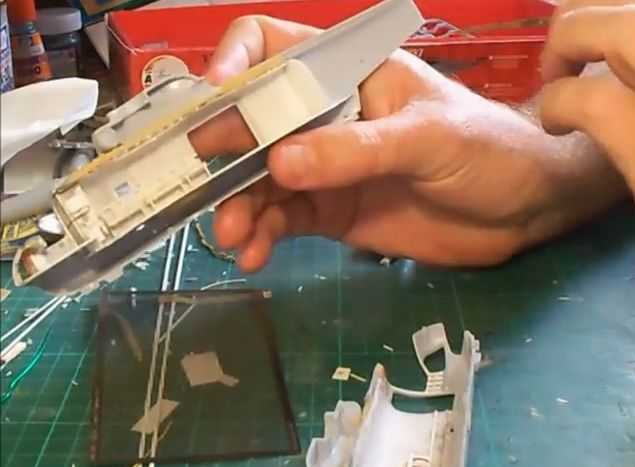
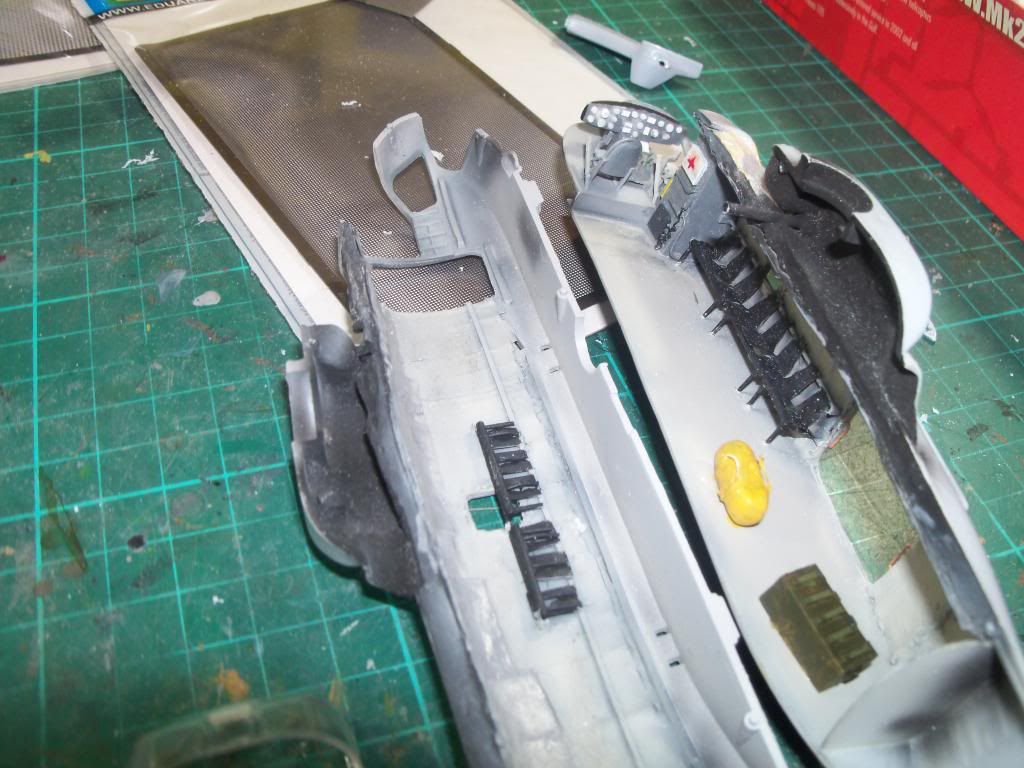
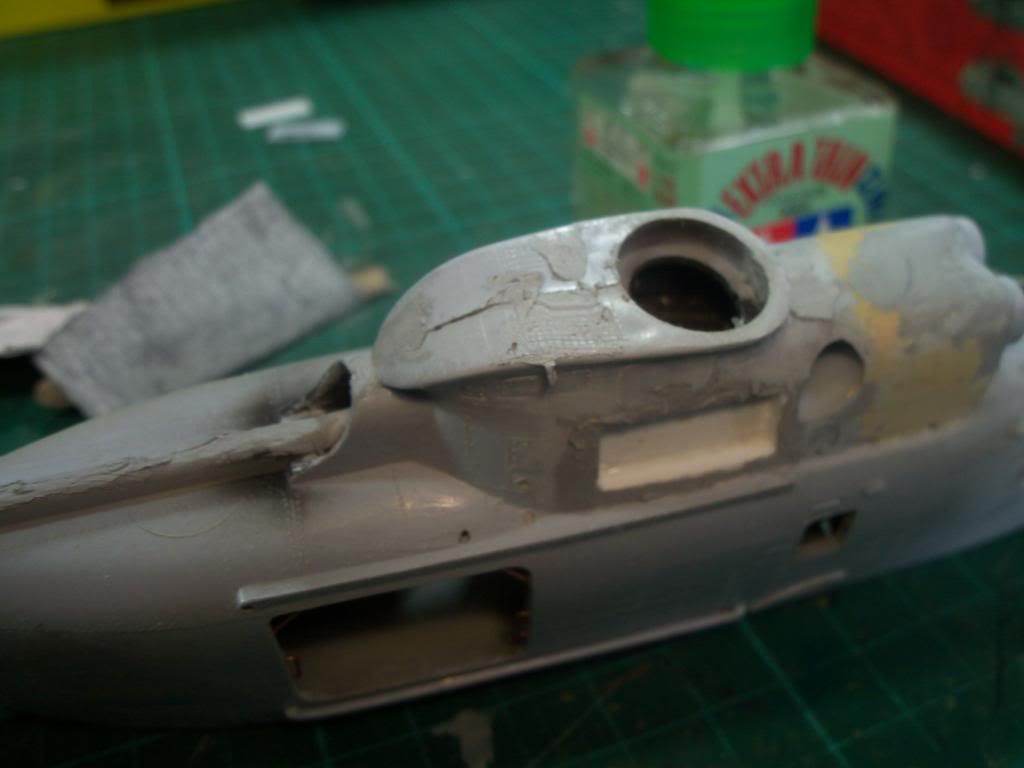
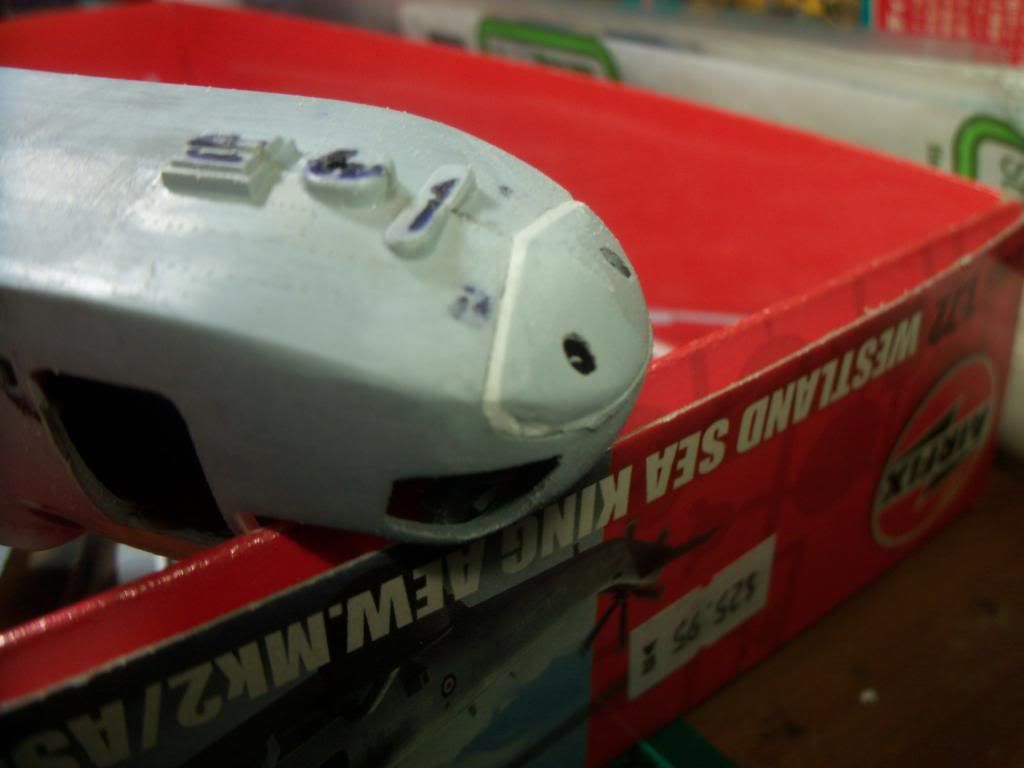
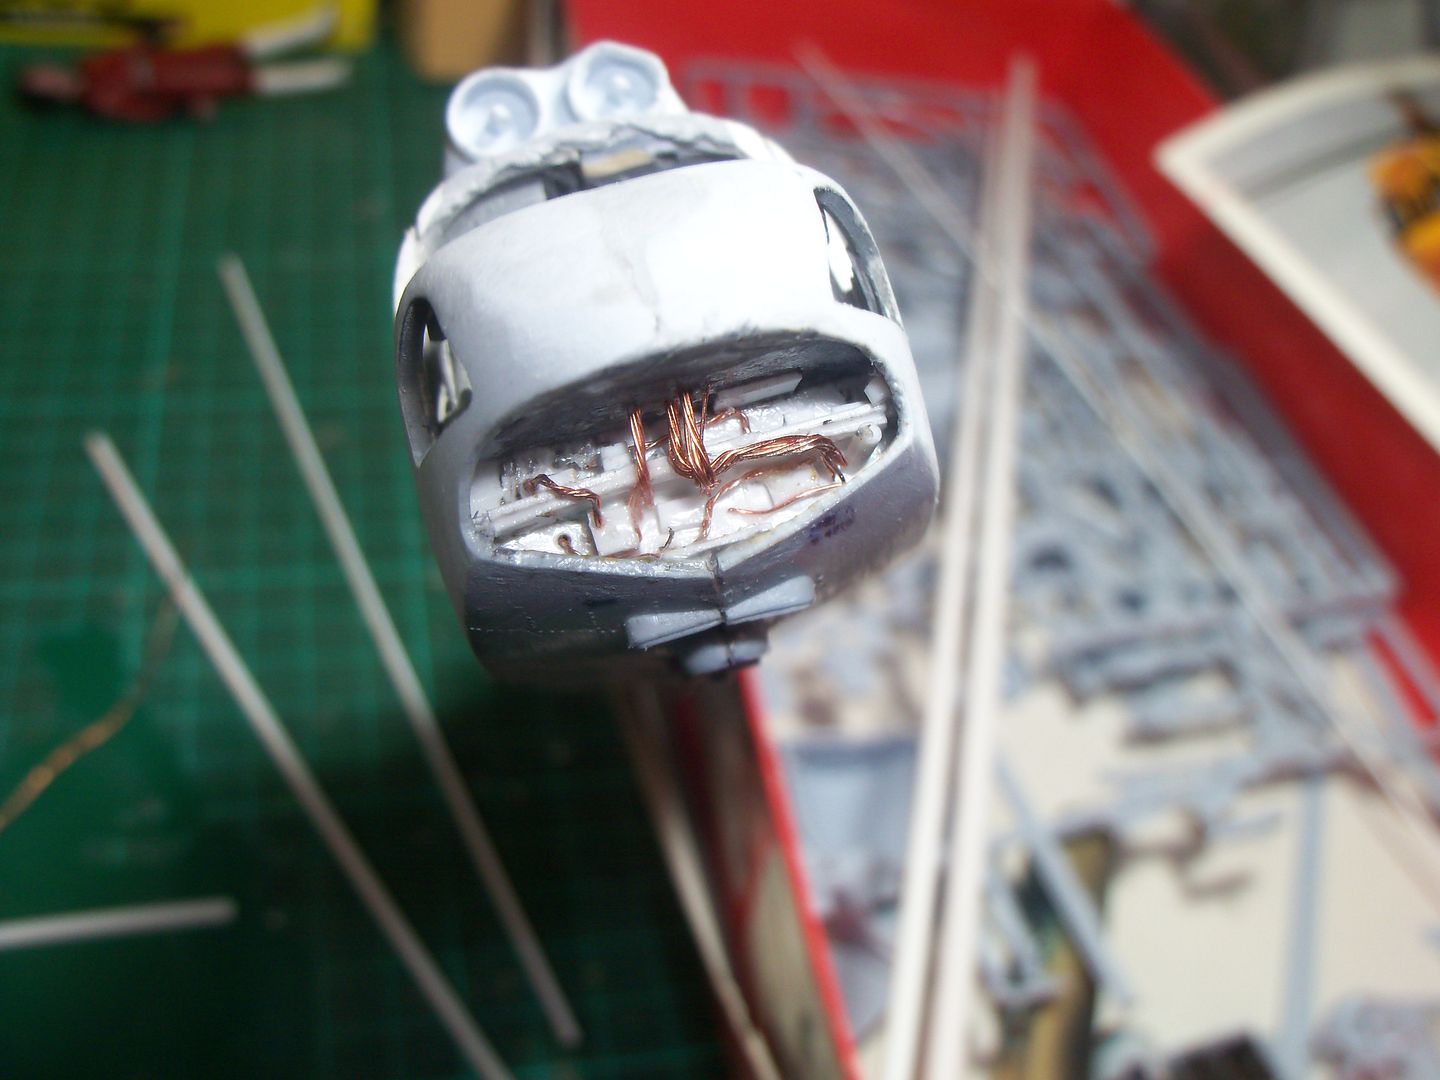
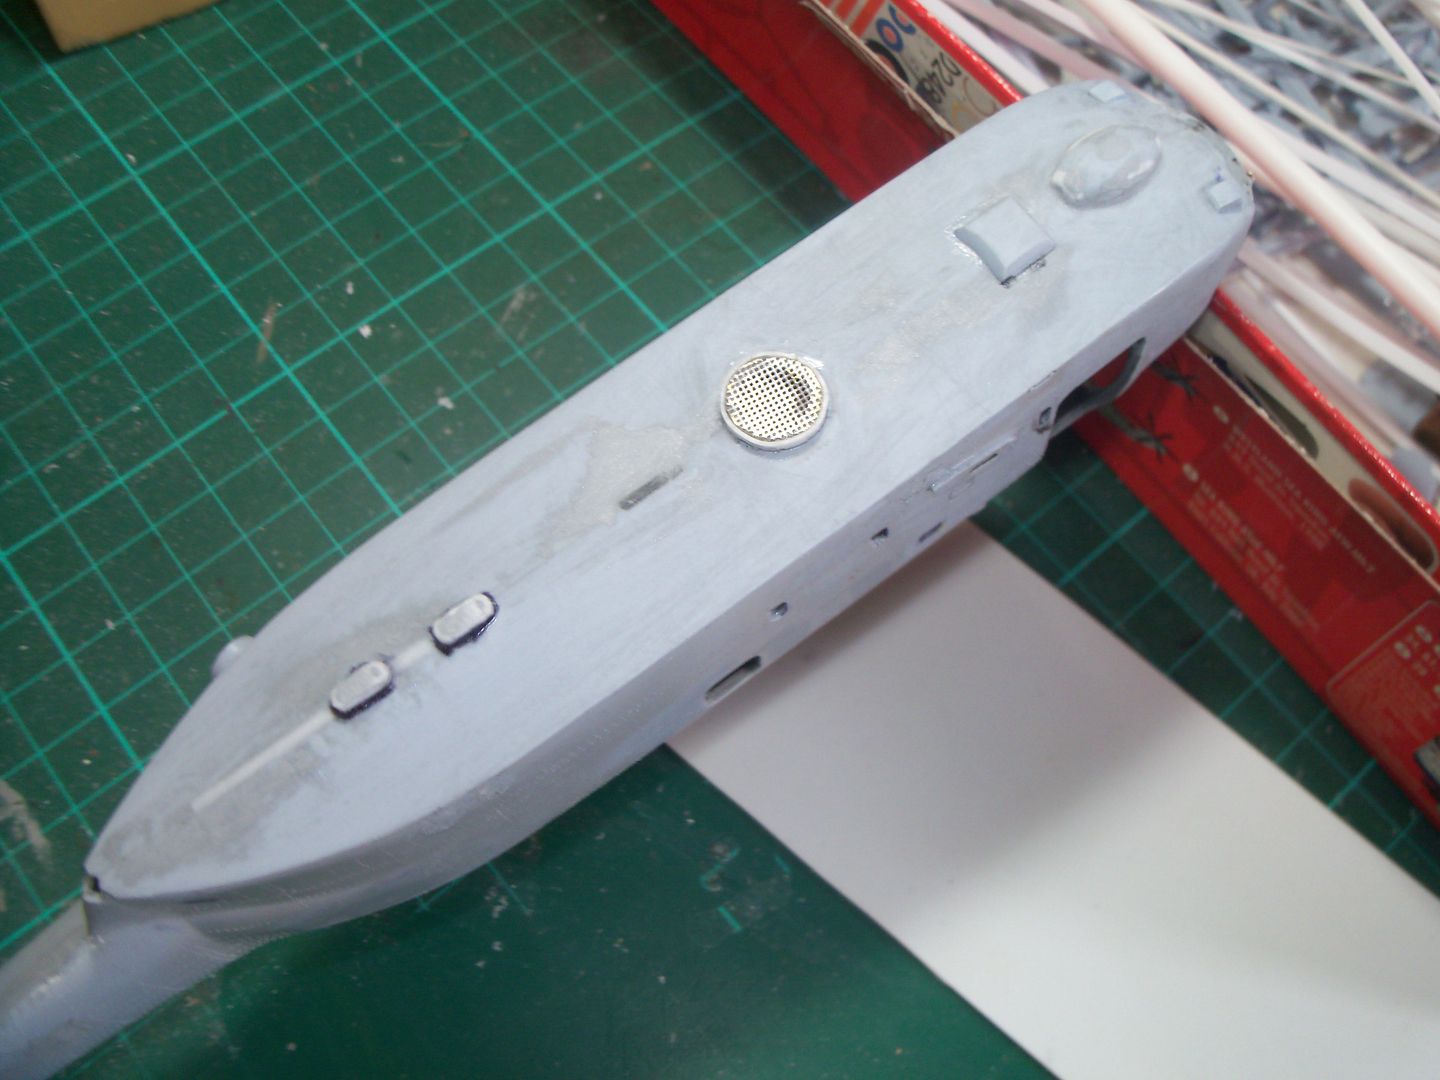
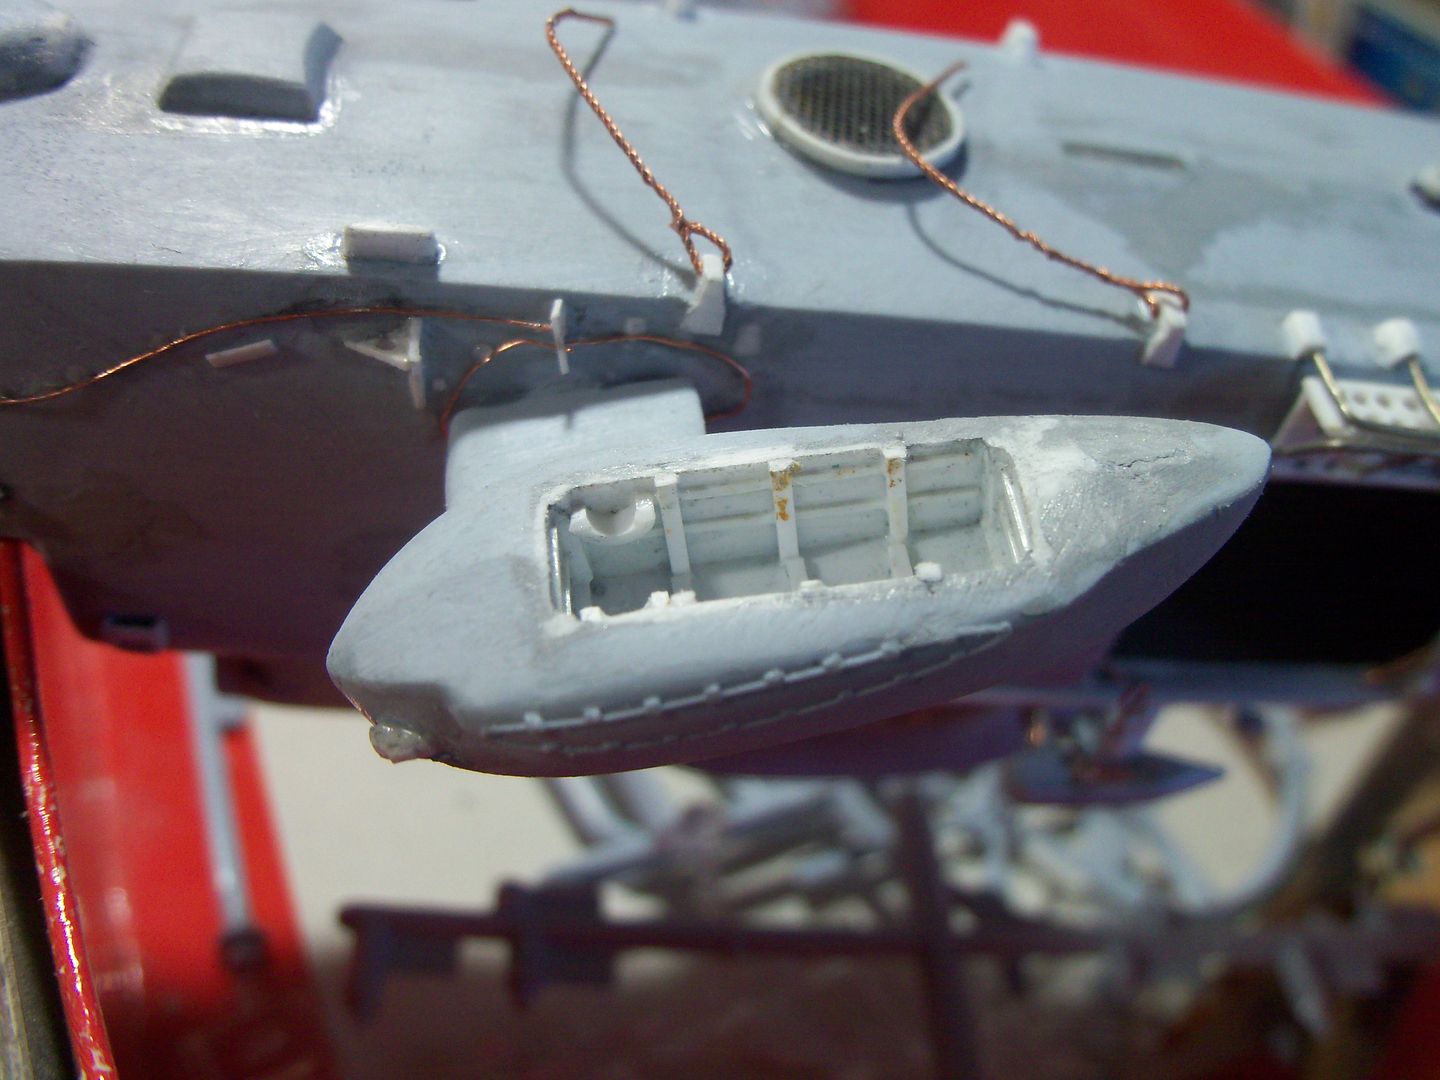
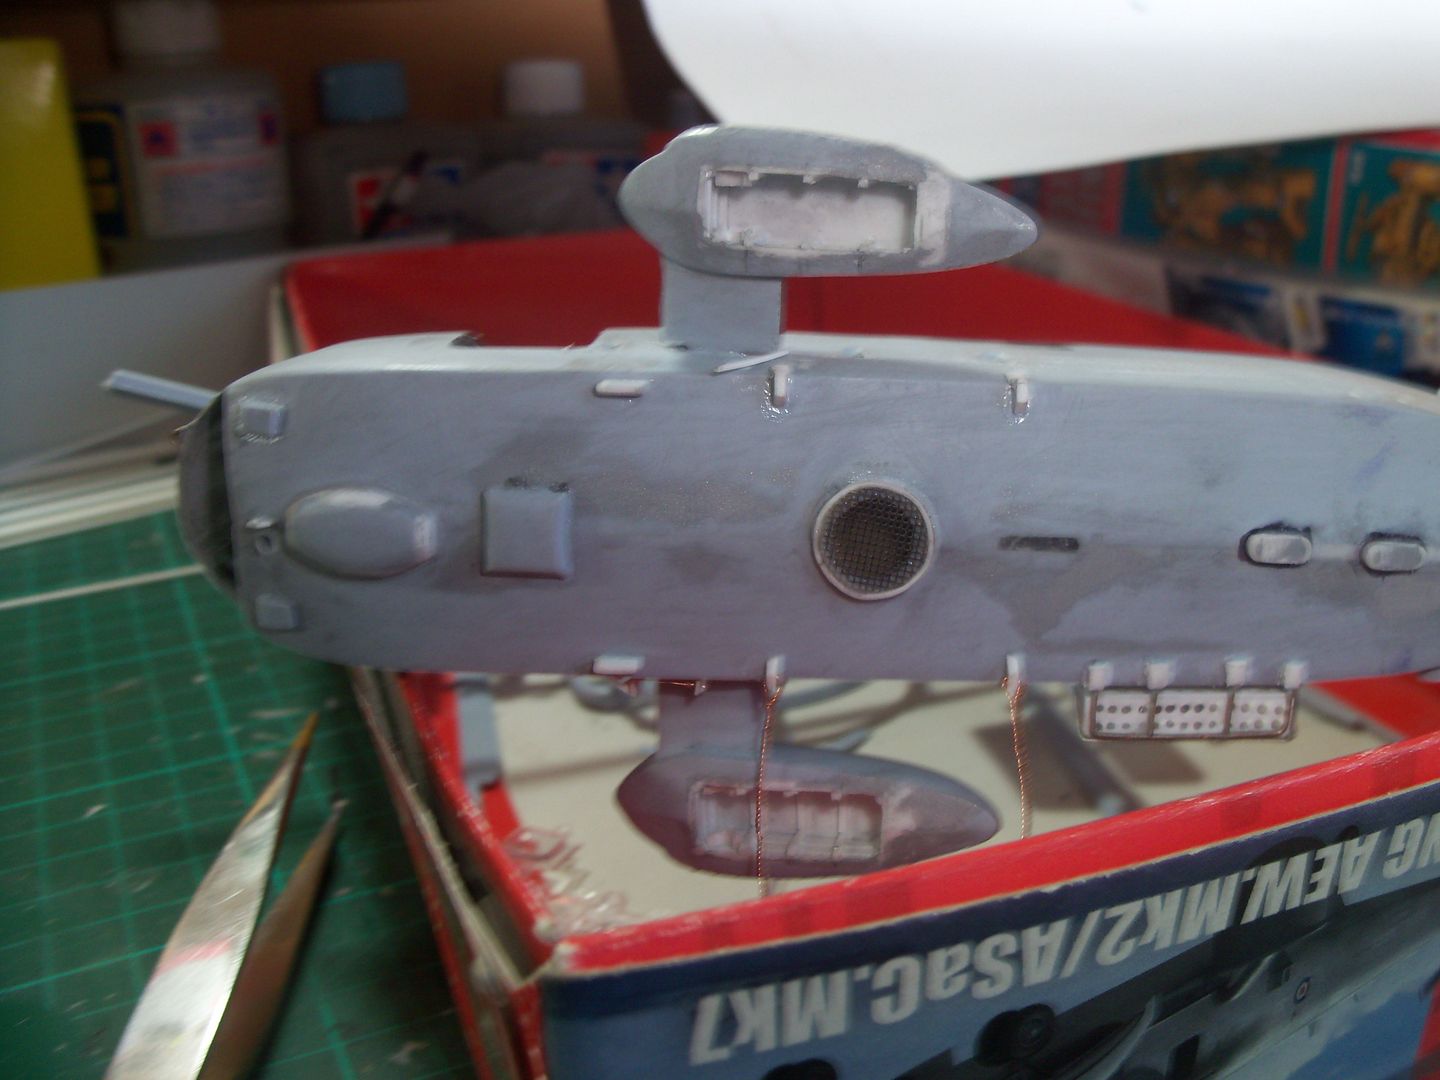
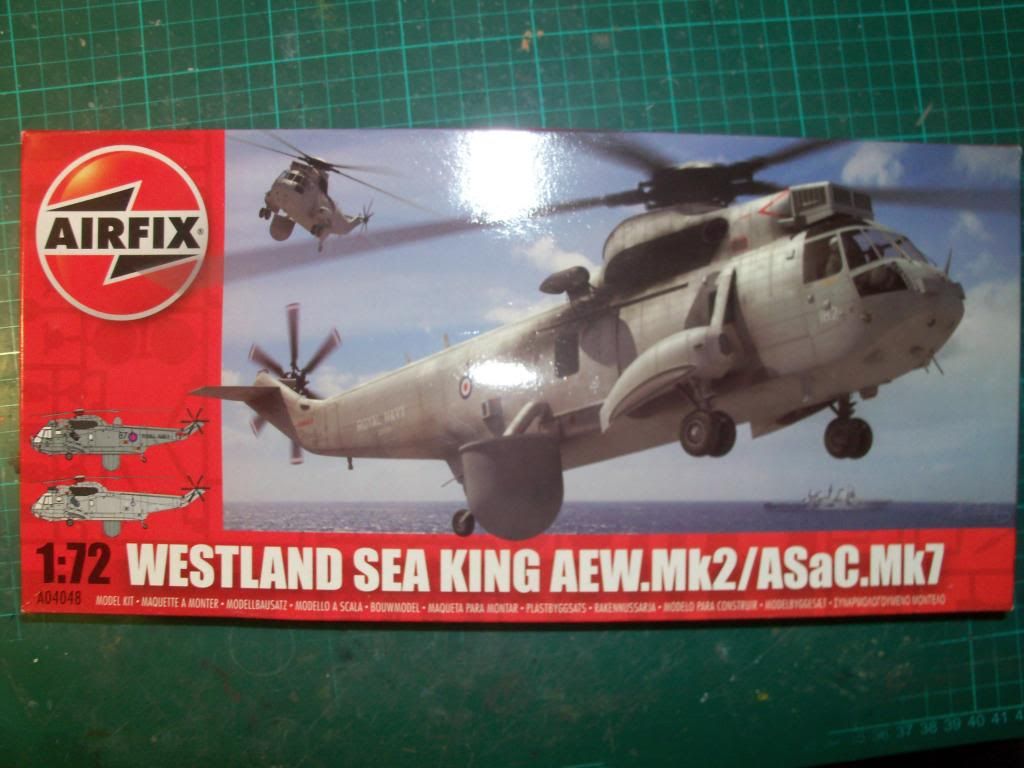
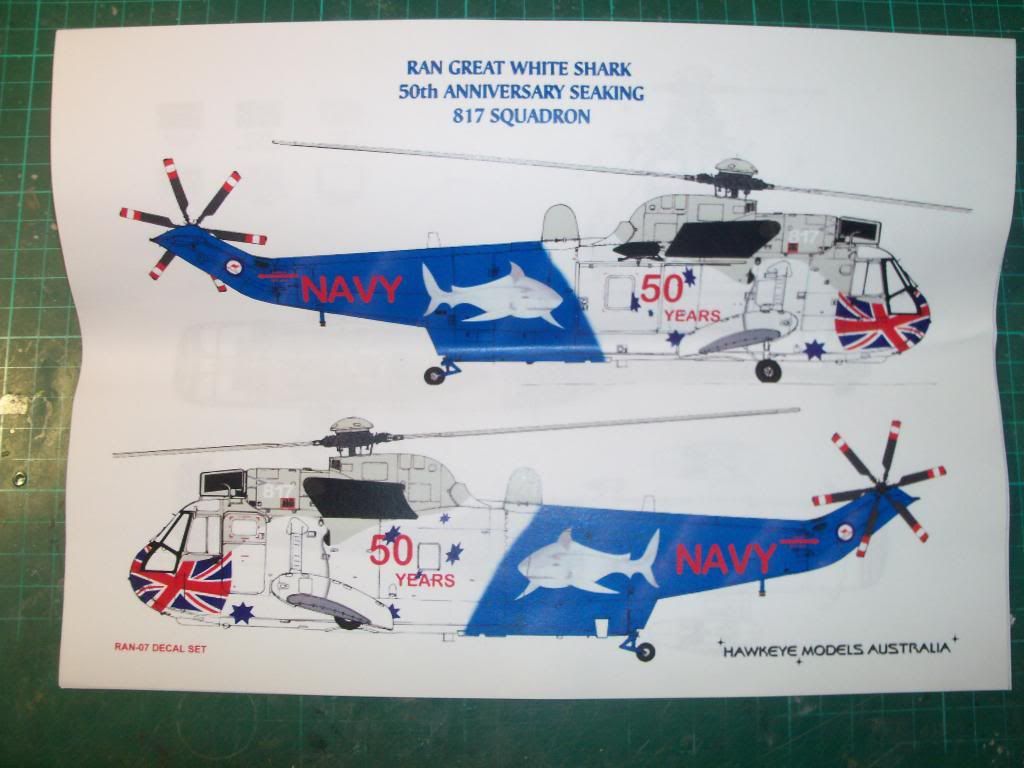
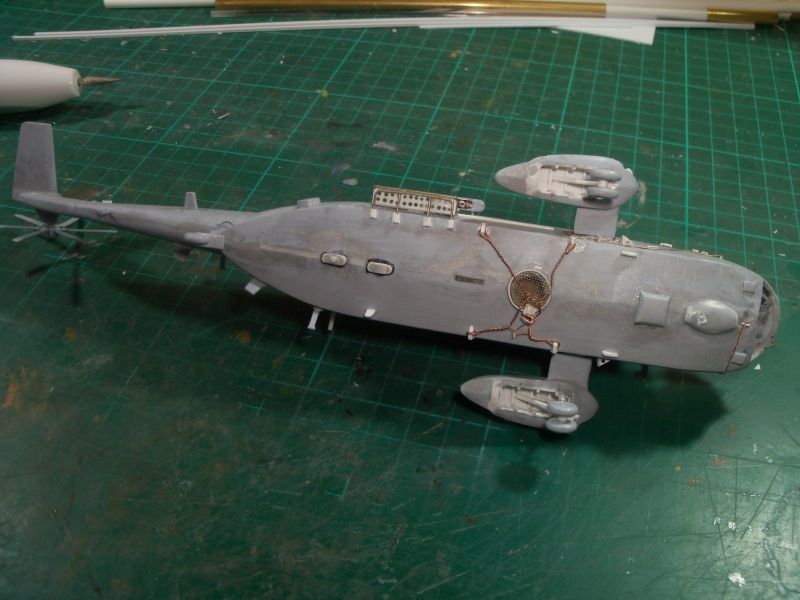
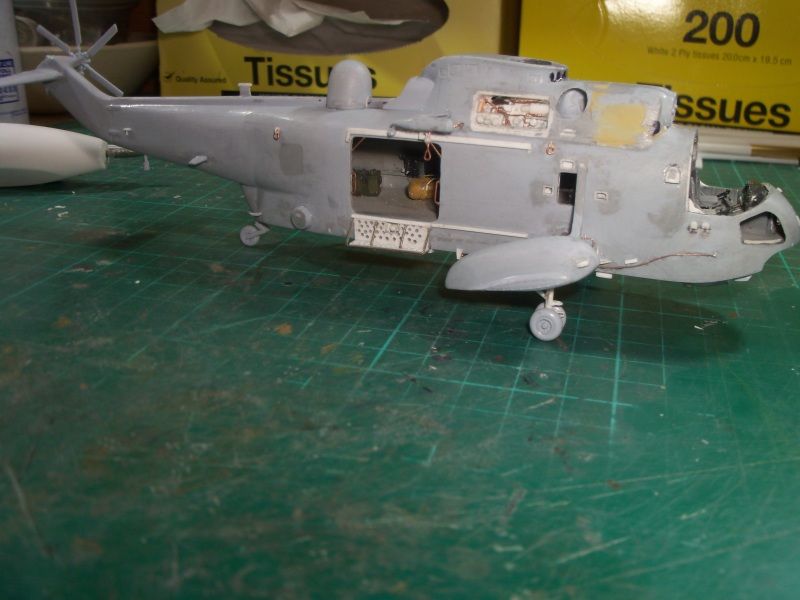
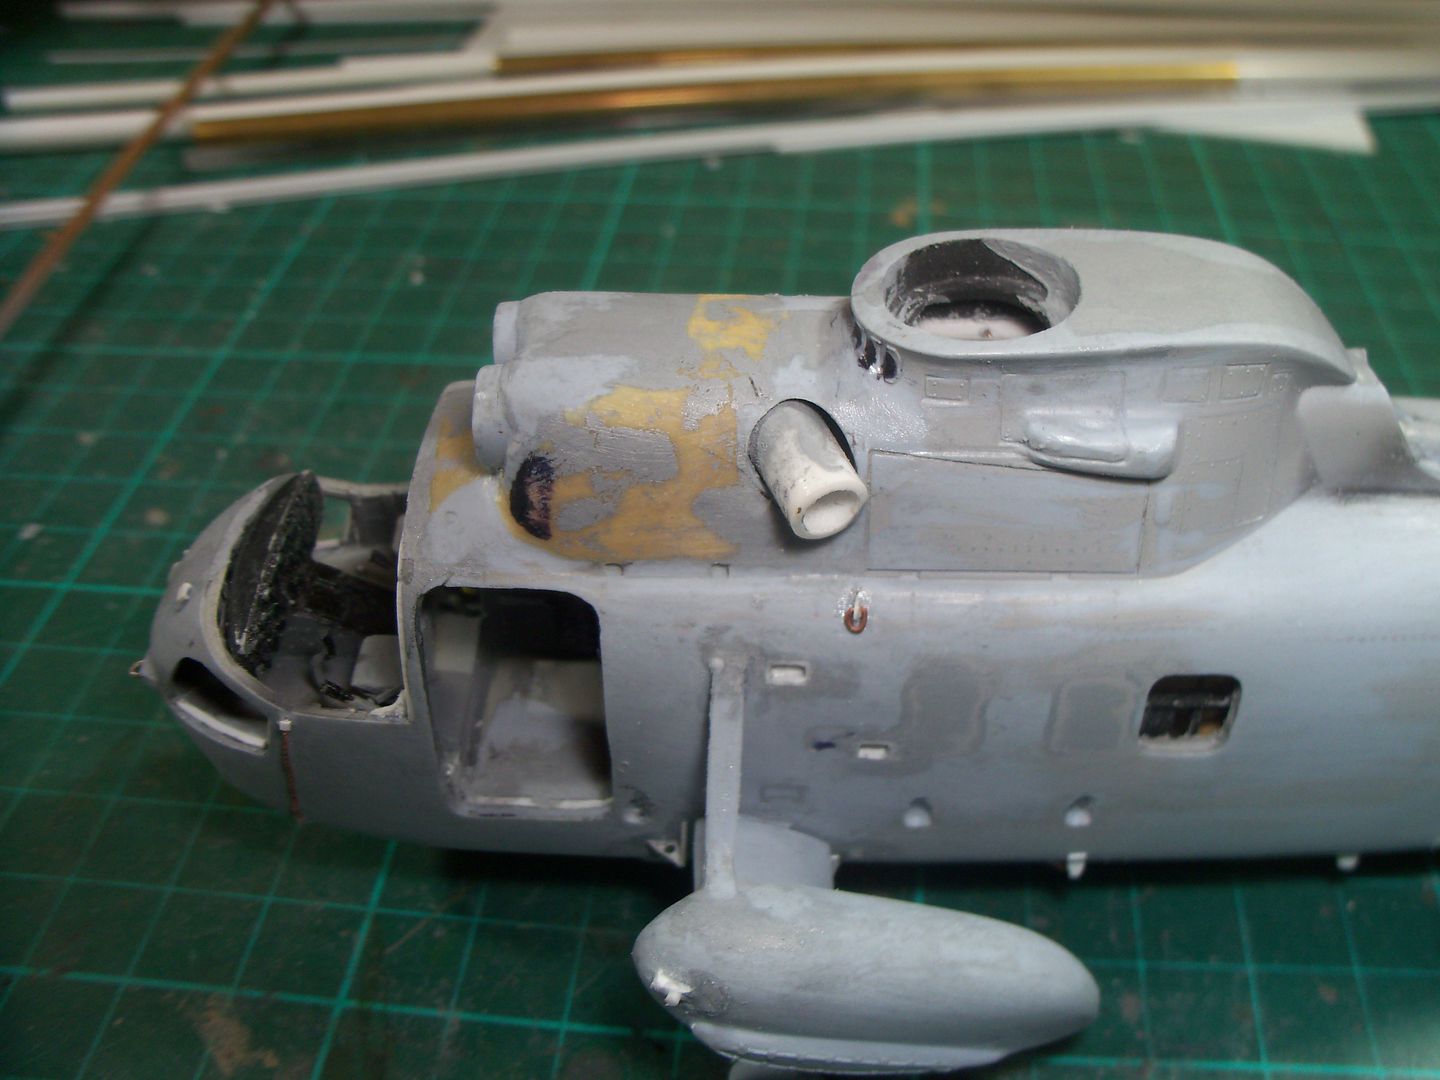
I've been working on converting the Airfix 1/72 Westland Sea King AEW. Mk.2/ASaC.Mk7 into a Royal Australian Navy Mk.50 Sea King.
I had originally started uploading YouTube articles of the build, but had no blog of the build, so here it is ....
To catch everyone up to where I'm at, here is a run down on what I've been doing.
Brought the Airfix 1/72 Sea King kit and Hawkeye Models 50th Anniversary Decals.
So I'm converting this
into this
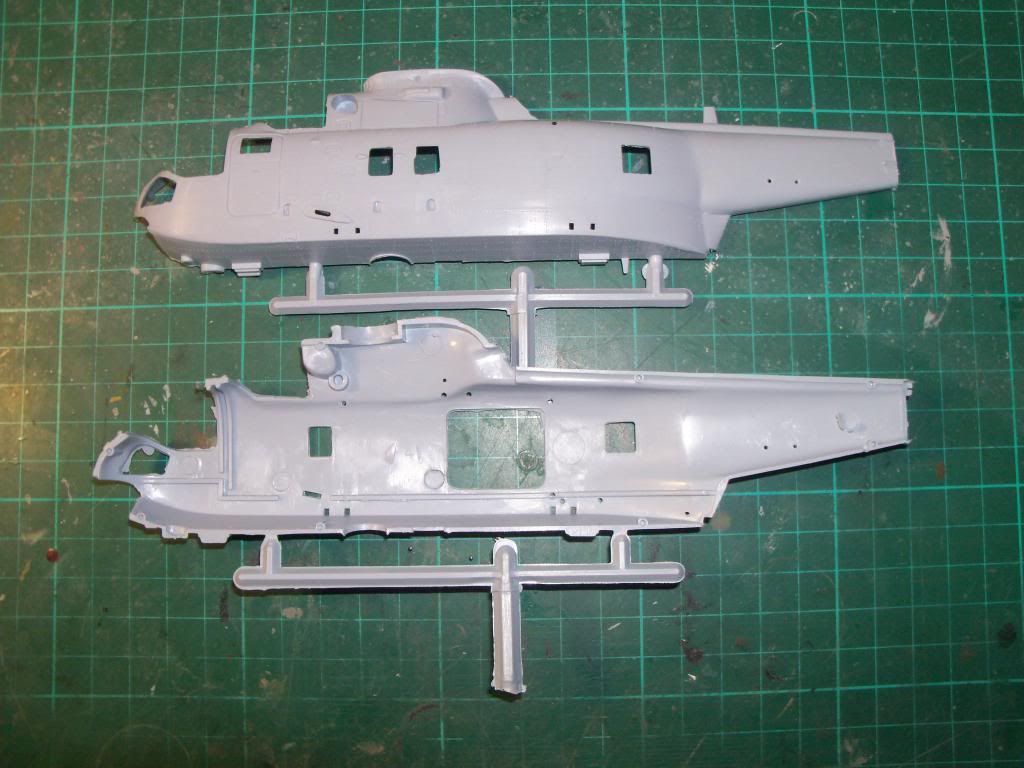
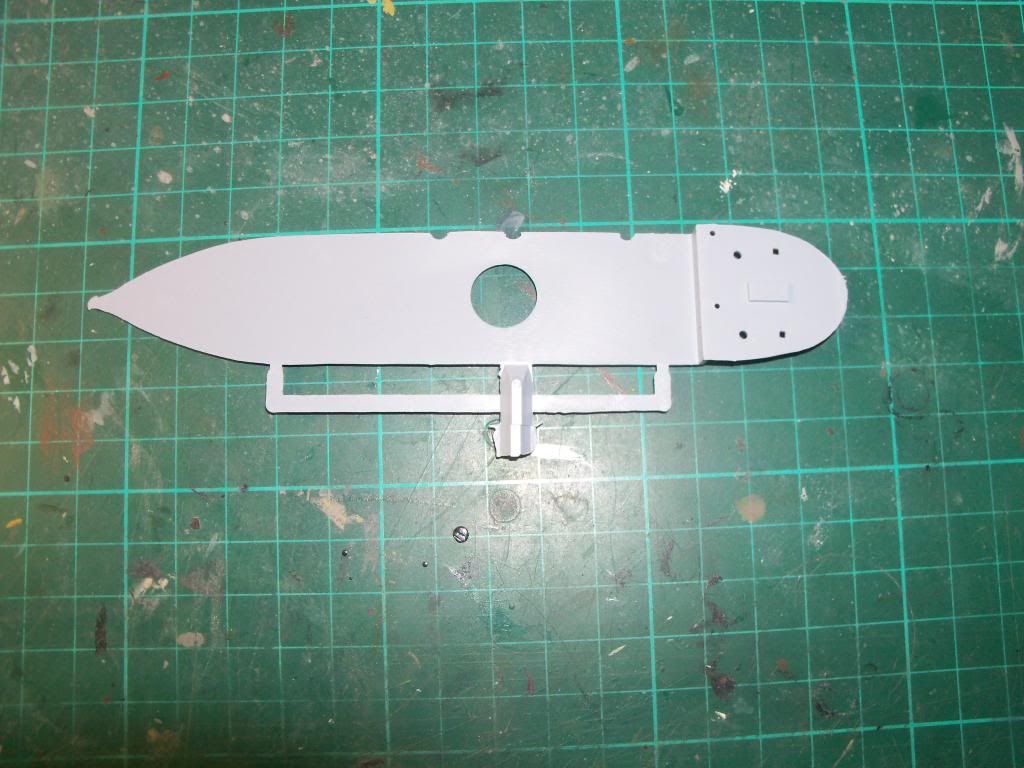
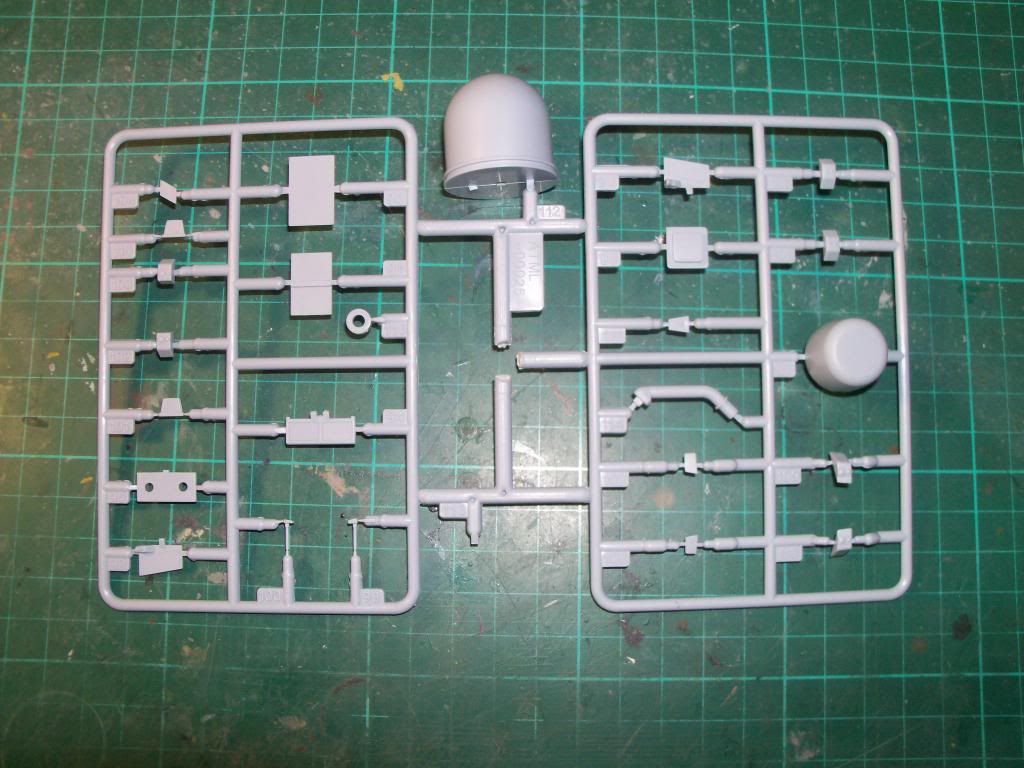
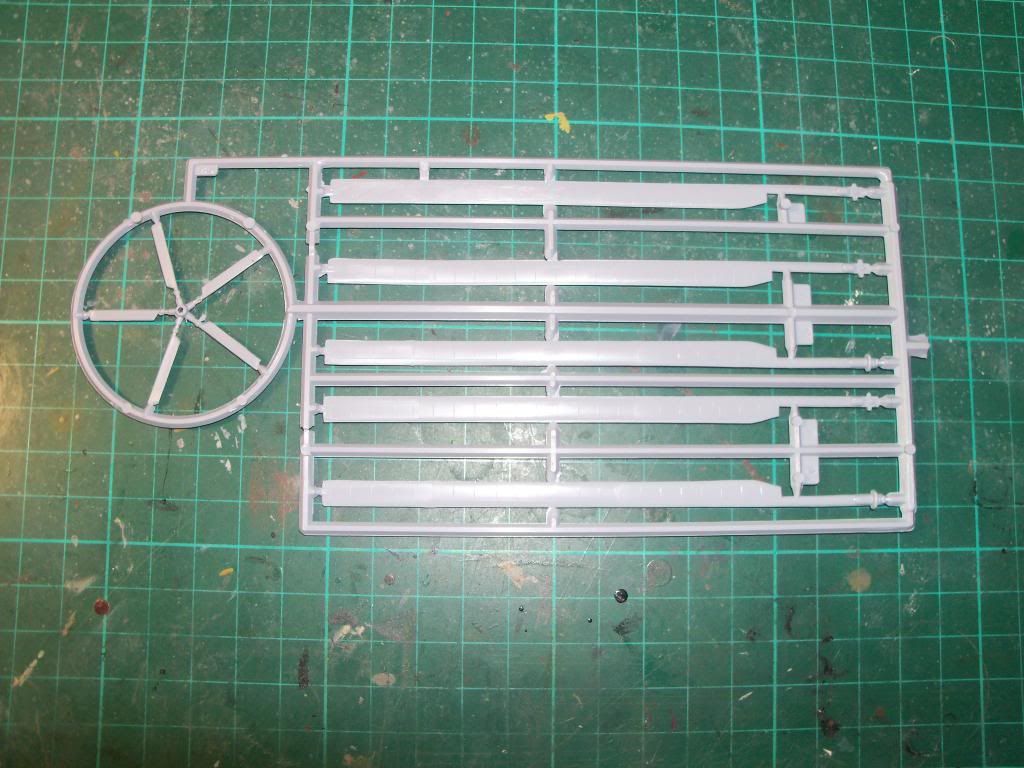
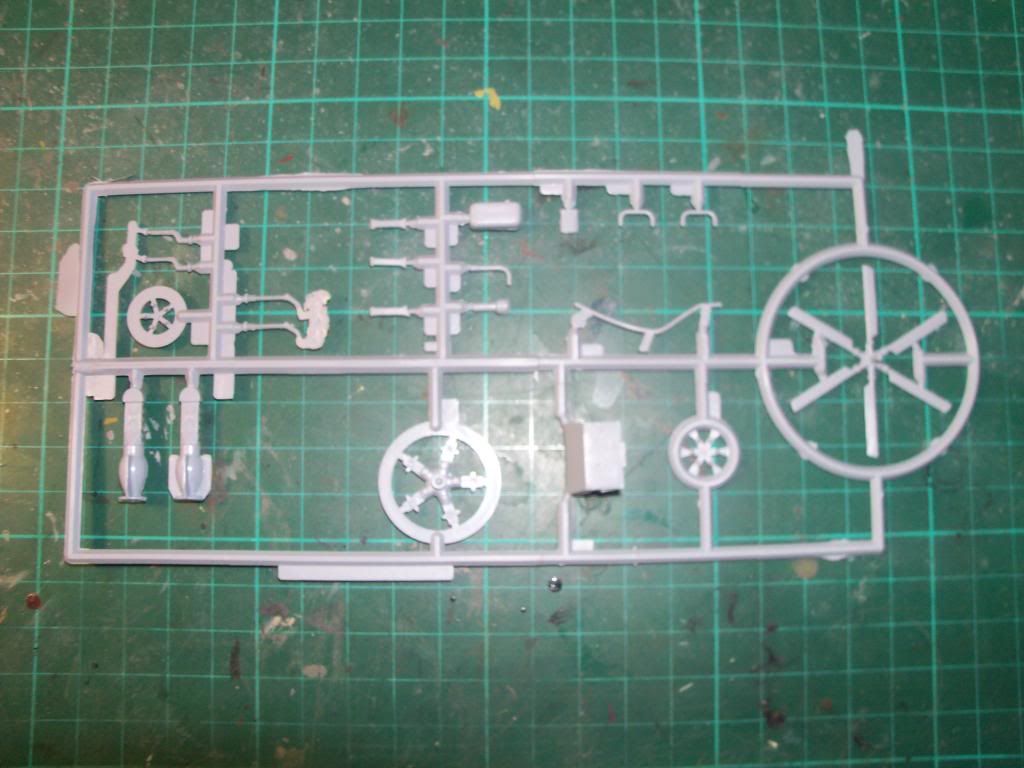
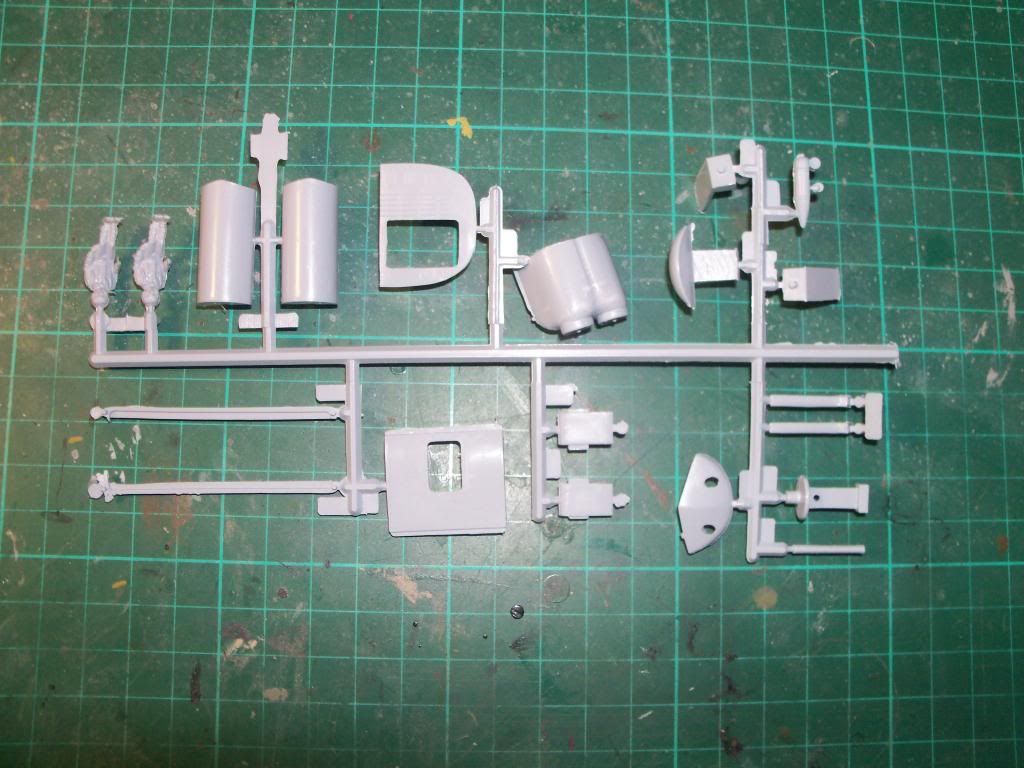
Here is a breakdown of the kit parts.
Basically the kit is a re-box with extra new parts. The old sprue runners are the same as the original Sea King Rescue chopper.
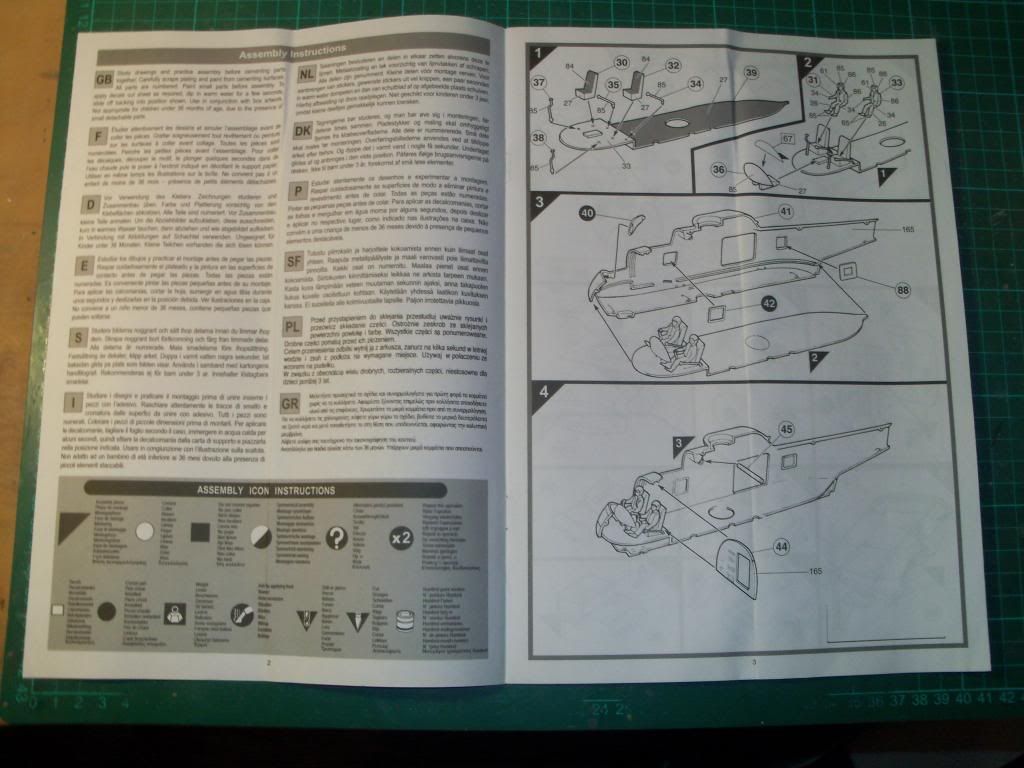
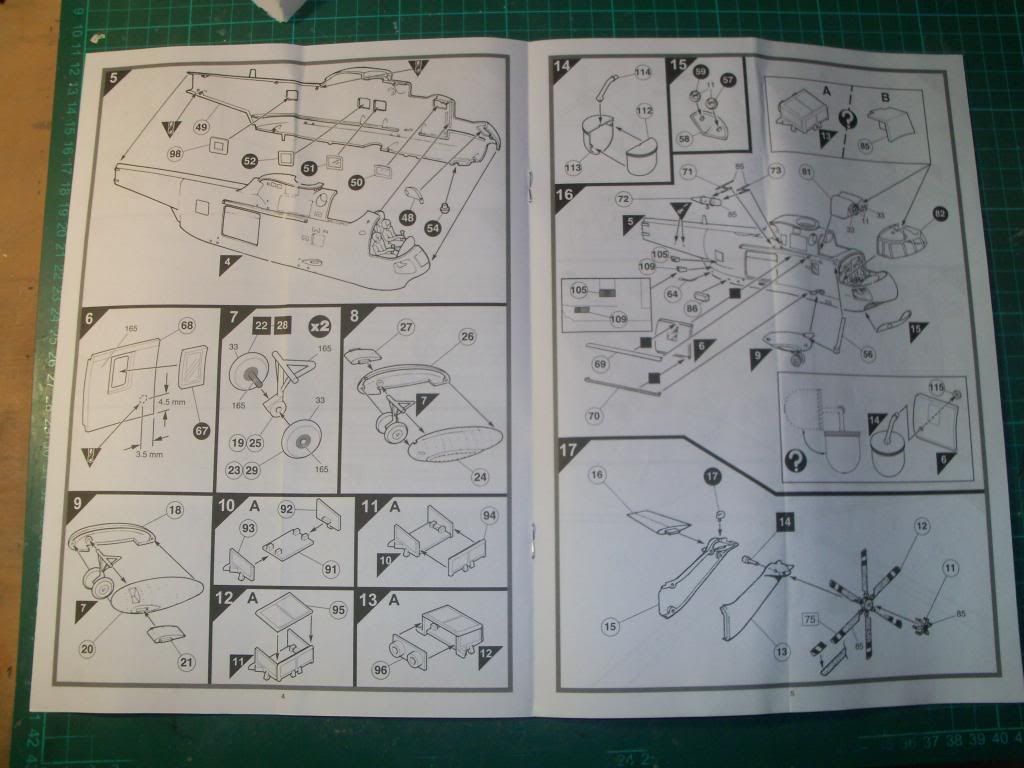
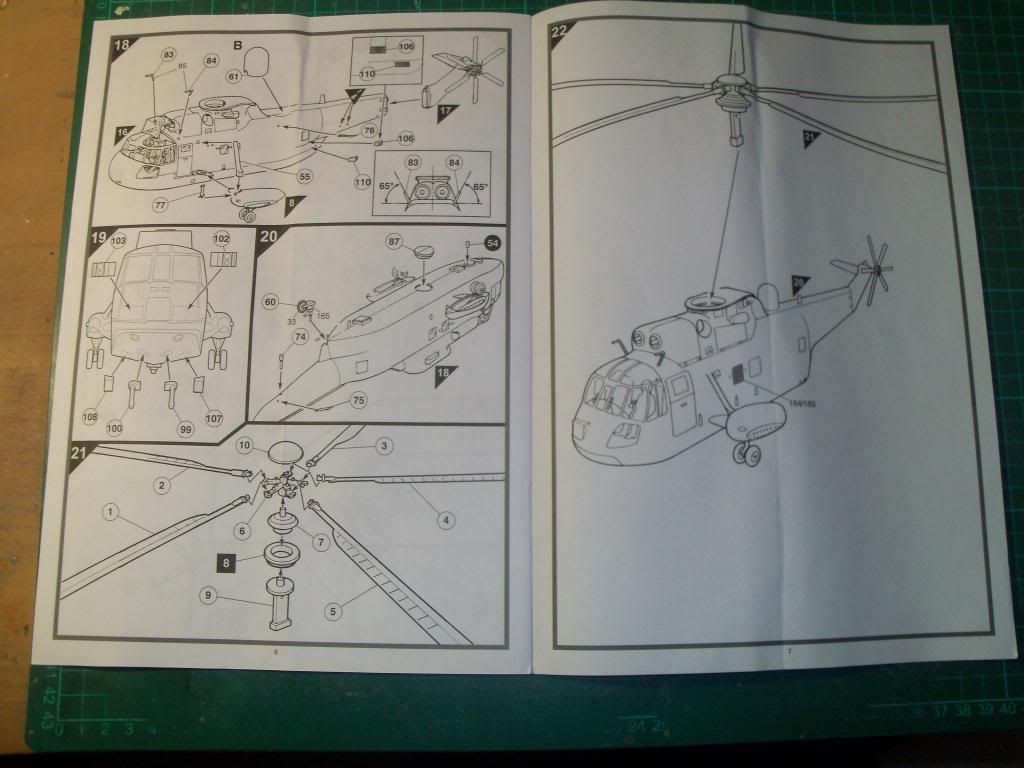
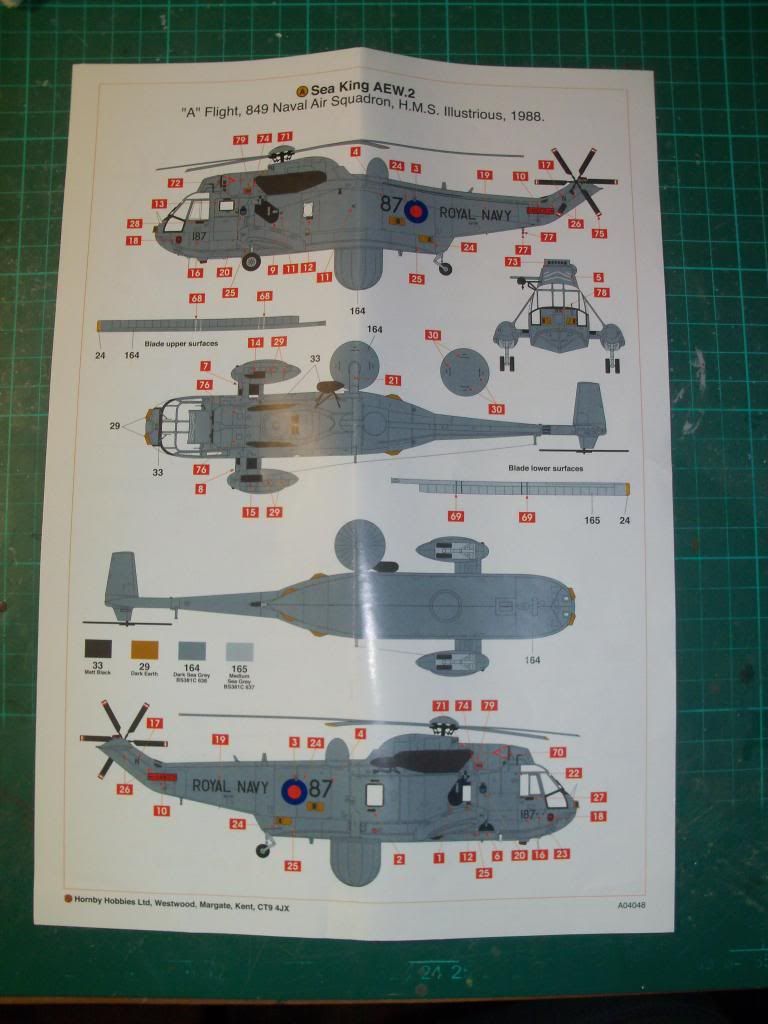
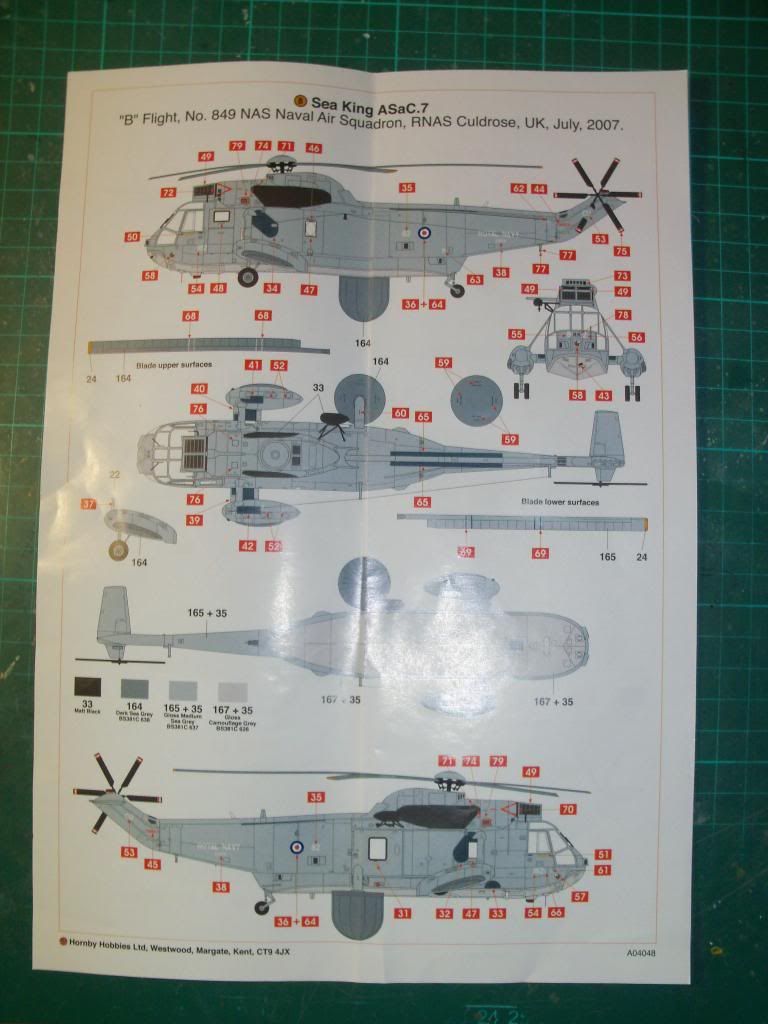
The instruction sheet is a thin booklet, however there are 2 colour (painting) sheets included.
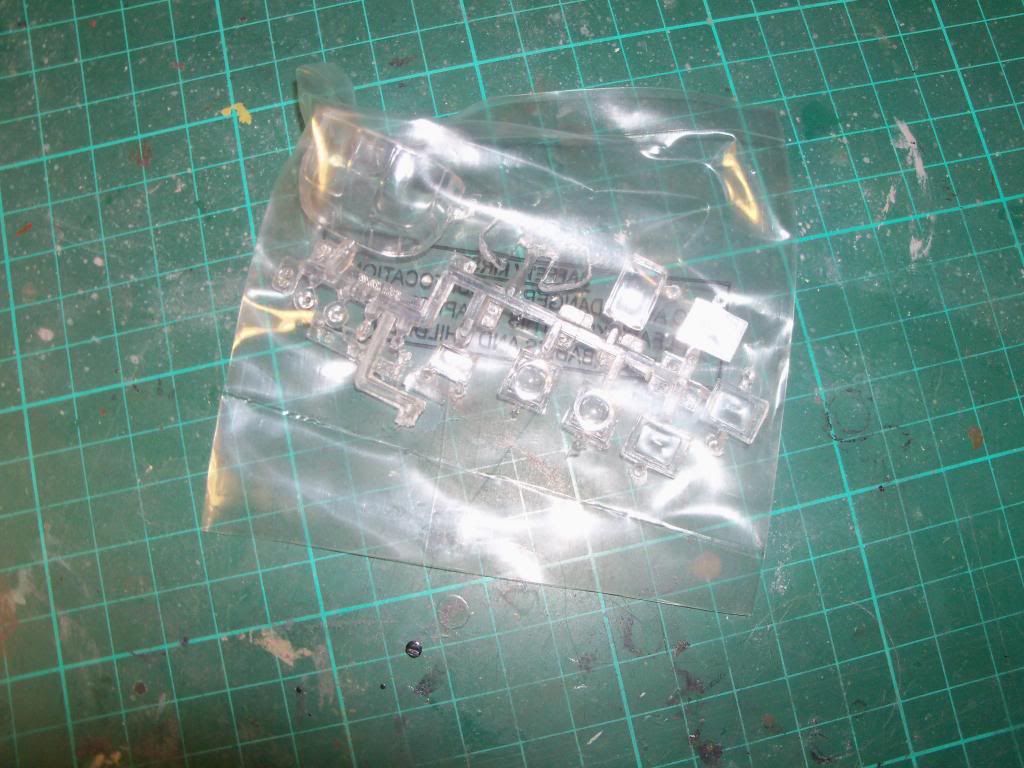
The Clear sprue come in their own seperate bag - this is a big change from previous Airfix boxings I've built.
On closer inspection, the parts all have molding flaws, all tranparent parts have dimples on both sides. They all appear overly thick, so these should be easily sanded out.
The sprue trees all come in one bag.
Now to show you what I've been doing up until a few weeks ago, here are my Youtube videos of the build in action .....
I've
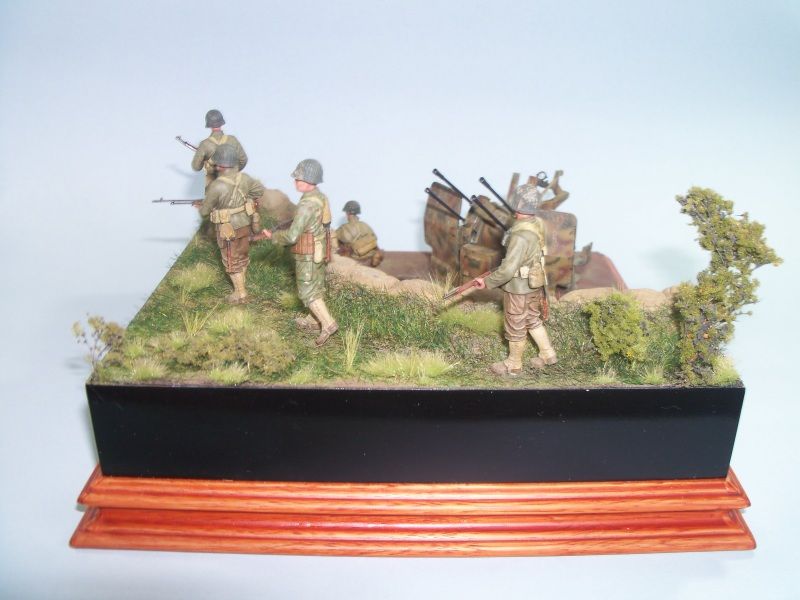
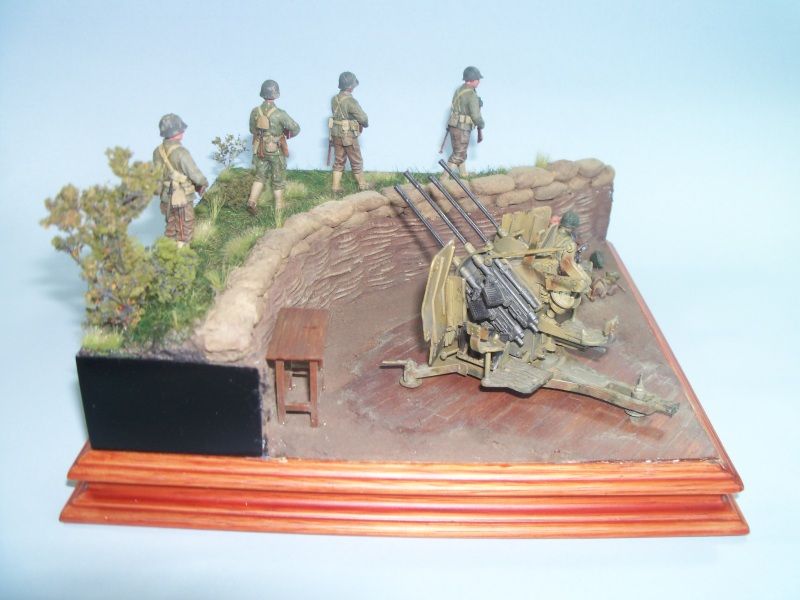
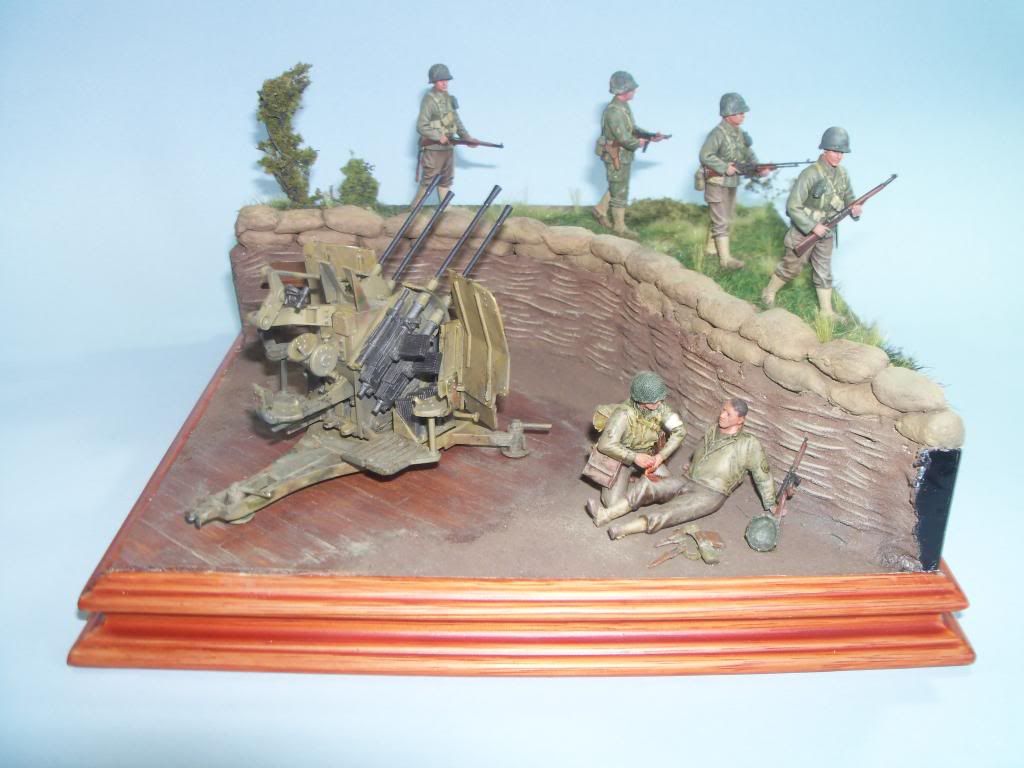
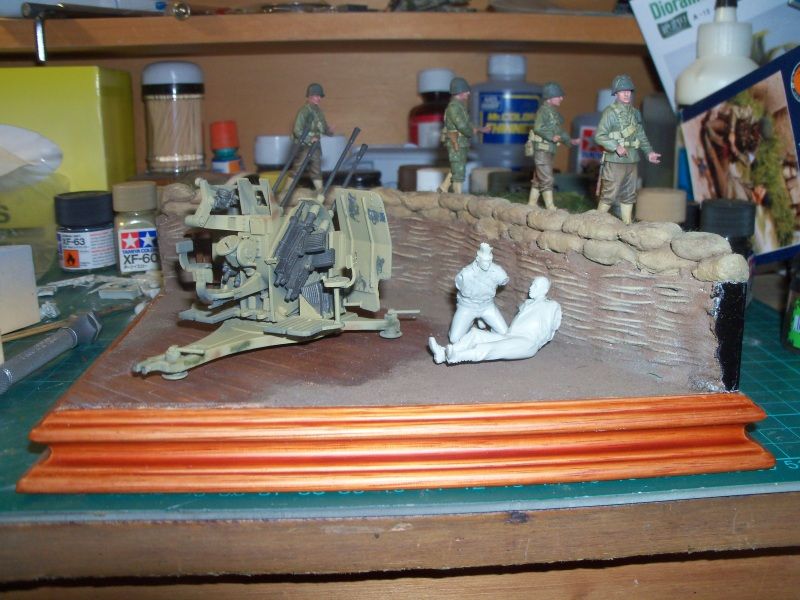
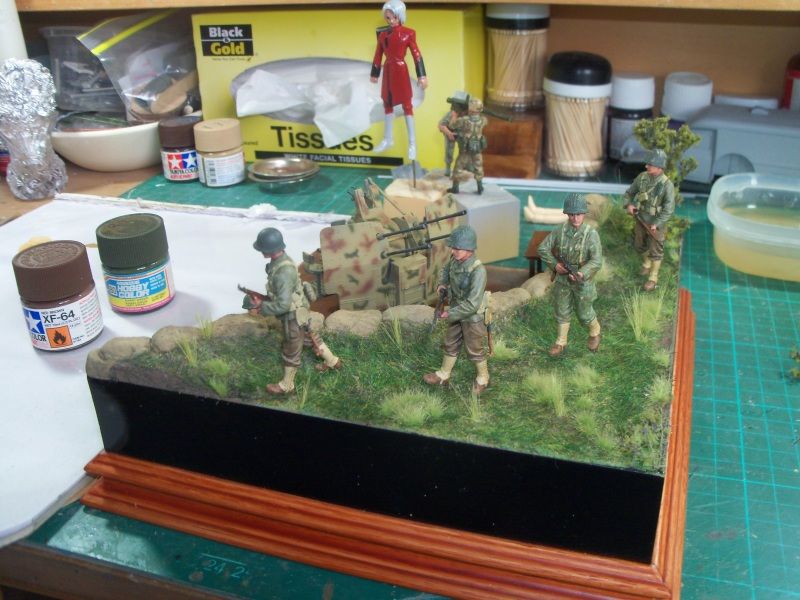
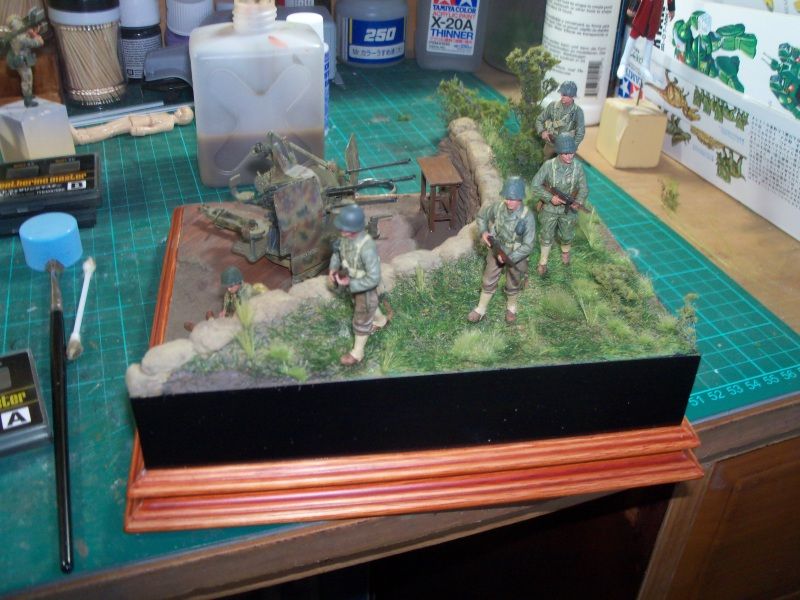
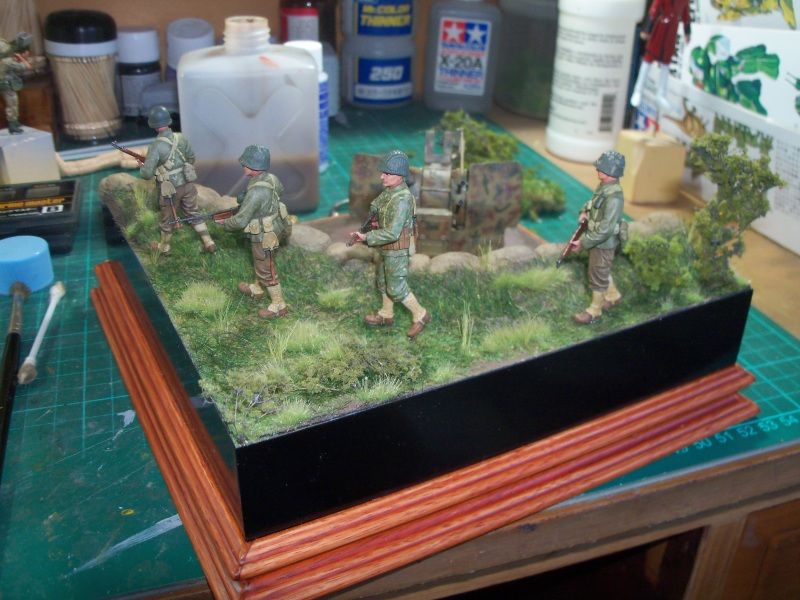
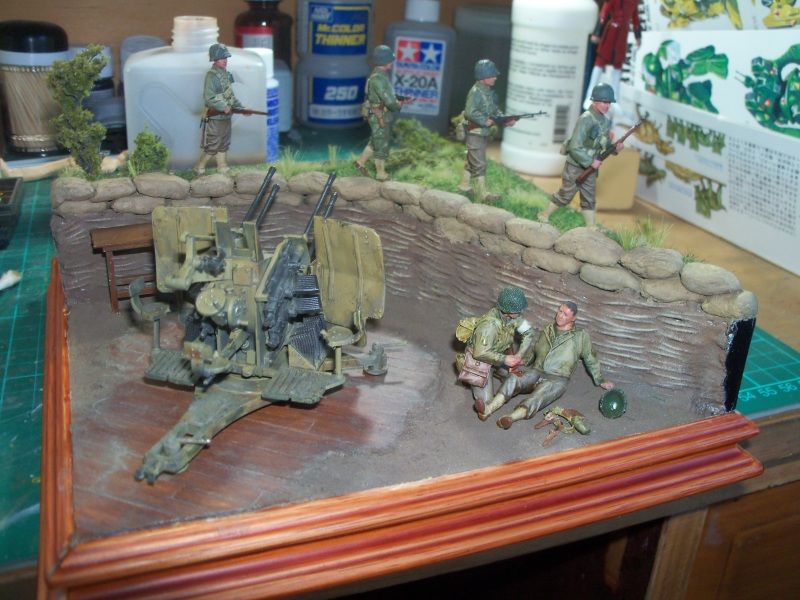
added a Nemrod Medic and Wounded GI, drilled out the Flak Gun muzzles,
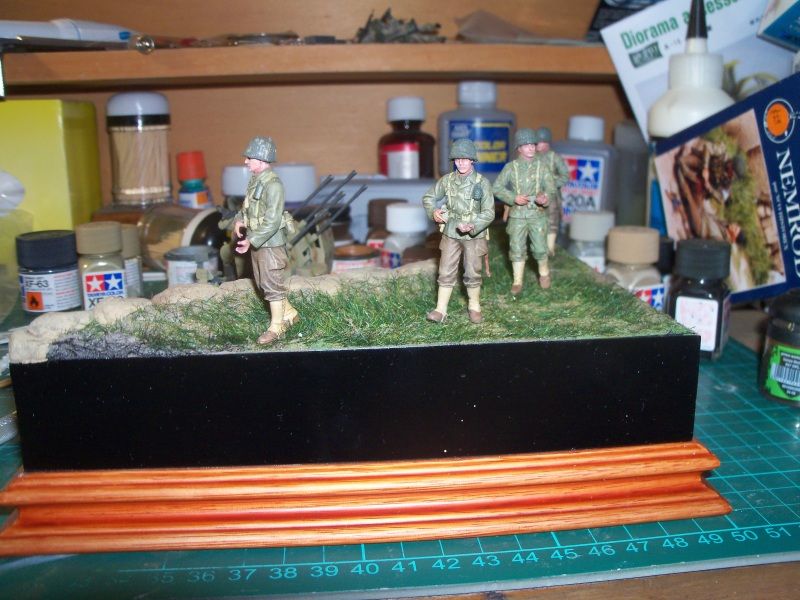
repainted the flak gun, glued everything in place, added diorama
scenery......
I'm somewhat behind on updating this Blog - so, I'll flood it with updates .....
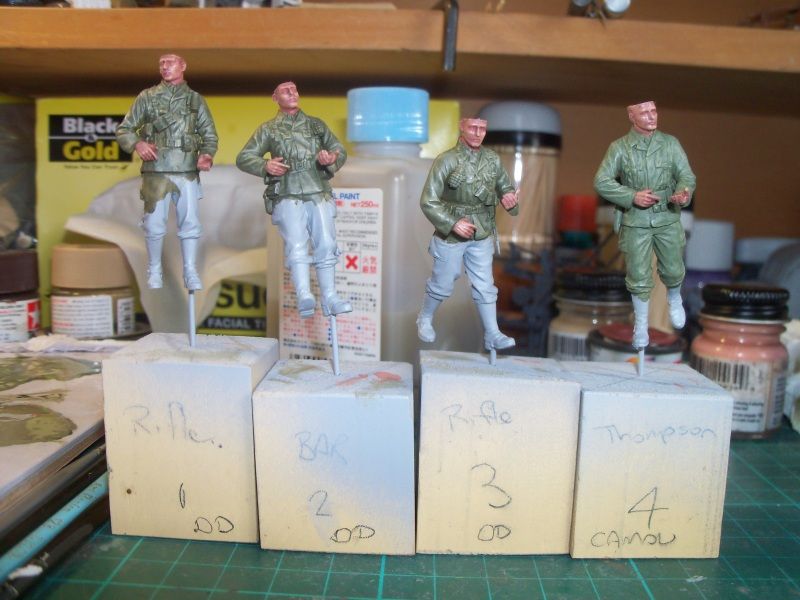
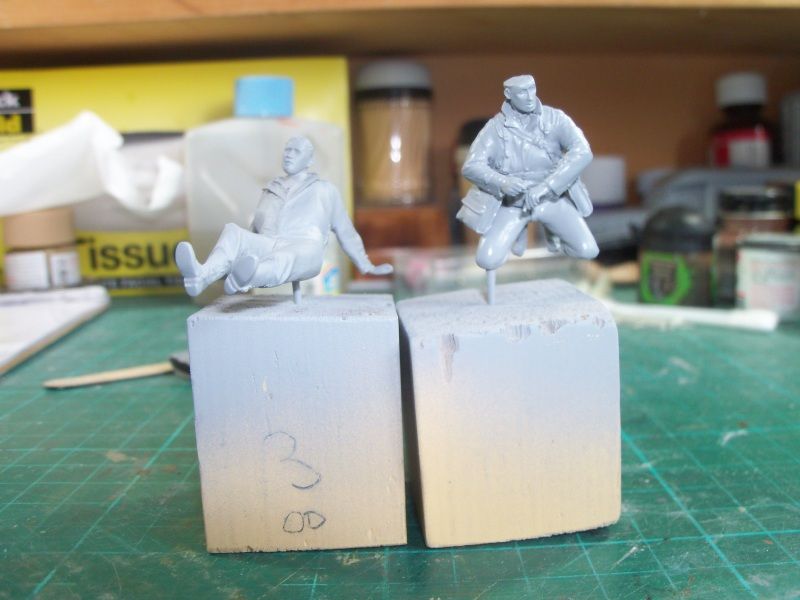
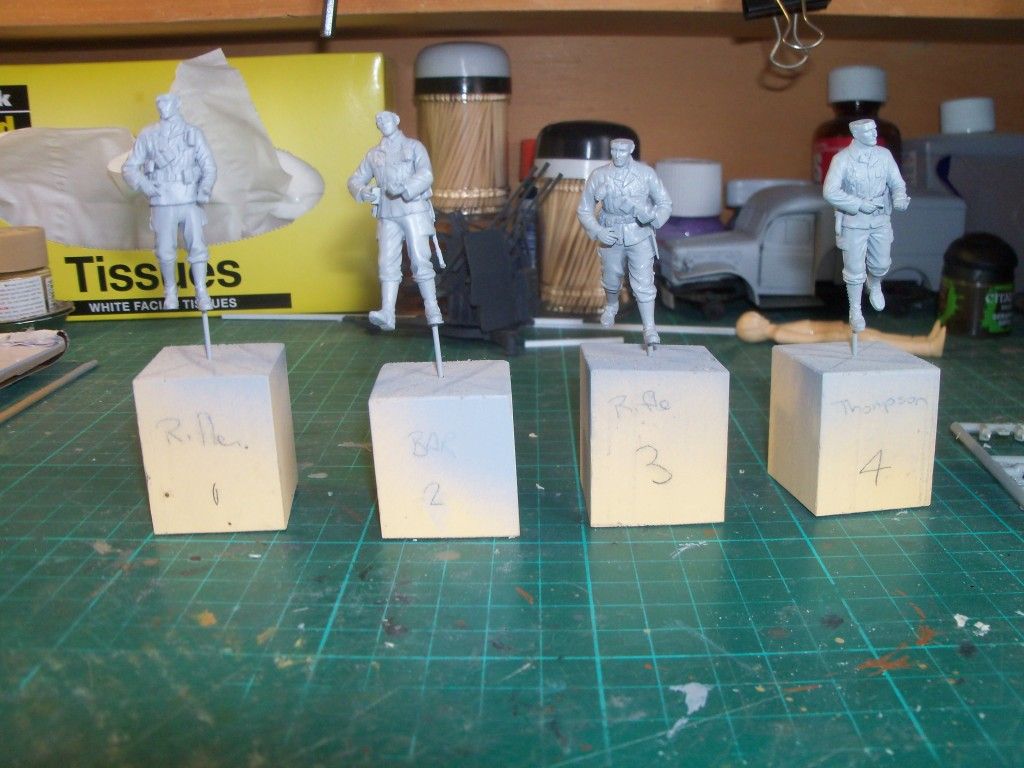
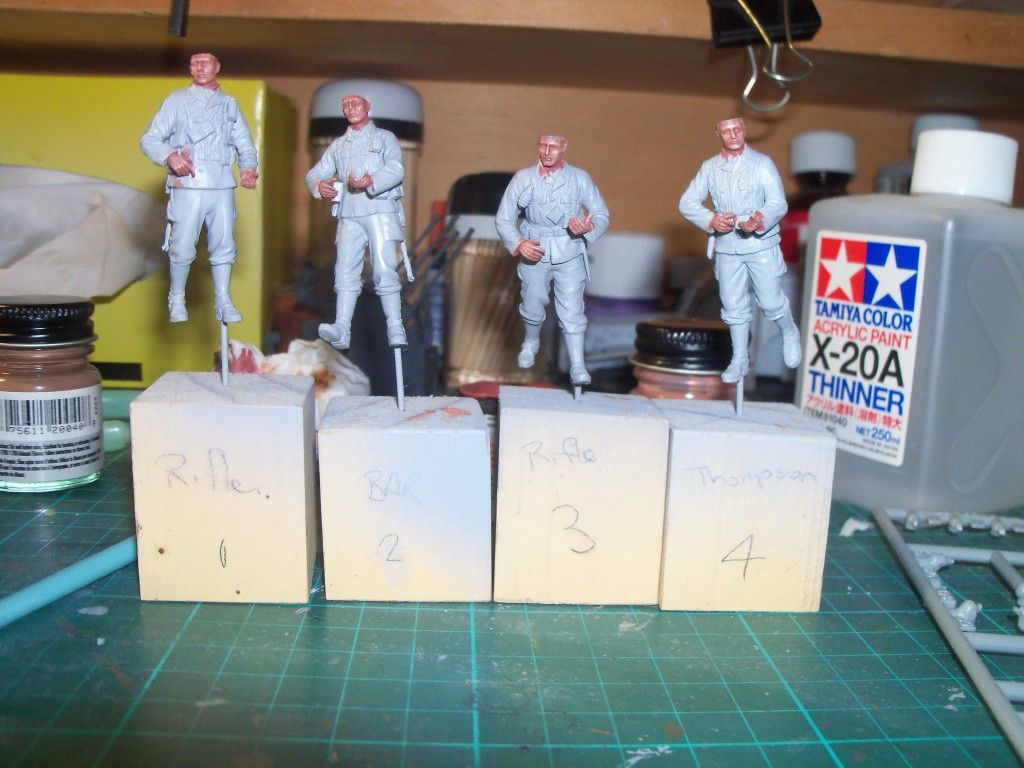
Here I've built the figures and primed them ready for painting.
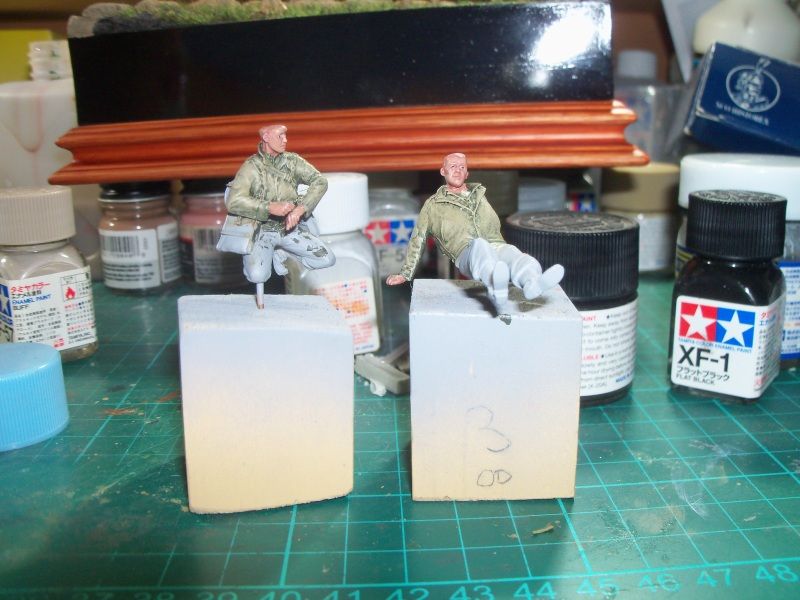
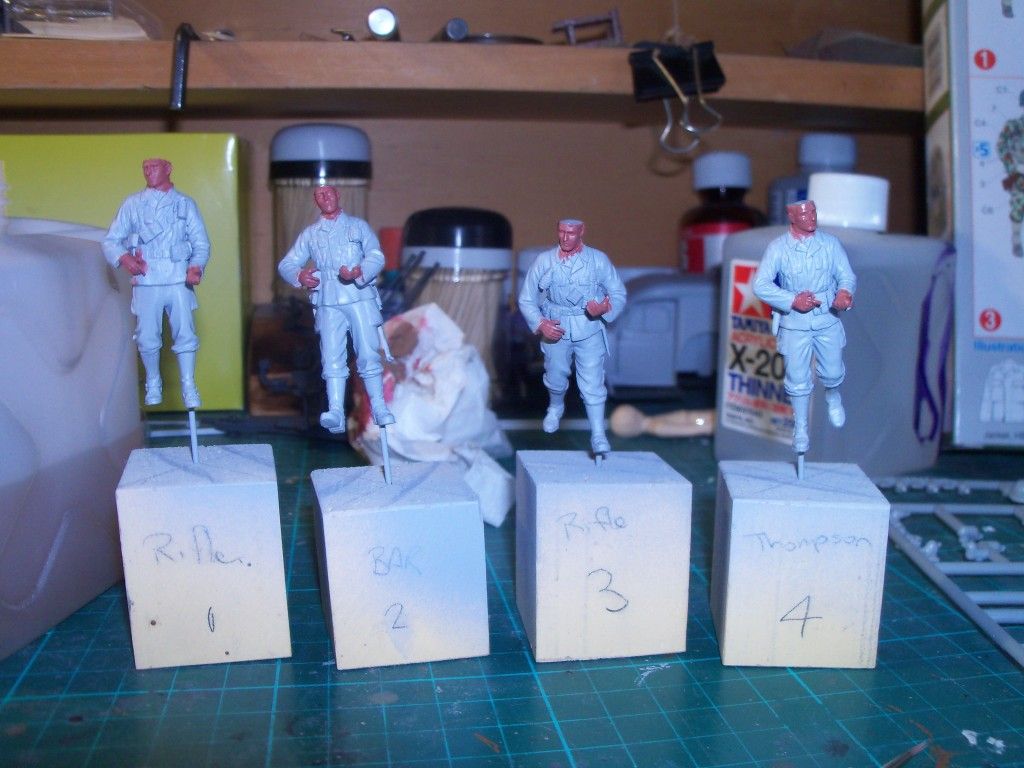
I've painted the figures, using a layering technique, where you start with a dark base (above) and work towards the highlights (below).
Model Master has a "Skin" Colour series. Skin Tone Warm Tint, Skin Tone Shadow Tint and 2 other colours .... I also used Model Master Tan (FS20400) and Humbrol 73.
Mixed
a dark colour mix and slowly worked towards a light tone by mixing the
lighter colours. Used the layering technique - about 10 layers and then
dry brushed with a Tan and Skin Tone Warm mix.