Sunday, 6 January 2013
Me-110 Shelf Queen
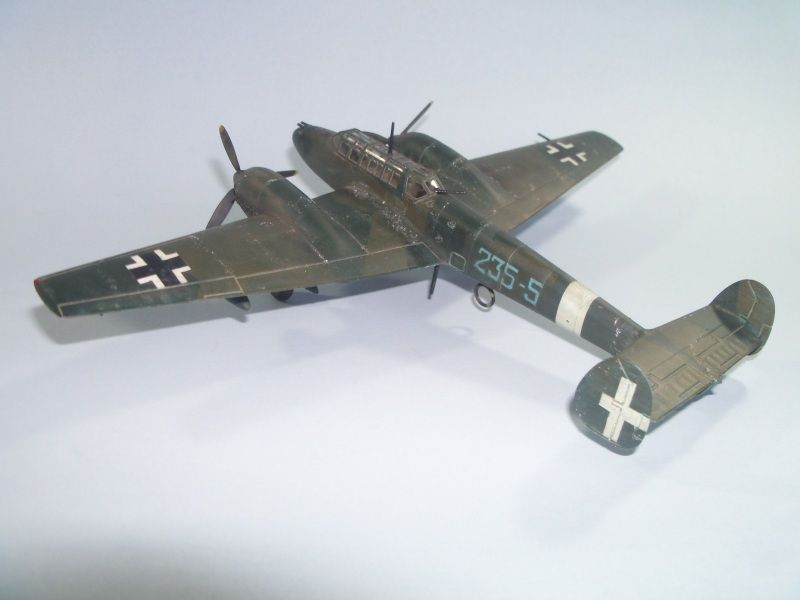
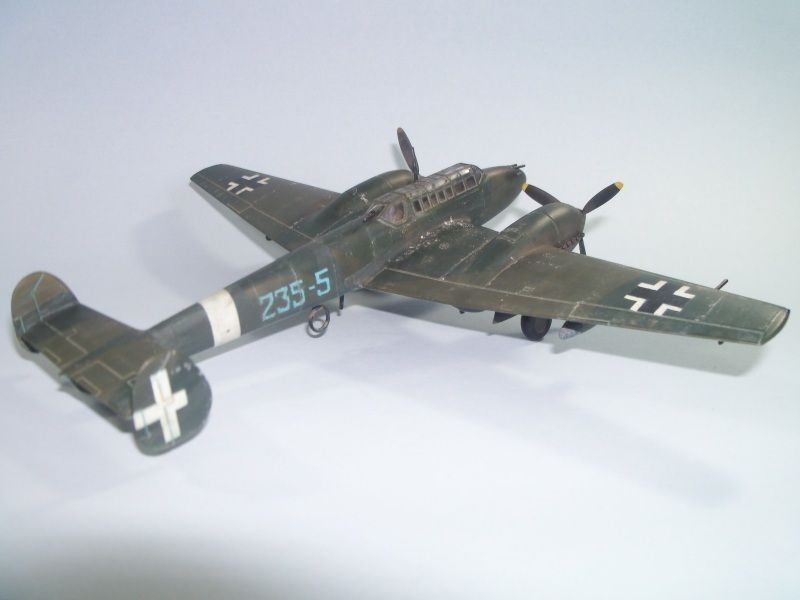
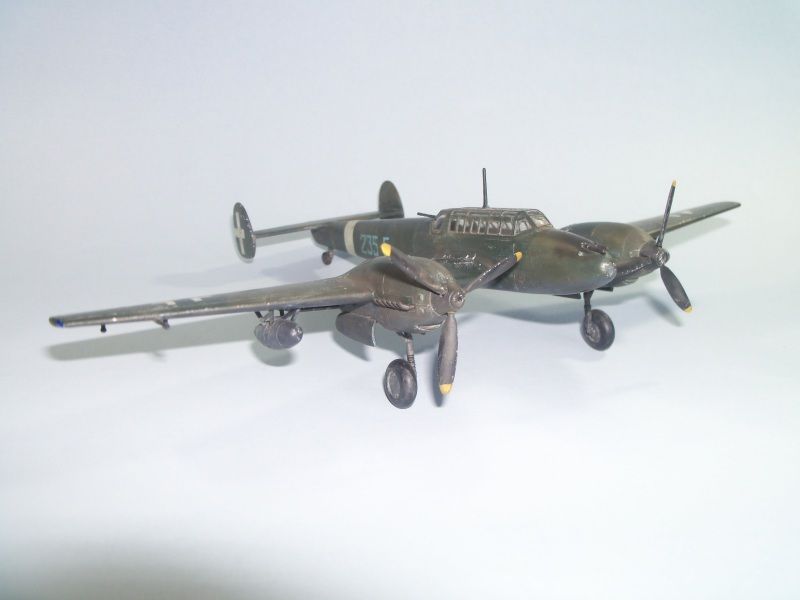
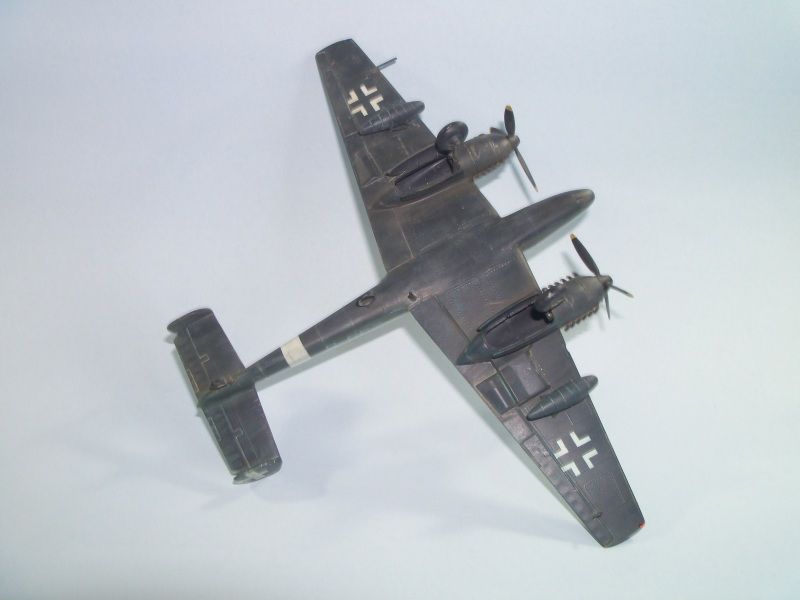
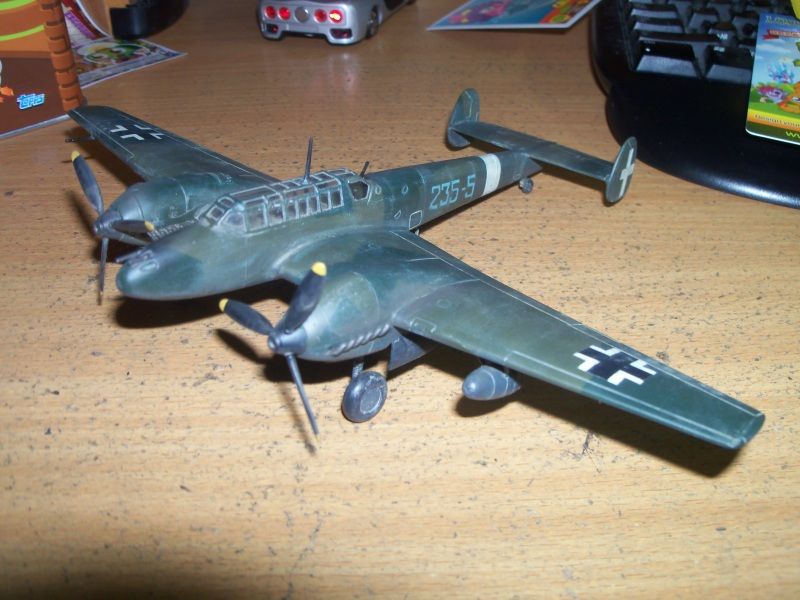
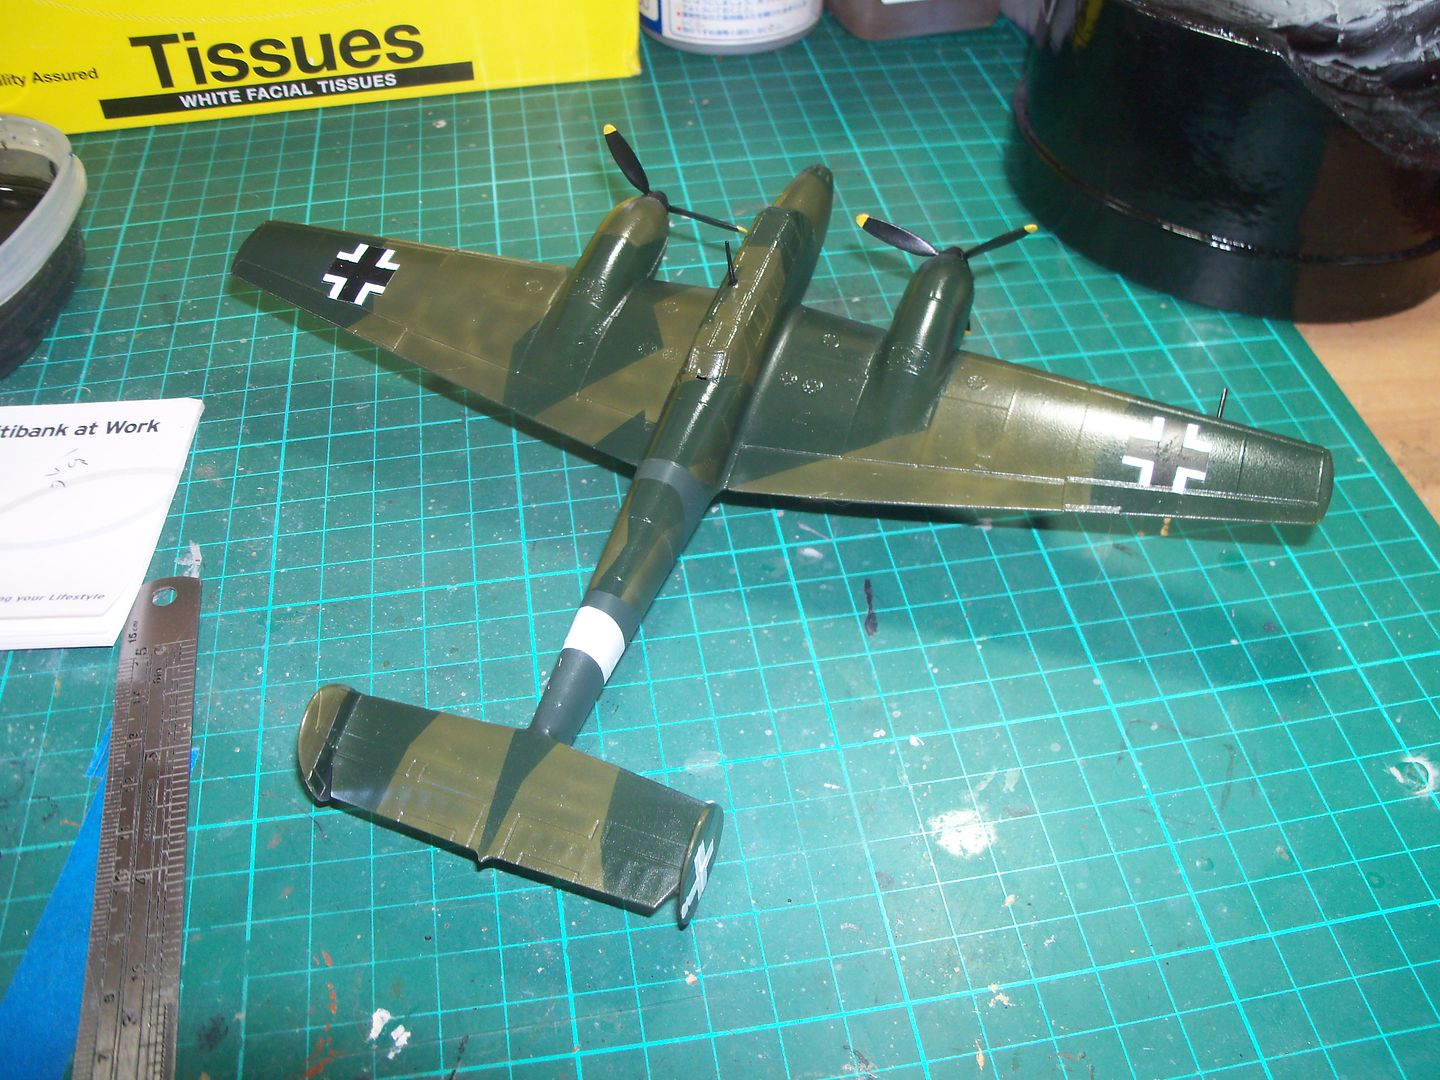
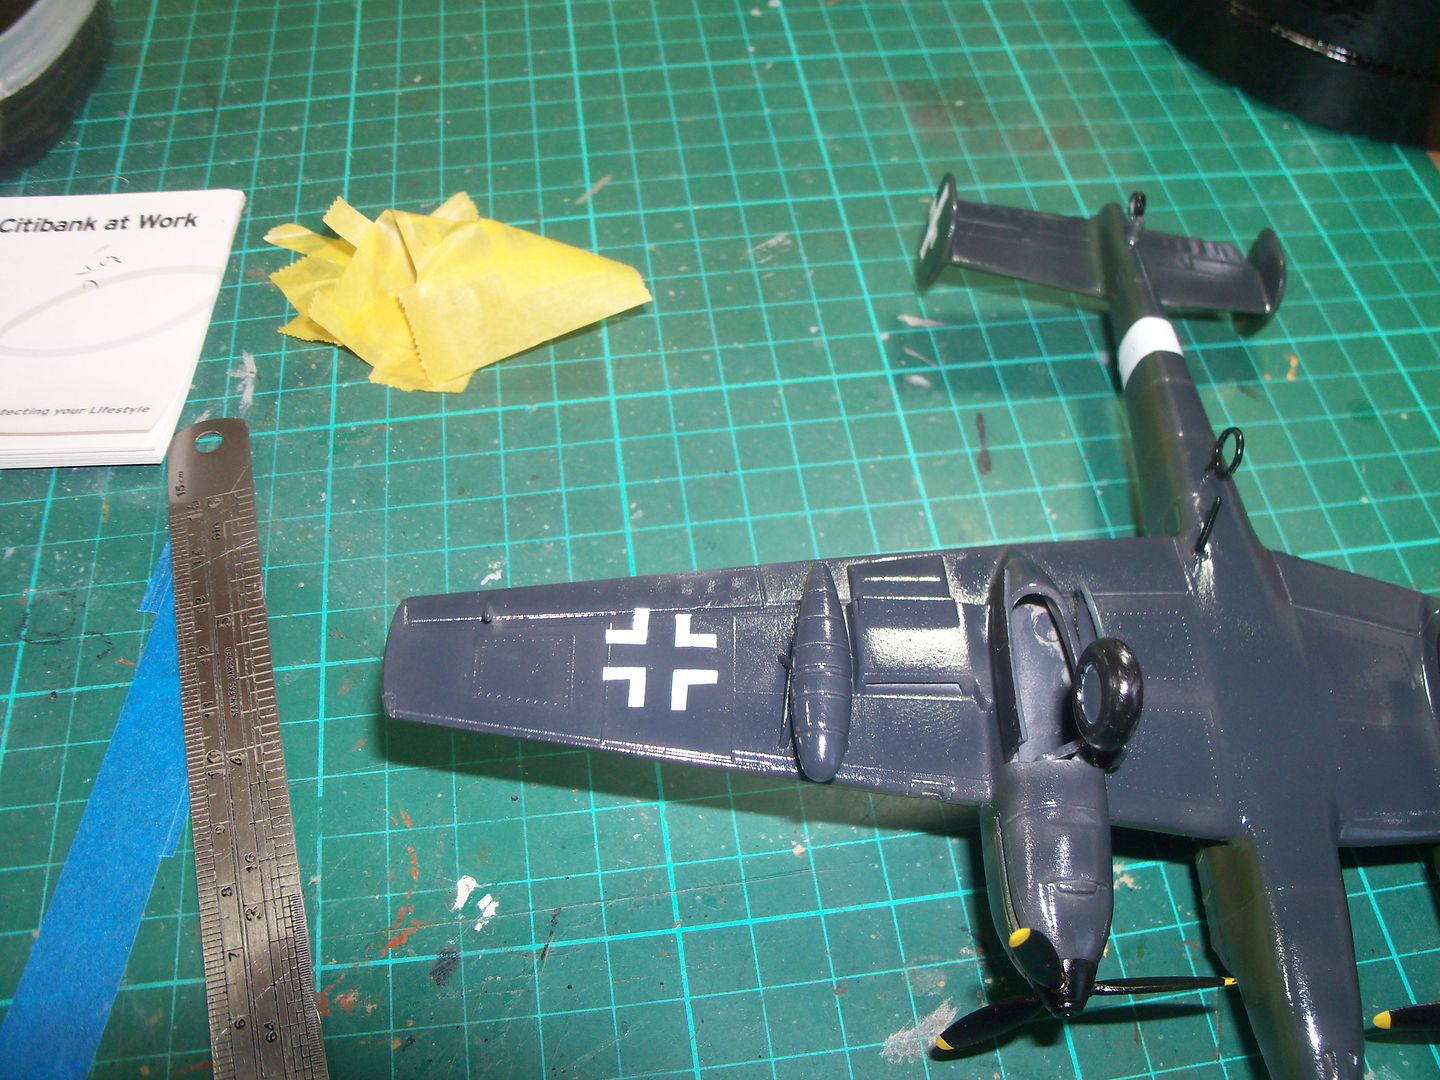
Well, this shelf queen is no longer queen. She is now completed.
but before I post up the completed pictures, here's what I've done since the last posting ....
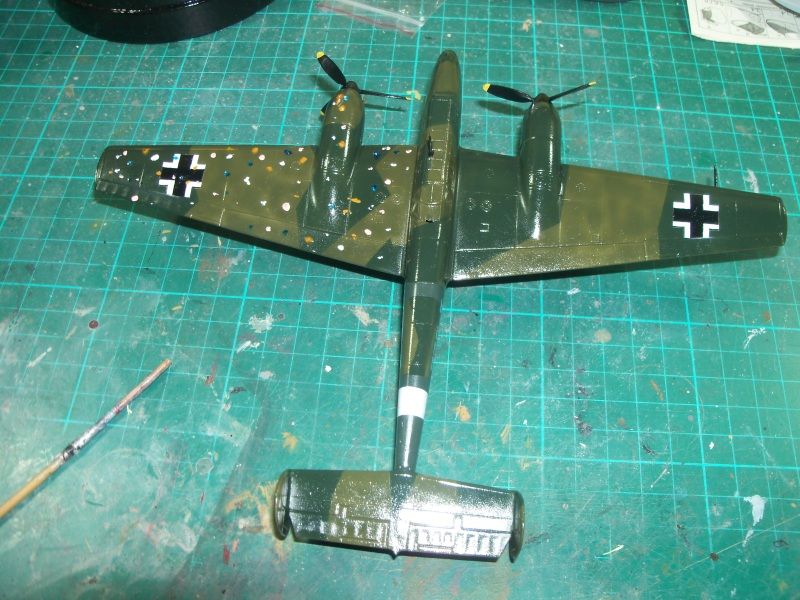
After the gloss coat dried, I applied a dot filter with oil paints (white, blue and flesh - didn't have any red). Removed most of it with a thinner moistened old brush. In some parts it all mixed together and created a lighter blue, so had to use some heavy brushing to remove it...


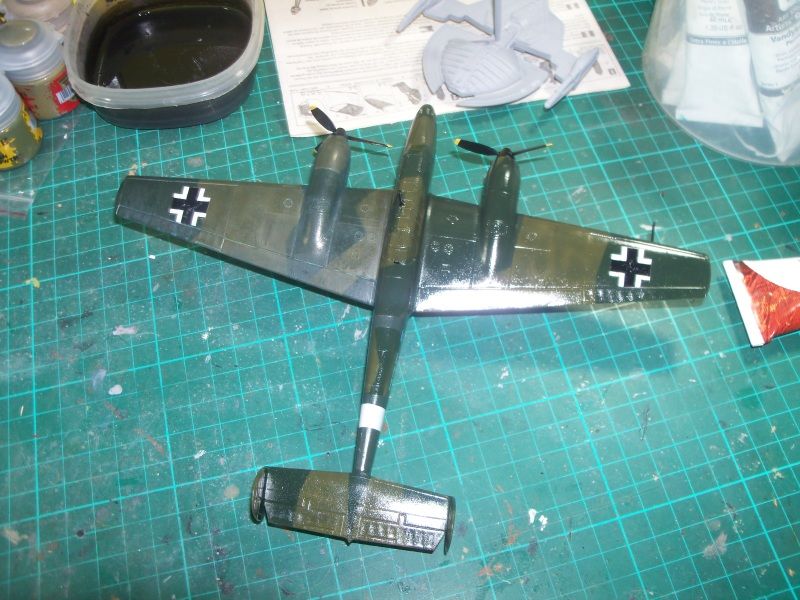
Next was a flat clear coat applied. Washed the entire model with a brown sludge wash made from acrylic paint, detergent, water and pastel chalk.
Waited for it to dry and removed it with cotton buds and tissues.
Added exhaust staining using Tamiya weathering sets, paint chipping with a silver pencil (this was applied using a dotting method, bit noisy and the family complained as I was doing it while watching TV)
Canopy masks were removed and any round of sludge wash was applied and removed from most of the clear parts, but left enough to look like dust had collected around the edges of the glass.
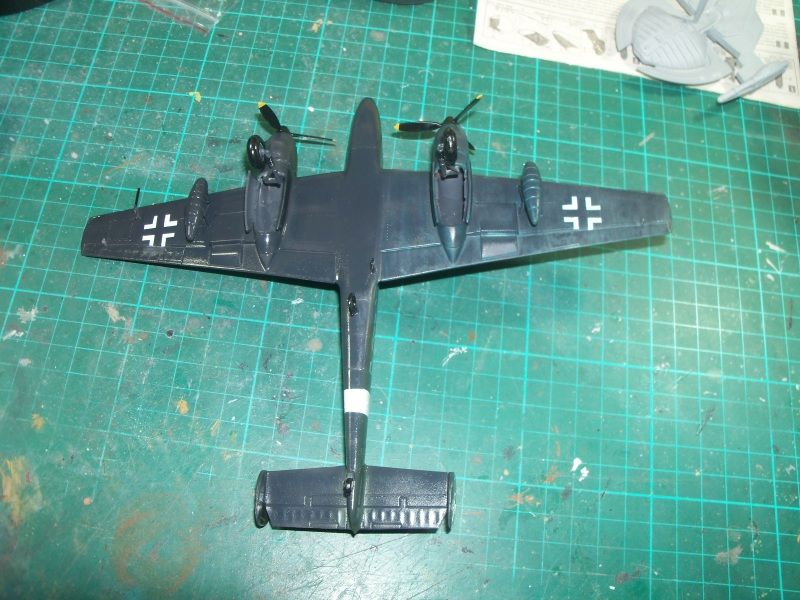
Tamiya weathering set was watered down and applied to the wheels and quickly removed.
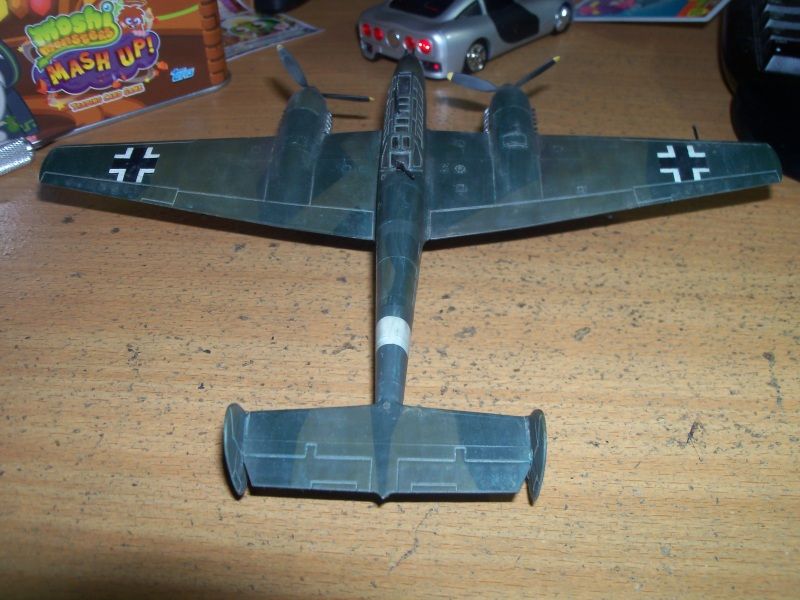
Over all, looks okay now.
but before I post up the completed pictures, here's what I've done since the last posting ....
After the gloss coat dried, I applied a dot filter with oil paints (white, blue and flesh - didn't have any red). Removed most of it with a thinner moistened old brush. In some parts it all mixed together and created a lighter blue, so had to use some heavy brushing to remove it...
Next was a flat clear coat applied. Washed the entire model with a brown sludge wash made from acrylic paint, detergent, water and pastel chalk.
Waited for it to dry and removed it with cotton buds and tissues.
Added exhaust staining using Tamiya weathering sets, paint chipping with a silver pencil (this was applied using a dotting method, bit noisy and the family complained as I was doing it while watching TV)
Canopy masks were removed and any round of sludge wash was applied and removed from most of the clear parts, but left enough to look like dust had collected around the edges of the glass.
Tamiya weathering set was watered down and applied to the wheels and quickly removed.
Over all, looks okay now.
Tuesday, 18 December 2012
Me-110 Shelf Queen
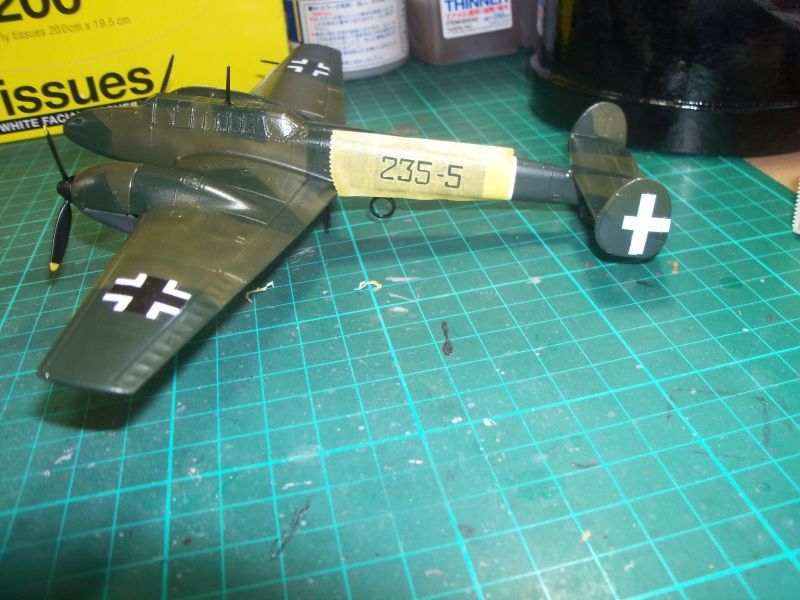
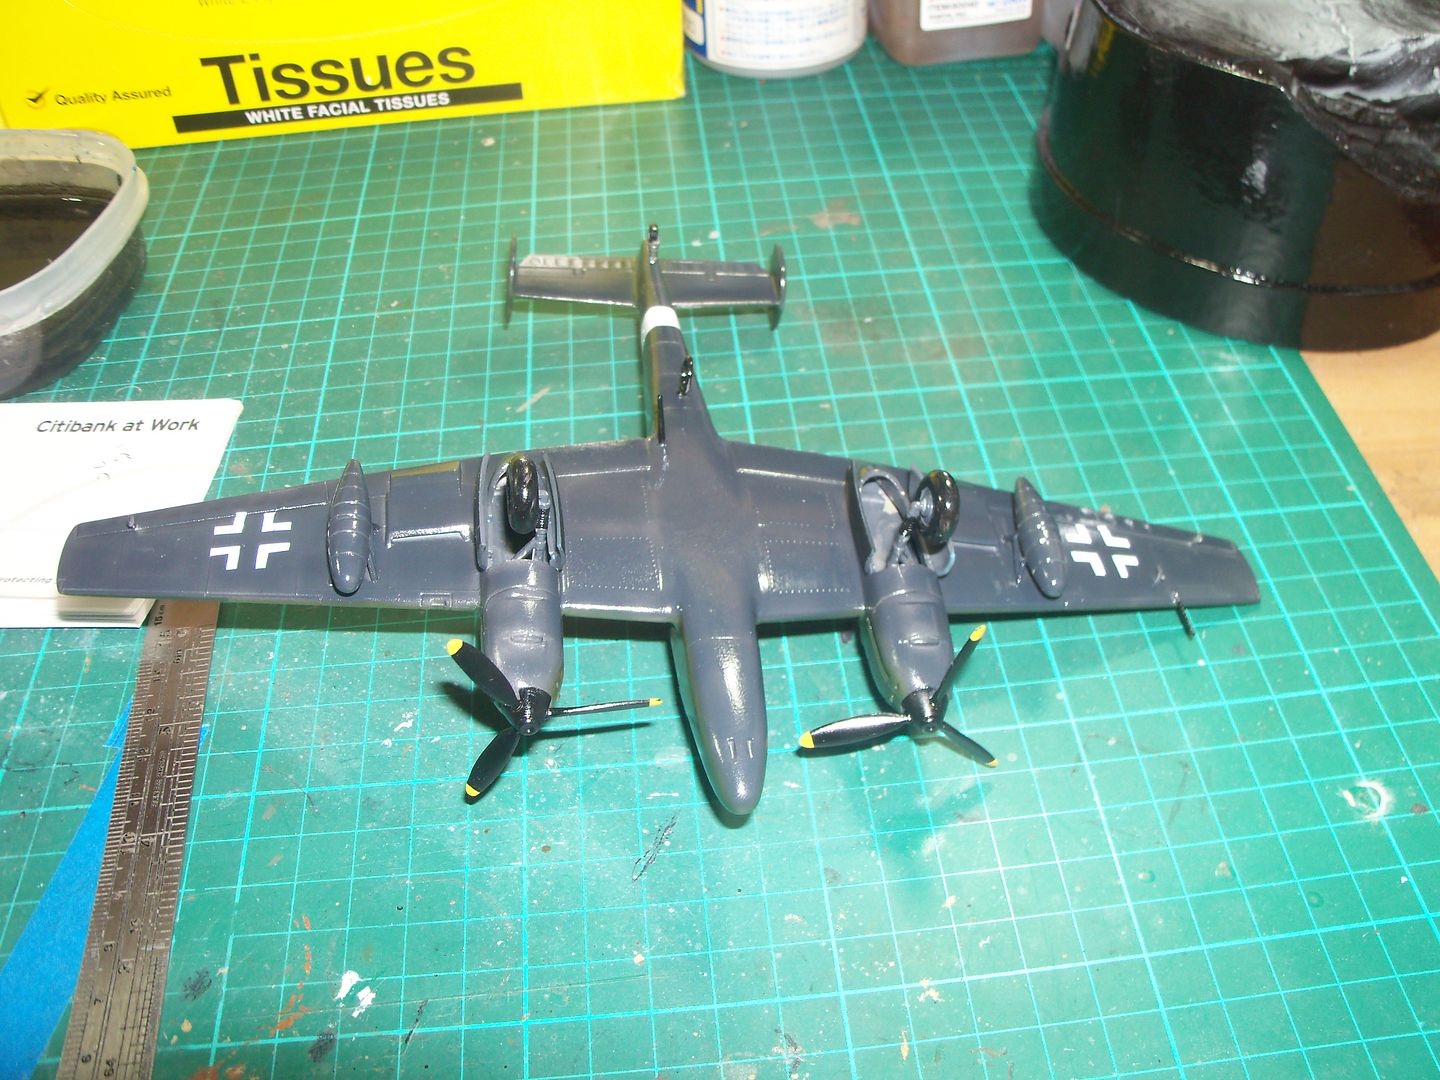
And now the fun part, found a copy of the decals on the internet, scaled them to size, printed the numbers on paper, made a mask with tamiya tape and painted on gunze H323 Light Blue.
Cleaned up the paint that leaked under the masks and then gloss coated with Pledge OneGo. Currently it is now sitting under cover waiting for the gloss coat dry.
Sunday, 16 December 2012
Me-110 Shelf Queen
Well, its no longer the shelf queen.
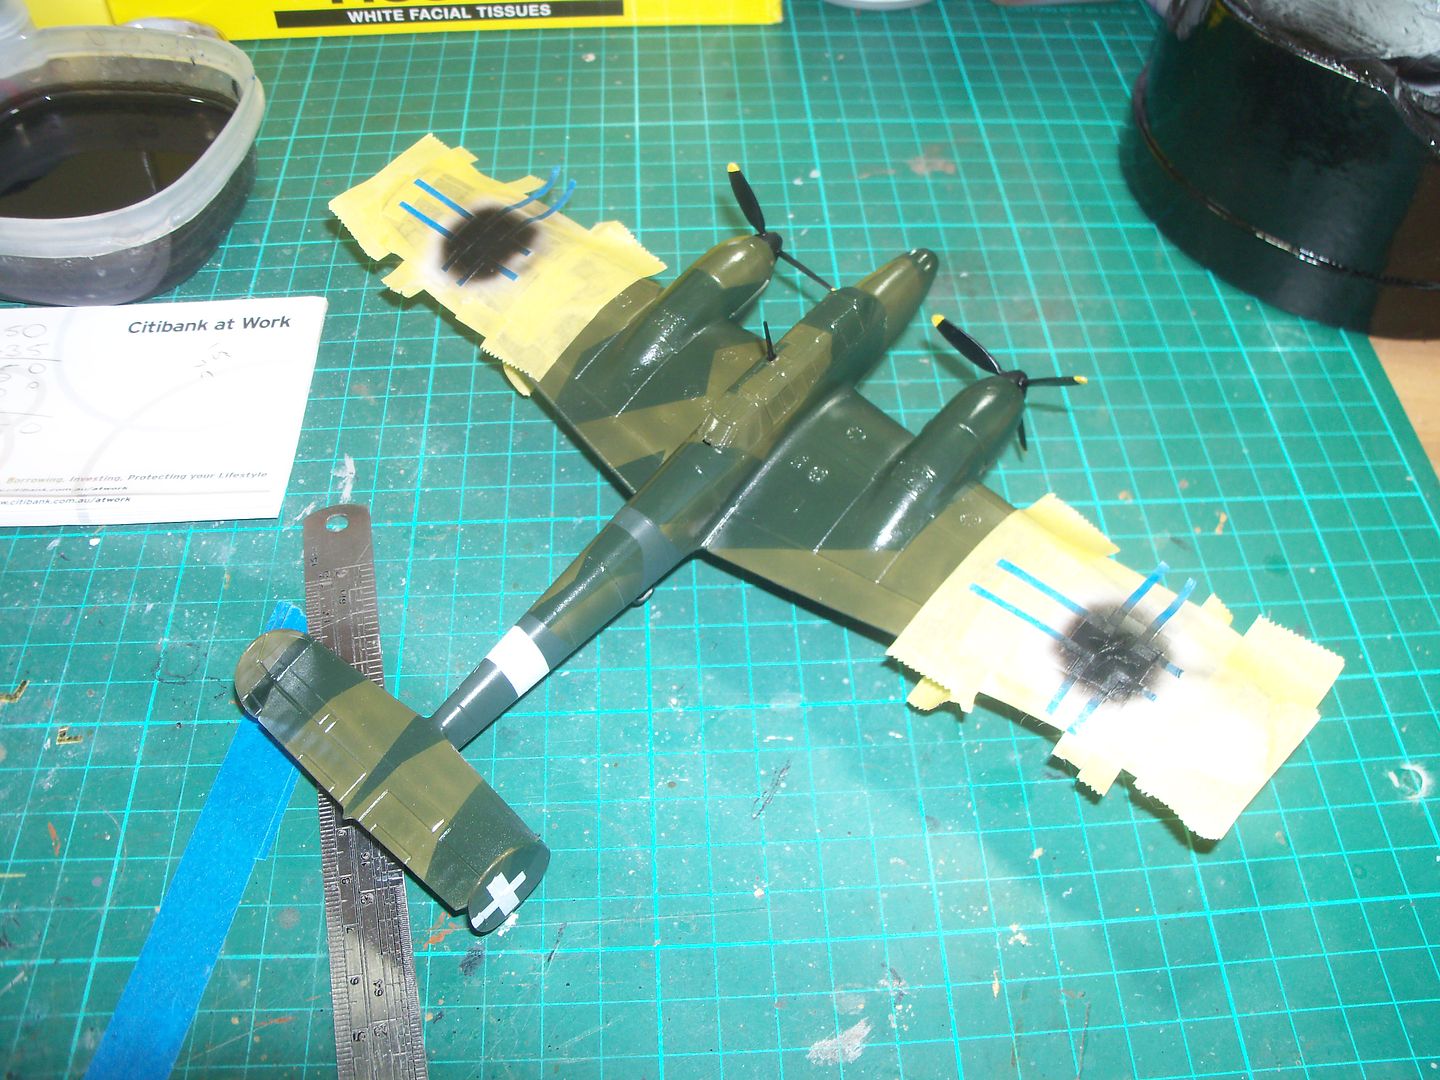
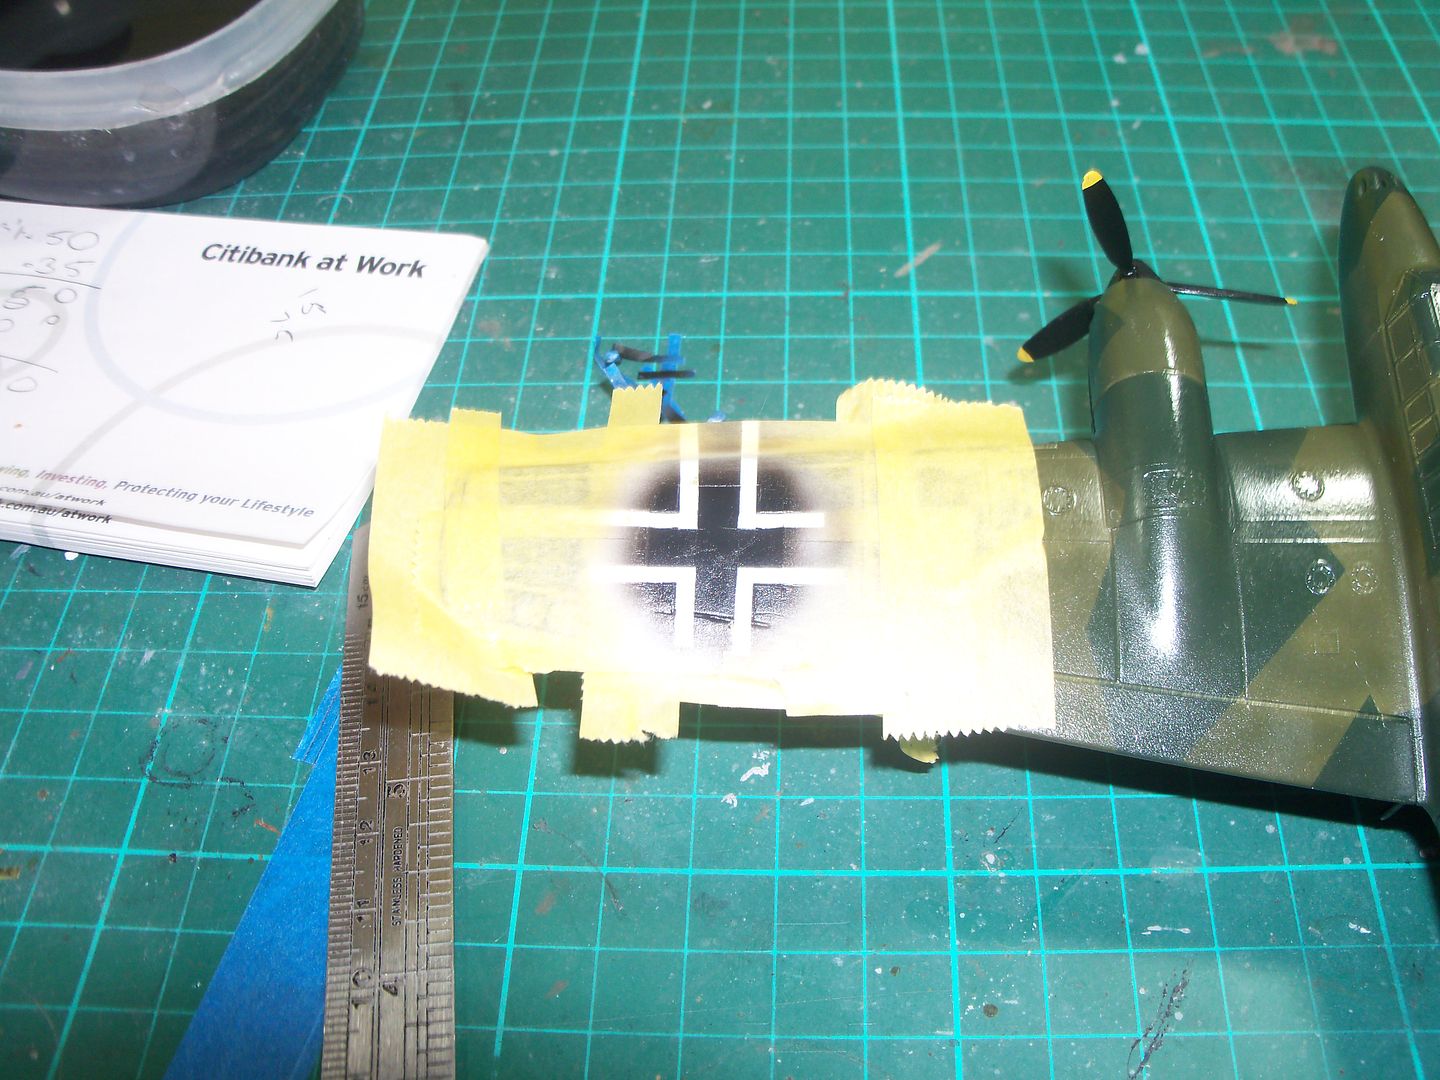
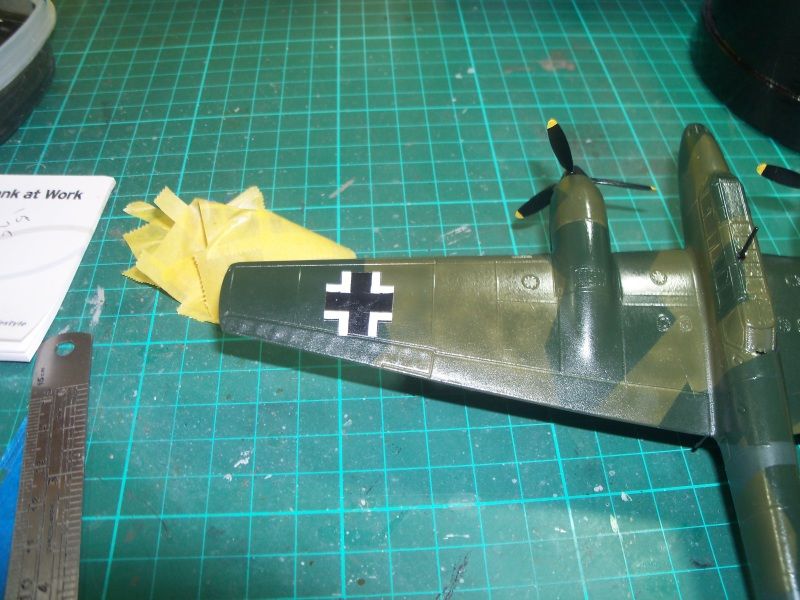
This has been abit of fun, could not find any decals for the balkenkruez wing marking, so made masks and airbrushed them on - how hard could that be, straight lines in black and white ..... hmmm ....
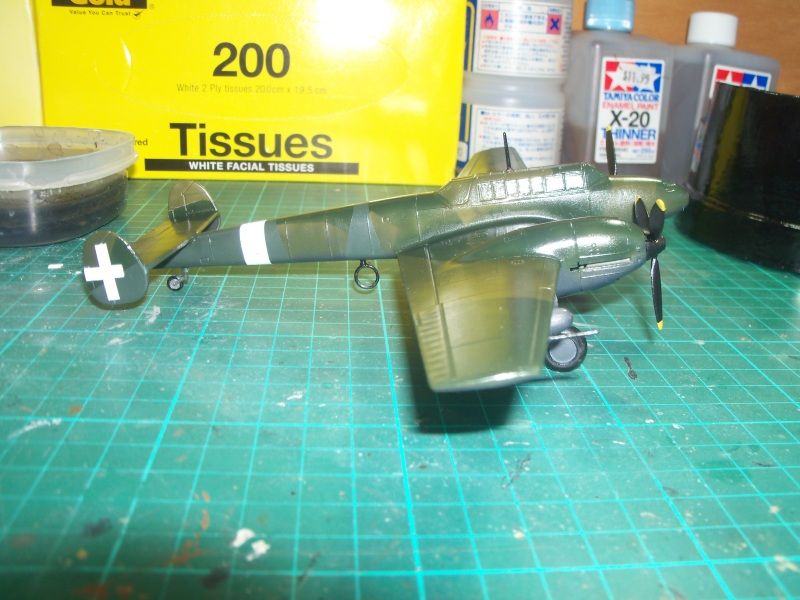
Lets begin with the over paint on the fuselage. It appears the original fuselage aircraft markings have been removed. This is over painted with Verde Oliva Scura 2 - which is an Italian color. Couldn't find a decent color match, so I settled for Humbrol 91.
Next I masked and painted the white fuselage and tail fin markings. These were painted X-2 Tamiya White. This was fairly easy, I used the panel lines on the fuselage as a guide for the fuselage band. This tail fin required a bit more masking effort.
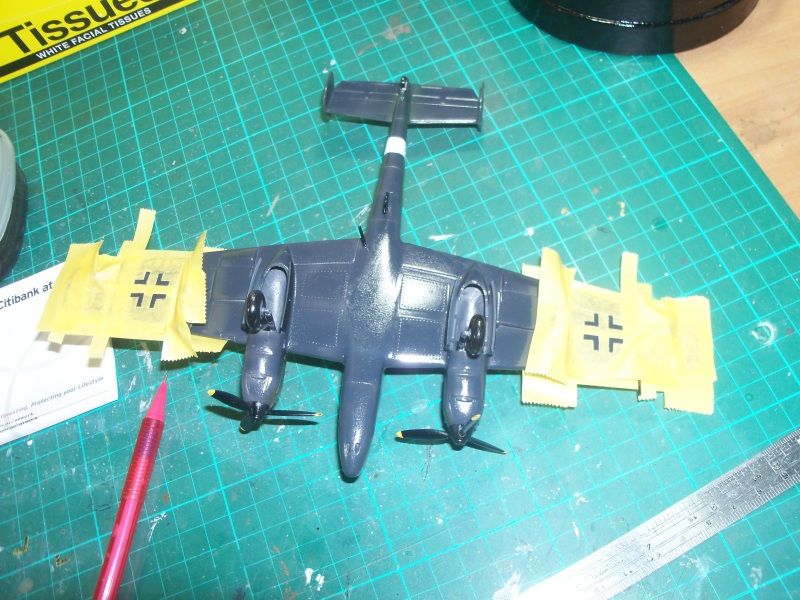
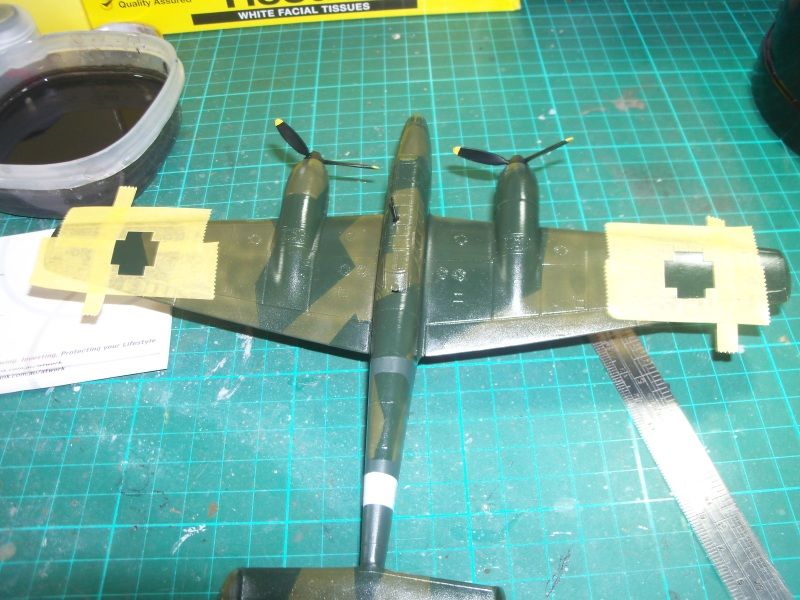
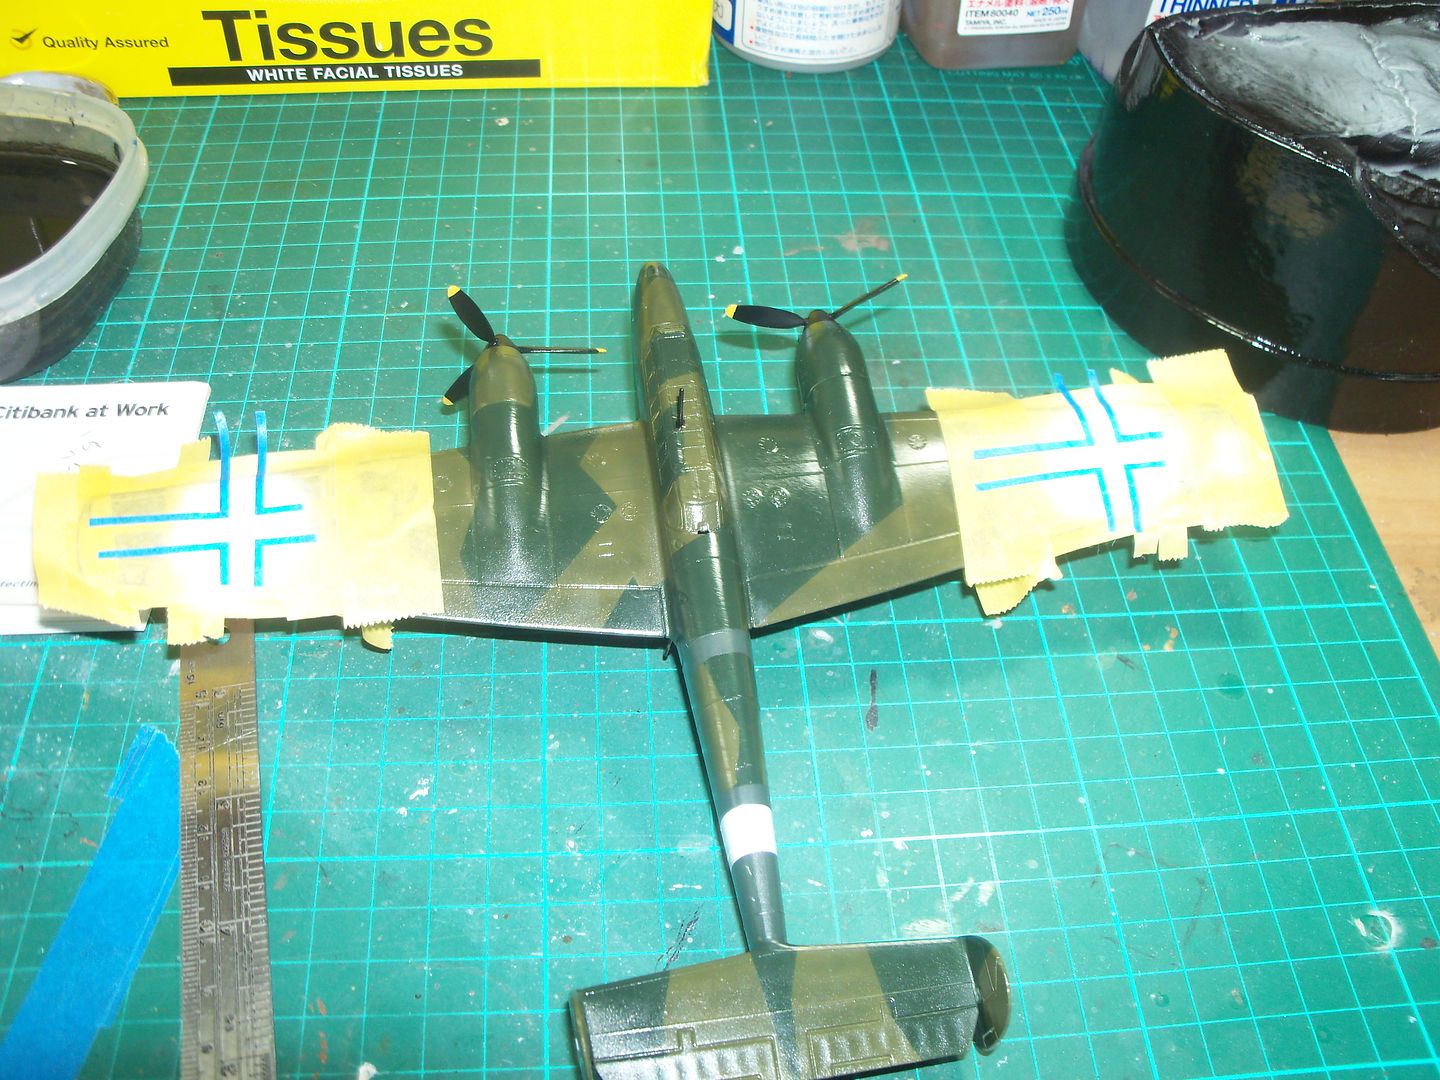
Next was the wing markings. So I printed out some balkenkruez in the size I wanted and measured or cut out the required markings and transfered them to Tamiya masking tape. Started with the white areas.
Next I measured narrow stripes to cover the white and cut and placed them on to the appropriate areas.
Thankfully this is only for the upper wing area.
Airbrushed Tamiya X-1 Black and then removed the maskes.
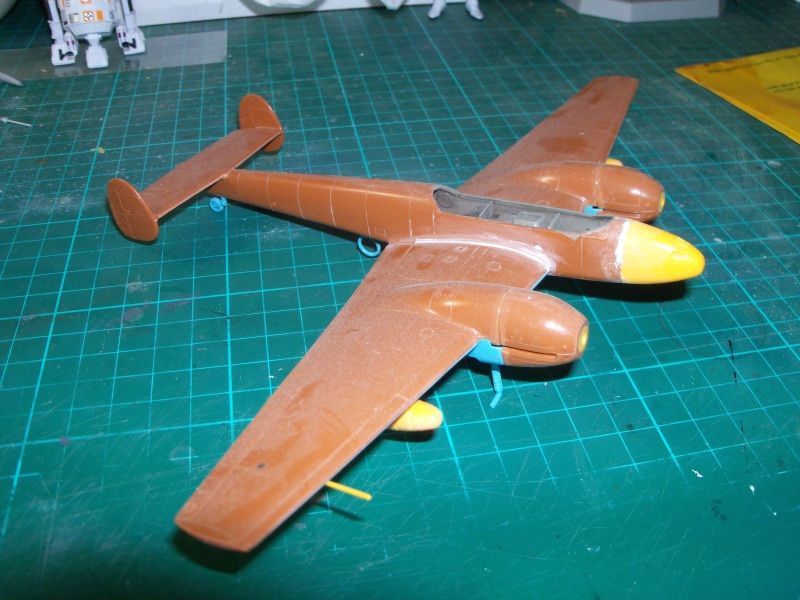
I found an old pic of this model, taken a few years ago - as you can see, even then it started collecting a bit of dust.....
Wednesday, 5 December 2012
Me-110 Shelf Queen
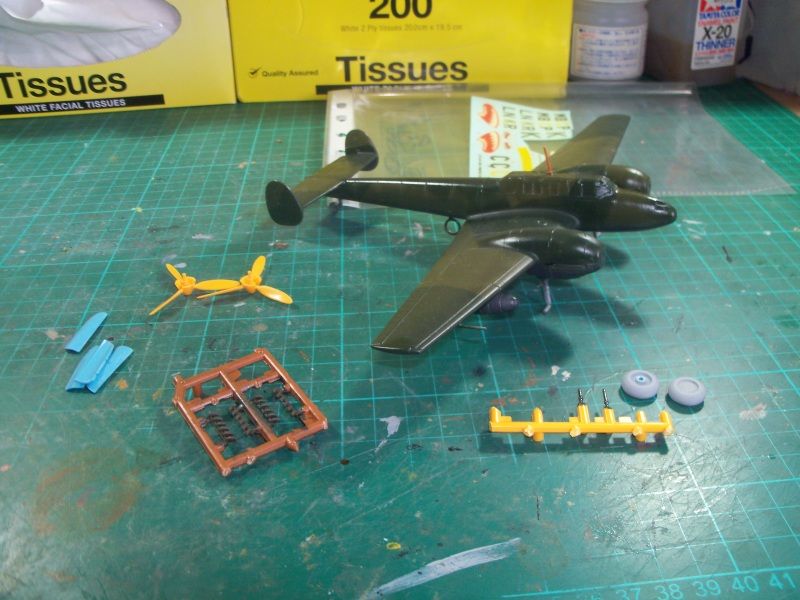
This is the old Matchbox Me-110 kit.
Its been rescued from the shelf of doom.
Kit decals have yellowed and are very fragile. These are being replaced with decals from other kits or the decal stash.
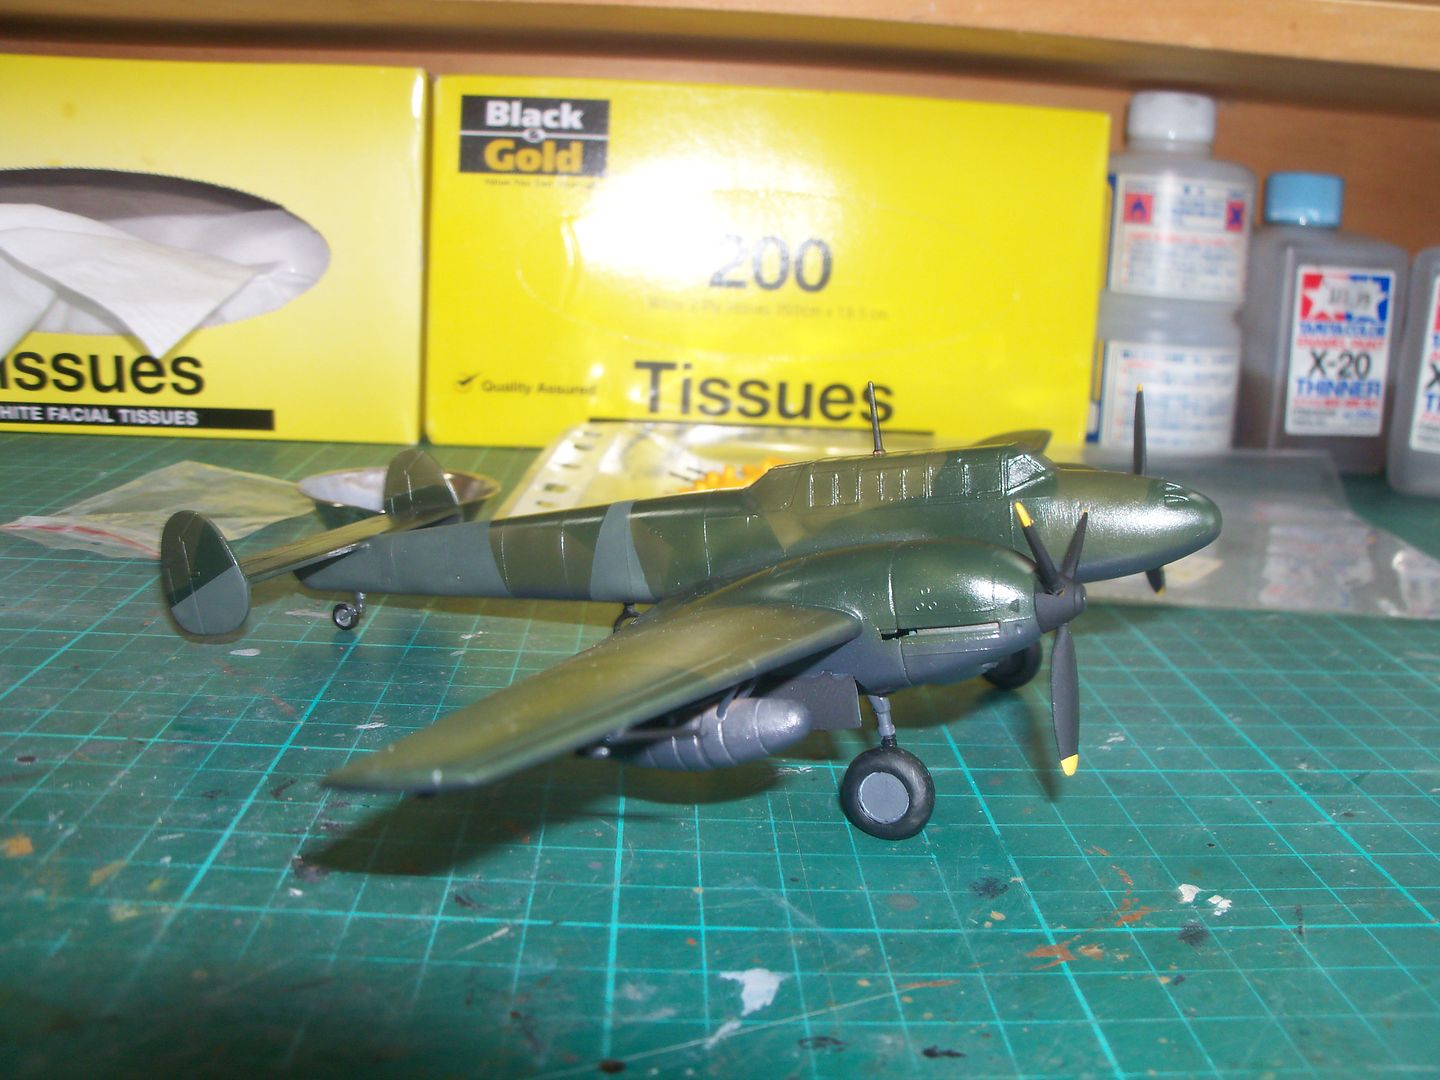
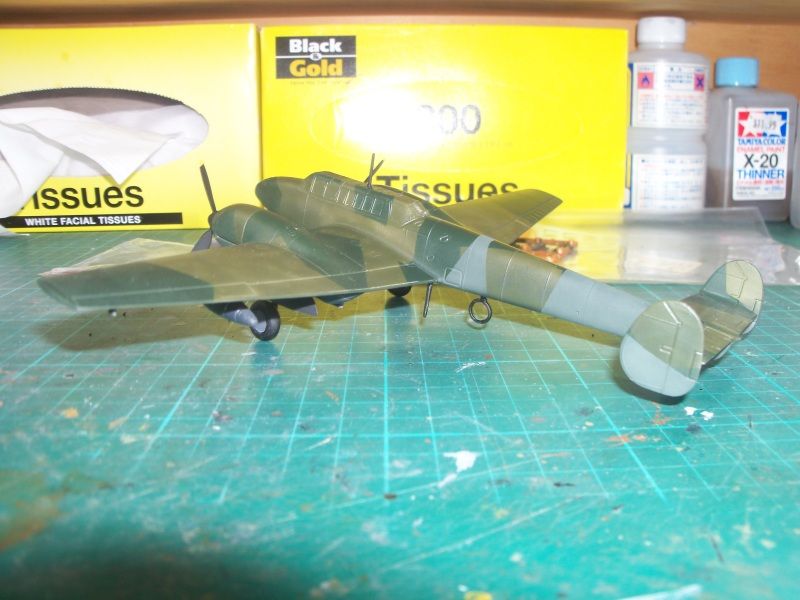
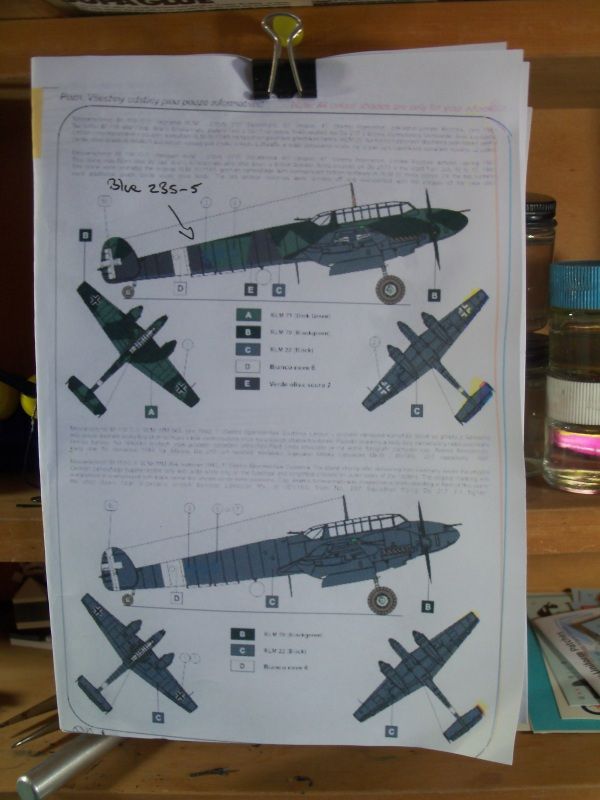
Aircraft has been painted in a 71/79/22 splinter pattern.
Some the white markings are going to be painted on, however blue 235-5 numbering hasn't been decided on.
Its been rescued from the shelf of doom.
Kit decals have yellowed and are very fragile. These are being replaced with decals from other kits or the decal stash.
Aircraft has been painted in a 71/79/22 splinter pattern.
Some the white markings are going to be painted on, however blue 235-5 numbering hasn't been decided on.
Monday, 20 August 2012
Dragon US Infantry, 2nd Armored Division (Normandy 1944) Diorama
Well, the Diorama Base is almost done, just a few extra scenery details to add, but i'll add those later.
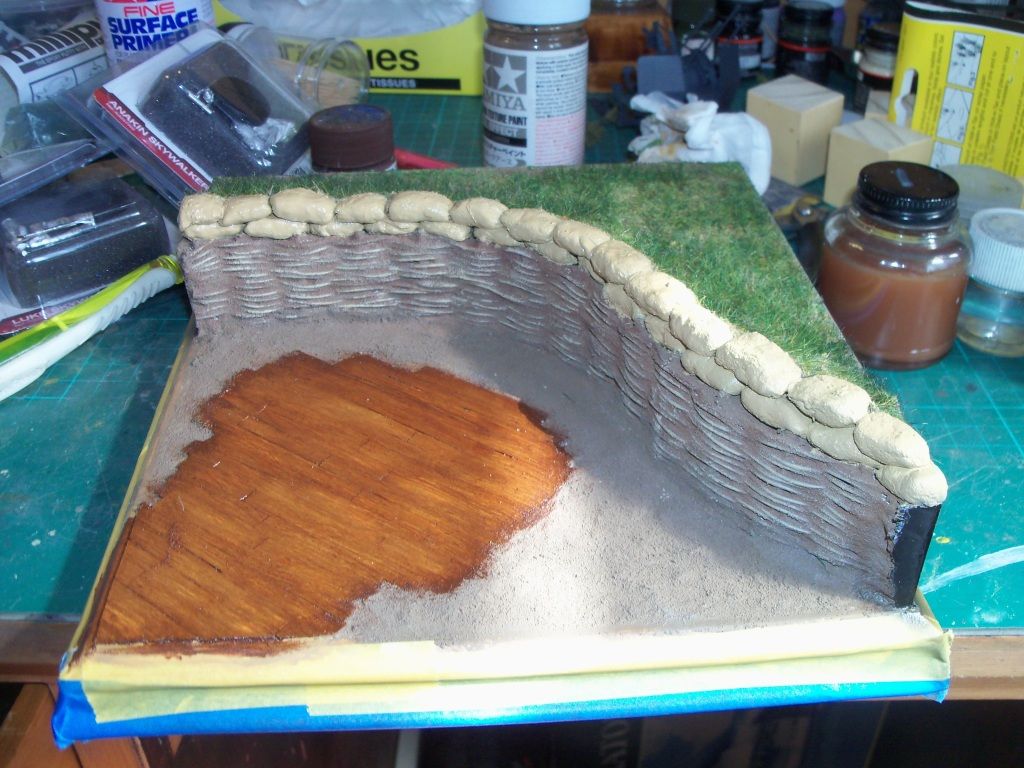
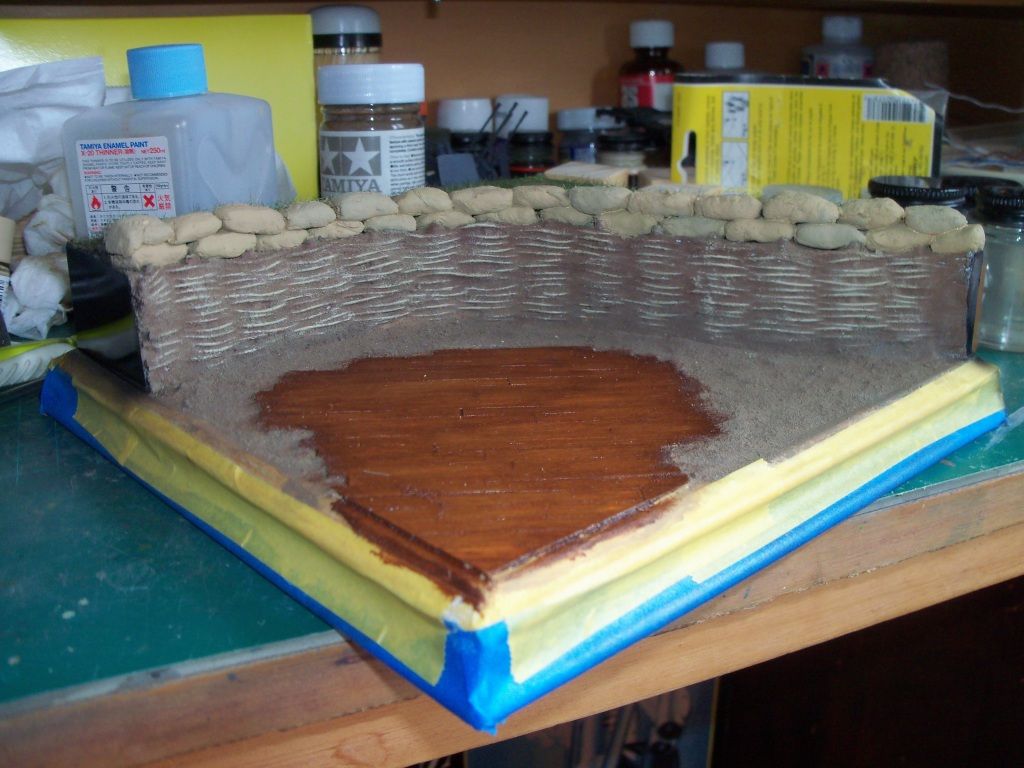
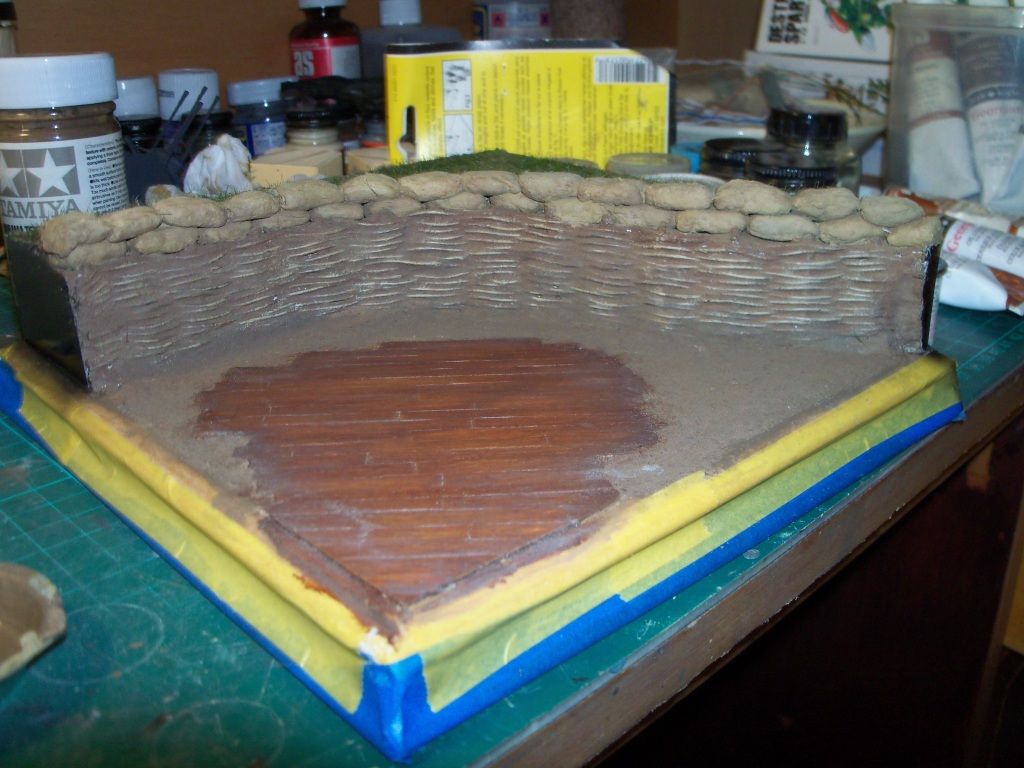
For now, I've just finished painting the sand bags and painted the "wood" base for the Flak gun itself.
The Sandbags are painted with Tamiya Enamel XF-60 Buff and tinted with XF-59 and Humbrol 64 to create variation in the colours of different bags.
I drybrushed the thatch with XF-60 Buff.
After all this dried, weathered the sandbags with Raw Umber oil paint wash. Add some grey and buff colours to the wash and added between the sandbags and where they touch the bunker. Removed any excess with a toothbrush.
Weathered the wood area with Humbrol 64 that was randomly painted on and then wiped off.
Added some Raw Umber wash to the thatch area.
Aside from a bit extra scenery, it looks about done - now to move to the figures.
For now, I've just finished painting the sand bags and painted the "wood" base for the Flak gun itself.
The Sandbags are painted with Tamiya Enamel XF-60 Buff and tinted with XF-59 and Humbrol 64 to create variation in the colours of different bags.
I drybrushed the thatch with XF-60 Buff.
After all this dried, weathered the sandbags with Raw Umber oil paint wash. Add some grey and buff colours to the wash and added between the sandbags and where they touch the bunker. Removed any excess with a toothbrush.
Weathered the wood area with Humbrol 64 that was randomly painted on and then wiped off.
Added some Raw Umber wash to the thatch area.
Aside from a bit extra scenery, it looks about done - now to move to the figures.
Sunday, 19 August 2012
Dragon US Infantry, 2nd Armored Division (Normandy 1944) Diorama
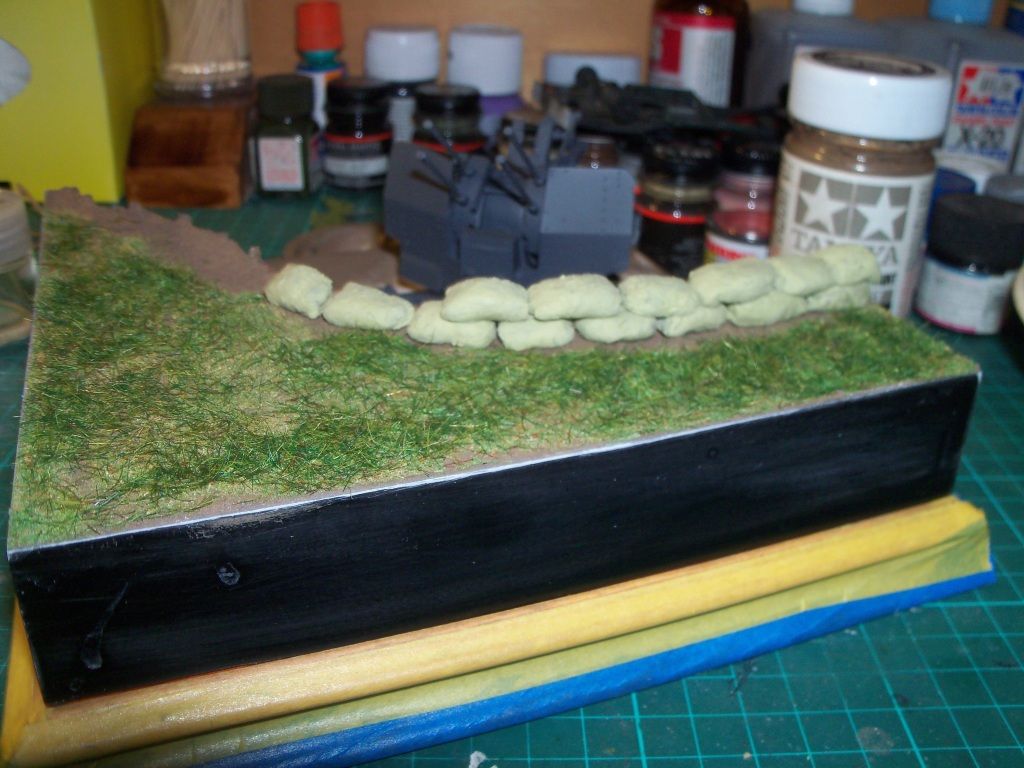
Making sandbags is not a clean job.
I found an article on Armorama (http://www.armorama.com/modules.php?op=modload&name=Sections&file=index&req=viewarticle&artid=116) on making sand bags with Milliput.
Not much to say on this process, mix Milliput, shape to something resembling a sandbag, place on diorama base - repeat until finished.
Once all sand bags have been made and placed, I mixed up Papier Mache mixture with PVA glue and Tamiya Diorama Texture Paint Soil Effect and Woodland Scenics Static Grass.
I figured the Germans would have built up dirt from the banker in front of the sand bags - this mixture kinda gives the impression of soil being turn over.
Added the mixture with a paint brush, then changed my mind again and dusted the area with Earth Blend from Woodland Scenics and then randomly spray Woodlands glue and added more Static Grass - blowing this off to get the grass to stand up a bit before shaking off the excess.
Repainted the diorama sides again with Gloss Black - not as good as before, but it'll do and painted the Wood with Tamiya XF-59 Desert Yellow. I'll go over this later with a stiff brush and oil paints to create the grain effects of wood before weathering it further.
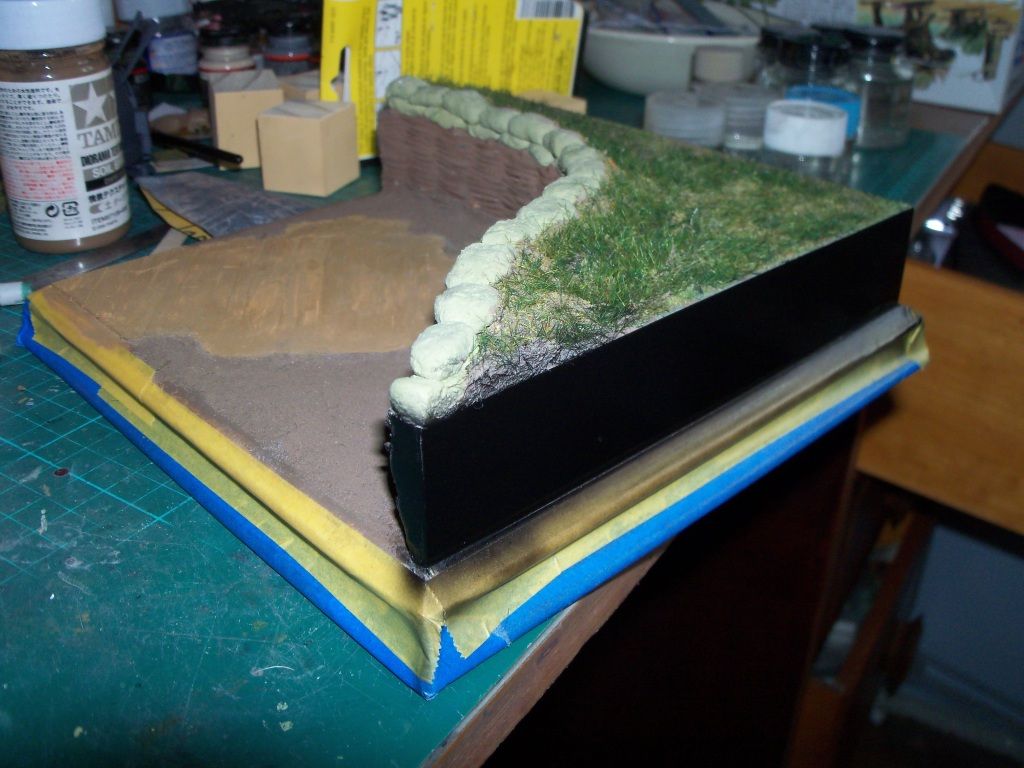
The slope I've created in front of the Sandbags is effective. Due to re-working the base, I've create more features in the existing ground work, instead of a level area, it looks more what you would see in real life.
I found an article on Armorama (http://www.armorama.com/modules.php?op=modload&name=Sections&file=index&req=viewarticle&artid=116) on making sand bags with Milliput.
Not much to say on this process, mix Milliput, shape to something resembling a sandbag, place on diorama base - repeat until finished.
Once all sand bags have been made and placed, I mixed up Papier Mache mixture with PVA glue and Tamiya Diorama Texture Paint Soil Effect and Woodland Scenics Static Grass.
I figured the Germans would have built up dirt from the banker in front of the sand bags - this mixture kinda gives the impression of soil being turn over.
Added the mixture with a paint brush, then changed my mind again and dusted the area with Earth Blend from Woodland Scenics and then randomly spray Woodlands glue and added more Static Grass - blowing this off to get the grass to stand up a bit before shaking off the excess.
Repainted the diorama sides again with Gloss Black - not as good as before, but it'll do and painted the Wood with Tamiya XF-59 Desert Yellow. I'll go over this later with a stiff brush and oil paints to create the grain effects of wood before weathering it further.
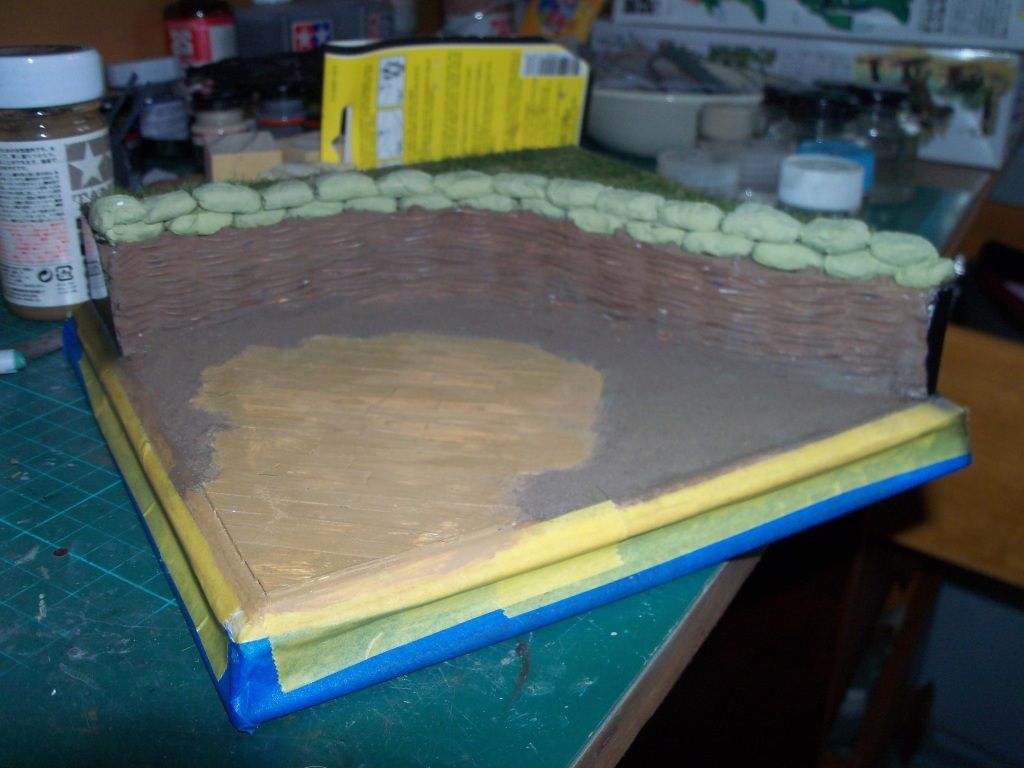
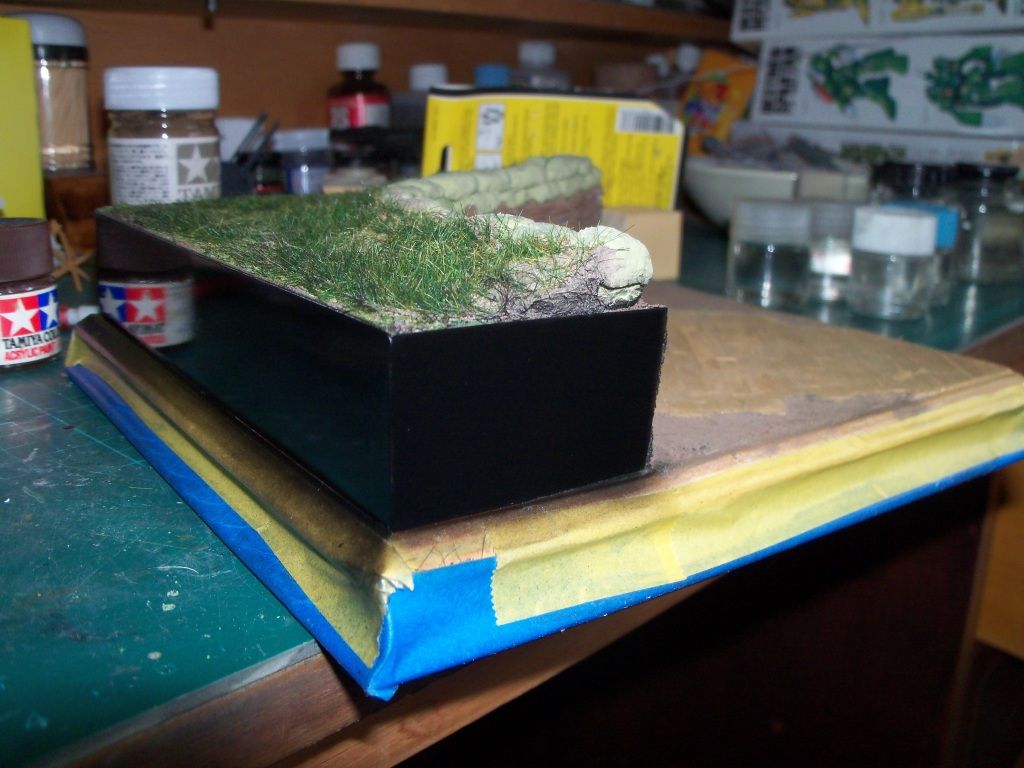
The slope I've created in front of the Sandbags is effective. Due to re-working the base, I've create more features in the existing ground work, instead of a level area, it looks more what you would see in real life.
Subscribe to:
Posts (Atom)